 Garden
Affiliate Disclosure
Some links on this page are affiliate links. As an Amazon Associate, we earn from qualifying purchases — at no extra cost to you. We do not buy, test, or physically handle the products we cover; our rankings come from aggregated owner reviews, ratings and expert consensus. Commissions never change our verdicts. How we rank · full disclosure.
Replacing a toilet wax ring is a DIY job that stops a base leak for good — about 45 minutes, $5 for the ring, no permit and no plumber. Water pooling around the base after a flush is a failed wax seal. You shut off and drain the toilet, lift it off, scrape the old wax off the flange, set a fresh ring, and lower the bowl straight down in a single attempt. The whole trick is the one-attempt rule — once the wax touches, you cannot re-aim — and checking that the flange is not sitting too low.
We never buy, test or physically handle the products we rank; recommendations come from aggregated owner reviews and expert consensus, described in how we rank. More at the DIY plumbing hub.
Tools and materials
- A new wax ring (buy a funnel/horn type, and keep a spare), or a waxless rubber seal.
- New closet bolts, a putty knife or scraper, a sponge and bucket, and rags.
- An adjustable wrench, a hacksaw for the bolts, plastic shims and bathroom silicone caulk.
- Basic hand tools — see best plumbing tools; a helper for the lift.
Step 1: Shut off, drain, and lift the toilet
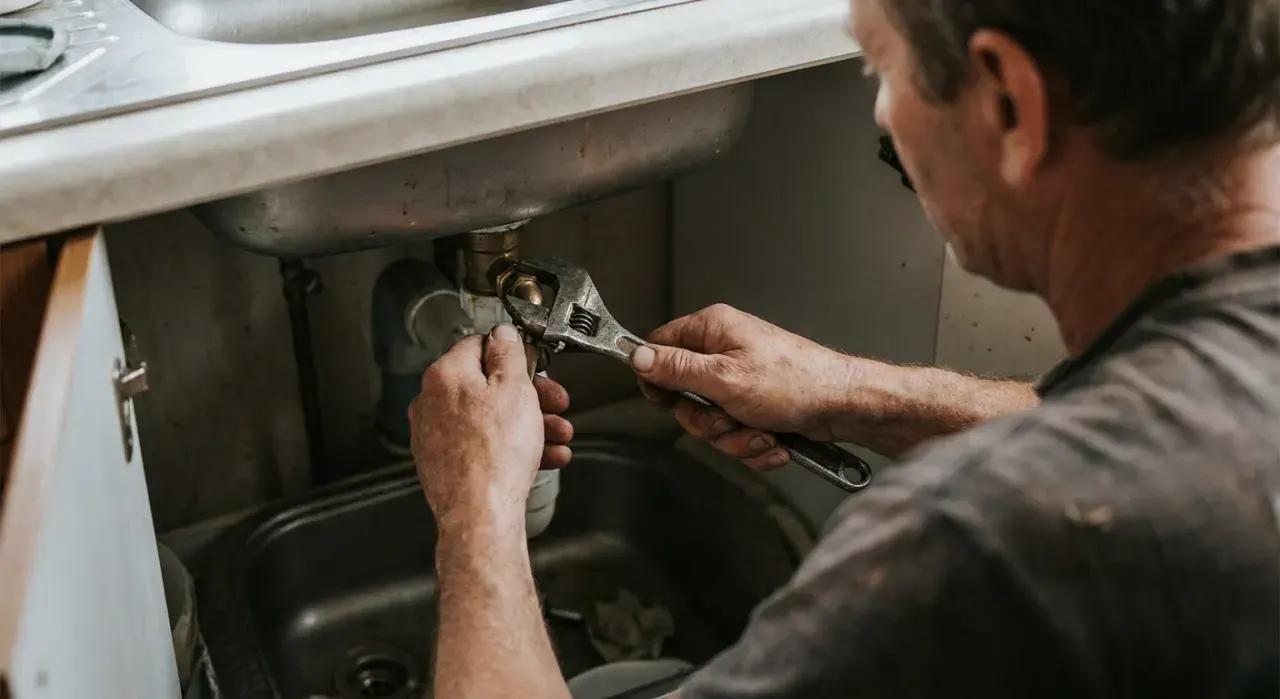
Close the shutoff valve and flush, holding the handle to drain the tank. Sponge or vacuum the remaining water from the tank and bowl. Disconnect the supply line. Pop off the bolt caps at the base and remove the nuts (cut a spinning bolt with a hacksaw). Rock the toilet gently to break the old seal, then lift it straight up with a helper and lay it on its side on a towel. Stuff a rag in the drain to block sewer gas.
Step 2: Scrape the flange and old wax
Remove the rag briefly. Scrape all the old wax off both the flange and the underside of the toilet's outlet horn with a putty knife until both are clean. Inspect the flange — it should sit on top of the finished floor and be intact. If it is cracked, corroded, or recessed below the floor, fix that now (a repair flange, an extender ring, or a thicker wax ring) before proceeding, because a low or broken flange is the most common cause of a repeat leak.
Step 3: Set the new wax ring
Set new closet bolts into the flange slots pointing up, positioned evenly. Press the new wax ring onto the toilet's outlet horn (this lets you see the alignment) or onto the flange. Use a funnel/horn ring if the flange is at or below floor level. Remember: you get one attempt — once the wax touches down and compresses, lifting the toilet to re-aim ruins it and you start with a fresh ring.
Step 4: Reseat the toilet
Lift the bowl over the drain, line up both bolt holes with the closet bolts, and lower it straight down without twisting. Press down with your body weight and a slight rock to compress the wax evenly. Add washers and nuts and tighten them alternately, a little each side, until the toilet stops rocking — then stop, or you will crack the china. Shim any remaining wobble rather than over-tightening.
Step 5: Reconnect, test, and caulk
Reconnect the supply line, open the shutoff, and let the tank fill. Flush several times while watching the base for any water. Check again after a full day of use. Then caulk around the base with bathroom silicone, leaving a gap at the very back so any future leak shows itself rather than hiding under the toilet.
Common mistakes
- Reusing the old wax ring — it will not re-seal; always fit a new one.
- Re-aiming after the wax touches down, breaking the seal.
- Ignoring a recessed flange and expecting one ring to bridge the gap.
- Over-tightening the closet bolts and cracking the base.
When to call a plumber
Call a pro if the closet flange is broken or sits well below a raised floor and needs replacing, if the subfloor around the toilet feels soft from a long-standing leak (water damage repair comes first), or if the toilet has been leaking long enough to rot the flooring. Flange replacement and subfloor repair go beyond a wax-ring swap. There is no permit for replacing a wax ring itself.
Related: how to replace a toilet, how to caulk a bathtub, and how to replace a toilet supply line.