 Garden

Affiliate Disclosure
Some links on this page are affiliate links. As an Amazon Associate, we earn from qualifying purchases — at no extra cost to you. We do not buy, test, or physically handle the products we cover; our rankings come from aggregated owner reviews, ratings and expert consensus. Commissions never change our verdicts. How we rank · full disclosure.
Building a console table is a beginner-to-intermediate weekend project, roughly 5 to 9 hours plus finish time, at a lumber cost of $40 to $110. You need a saw, a drill and ideally a pocket-hole jig; no permit or pro is involved. The joinery is simple. The two things that make a console work are dimensions, getting the height and slim depth right for an entry or behind a sofa, and stability, since a tall narrow table wants to tip and may need a low shelf and an anchor.
Step-by-step: a slim four-leg console
- Set dimensions. Choose 30 to 34 inches tall for an entry, or match the sofa back for a sofa table. Keep depth 10 to 16 inches. Write a cut list.
- Acclimate and cut. Let lumber sit indoors a few days, then cut legs, aprons, a lower shelf or stretchers, and the top to length with square ends.
- Build the top. Edge-glue narrow boards or use banded plywood for a flat, warp-resistant top. Clamp and let the glue cure before sanding flat.
- Drill pocket holes. Set a pocket-hole jig for 3/4-inch stock and drill the apron ends and any stretchers.
- Assemble the base. Glue and pocket-screw the aprons to the legs, checking square by measuring the diagonals. Add a lower shelf or stretchers for rigidity and low storage.
- Attach the top. Fasten it with figure-8 fasteners or slotted brackets that let the solid wood move seasonally without cracking.
- Sand and finish. Sand to 180-grit, ease the edges, then stain if desired and add two to three thin coats of polyurethane.
- Stabilize and place. Load heavy items on the lower shelf, and in a home with children, strap the console to a stud so it cannot tip.
Tools and materials
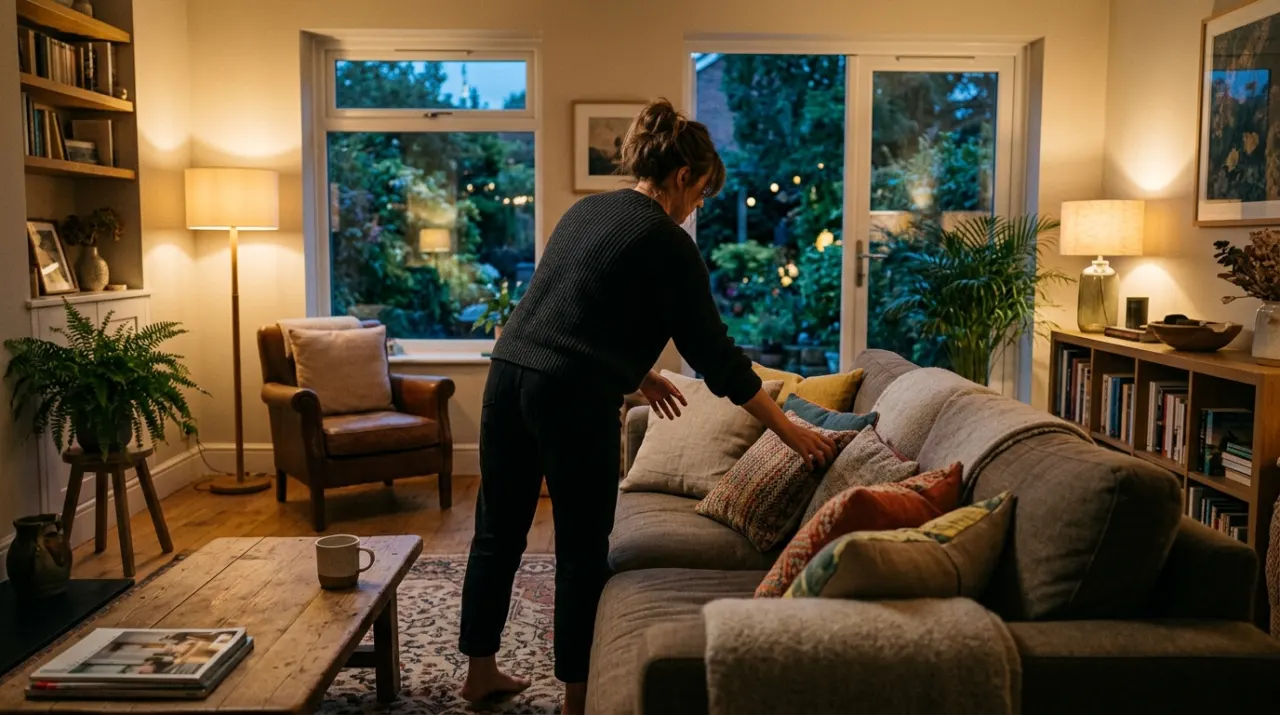
You need a saw, drill/driver, pocket-hole jig, clamps, sandpaper and finish. A console behind a sofa or in an entry sets a sightline into the room, so its height and finish should relate to the seating it faces or backs, such as pieces from our accent chair picks. If the same console anchors a work-from-home corner, keeping its wood tone consistent with a desk from our standing desk roundup pulls an open-plan room together.

Mistakes that spoil a console
- Building it too deep. A deep console blocks the walkway. Keep it 10 to 16 inches.
- Ignoring tip risk. Tall and narrow tips easily. Add a low shelf and anchor it near kids.
- One wide solid top. It warps. Edge-glue narrow boards or use banded plywood.
- Fixing the top rigidly. Solid tops crack when screwed down hard. Use slotted fasteners.
- Racked frame. An out-of-square base wobbles. Measure diagonals during glue-up.

Notes and safety
This is DIY woodworking with the usual shop safety: eye and ear protection, push sticks near blades, and drying oily finish rags flat outdoors since they can spontaneously combust. No building code or permit applies to furniture. The one safety point specific to a console is tip-over risk: a tall, shallow table loaded with a heavy lamp or a leaning mirror can go over if bumped or climbed, so anchor it to a stud in any home with young children.
We never buy, test or physically handle the products we rank. Recommendations come from aggregated owner reviews, star ratings, review volume and expert consensus — see how we rank.
More from this hub: Furniture & Decor · Build a coffee table · Build a floating nightstand · Anchor furniture to the wall · Best accent chairs · How we rank