 Garden

Affiliate Disclosure
Some links on this page are affiliate links. As an Amazon Associate, we earn from qualifying purchases — at no extra cost to you. We do not buy, test, or physically handle the products we cover; our rankings come from aggregated owner reviews, ratings and expert consensus. Commissions never change our verdicts. How we rank · full disclosure.
The short answer: professional landscape lighting is four techniques used sparingly — uplighting (fixture at the base aiming up), downlighting (fixture high aiming down, the moonlight effect), washing (even light across a flat surface) and silhouetting (light behind an object so its shape reads dark). Pick three or four features worth seeing after dark, light those with warm 2700K light at the narrowest beam that covers them, and deliberately leave everything else dark.
The Rule Behind All Four: Contrast Does the Work
The single most common mistake in a yard is treating lighting as illumination — trying to make the space visible. Your eyes do not need that. After twenty minutes outdoors, a dark-adapted eye reads shapes at extraordinarily low light levels, and the job of a lighting plan is not to raise the overall level but to create a small number of bright points against that dark background.
Which means the dark parts of the plan are as designed as the lit parts. A yard with four lit features and a lot of shadow looks like somebody thought about it. The same yard with every shrub, wall and corner lit looks flat, and it is also considerably more expensive. When you are tempted to add another fixture, the better question is usually whether one of the existing ones should come out.
The Four Moves
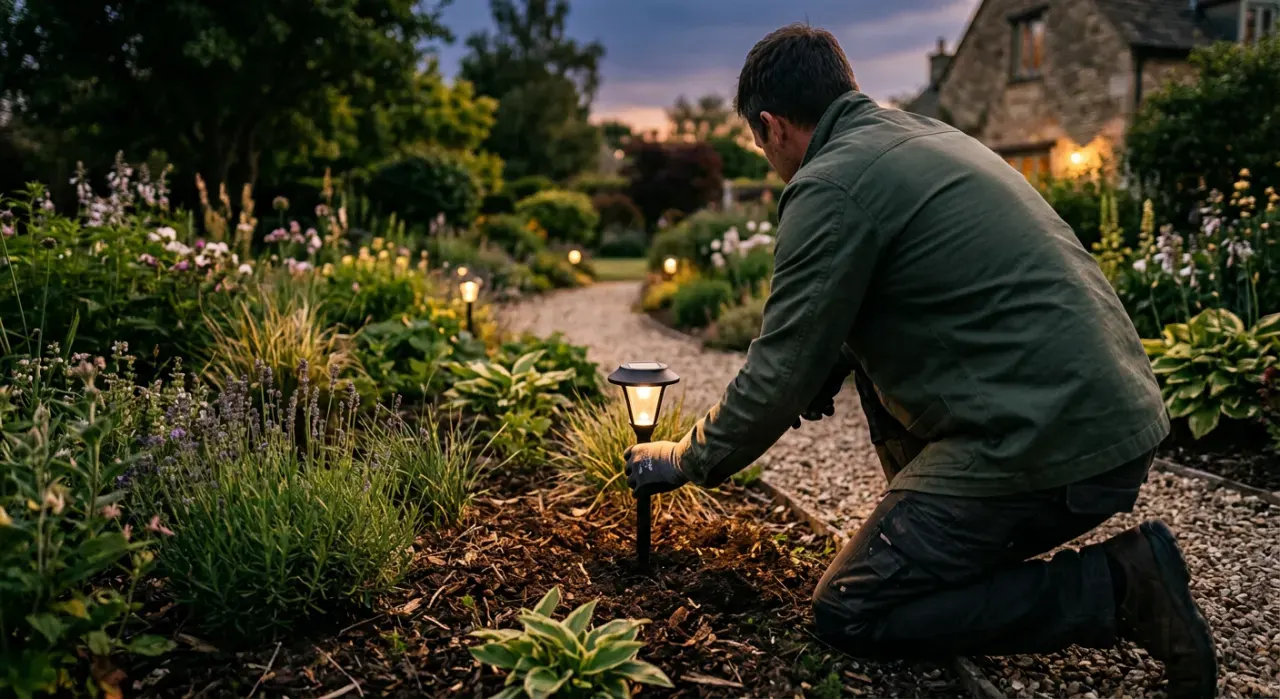
1. Uplighting
A fixture at ground level aimed upward at a tree, wall, column or specimen shrub. It is dramatic, unnatural in the best sense — light never comes from below outdoors — and it is the technique people overuse first. Uplighting emphasizes texture: peeling birch bark, fissured oak, cut stone, a stucco wall. It flattens smooth surfaces, so a plain vinyl-sided wall gains nothing from it.
Placement is a trade between drama and coverage. Close to the trunk gives a steep beam that races up the bark and fades into the canopy. Further out lights more of the crown but reads less dramatically. Two or three fixtures spread around a large tree at different distances produce a three-dimensional result that one bright fixture never will.
2. Downlighting
A fixture mounted high — 12 to 25 feet up in a tree, or under an eave or a pergola beam — aimed down. When it comes through branches, the dappled shadow pattern on the ground is the single most convincing effect in landscape lighting, and it is usually called moonlighting for good reason. It is also the most dark-sky friendly technique by nature, since all the light goes down.
Downlighting is underused because it takes more effort: you need a mounting point, a ladder, and cable run up a trunk. It is worth it. A single downlight in a mature tree over a patio does more for a space than four uplights around its edges, and the fixture is invisible.
3. Washing and Grazing
Washing means placing a wide-beam fixture back from a flat surface so light lands evenly with minimal shadow. Good for a garden wall, a fence you actually like, or the face of a house. Grazing is the same idea moved close — 6 to 12 inches from the surface, aimed almost parallel — so every bump casts a long shadow and texture is exaggerated. Grazing is spectacular on cut stone, brick and board-formed concrete, and merciless on anything with an uneven finish you would rather not advertise.
4. Silhouetting and Shadowing
Silhouetting places the fixture behind an object, lighting the surface beyond it so the object reads as a dark shape. It suits plants with strong outlines — a Japanese maple, an agave, an ornamental grass, wrought iron. Shadowing is the inverse: light from the front, close and low, so the object throws a large soft shadow onto a wall behind it. Both are cheap effects that look expensive, and both fail if the background is busy.
Which Fixture, Which Job
| Technique | Fixture | Typical output | Beam angle | Placement |
|---|---|---|---|---|
| Uplight, small ornamental tree | Bullet spot, adjustable | 100–200 lumens | 24–40° | 12–24 in from trunk |
| Uplight, mature shade tree | 2–3 bullet spots | 250–400 lumens each | 35–60° | 4–8 ft out, spread around |
| Uplight, columnar evergreen | Narrow spot | 150–300 lumens | 15–24° | Close to trunk |
| Downlight / moonlight | Tree-mount downlight with hex louver | 200–400 lumens | 40–60° | 15–25 ft up, through branches |
| Wall wash | Flood or wash fixture | 150–300 lumens | 60°+ | 2–4 ft from wall |
| Wall graze (texture) | Narrow flood | 200–400 lumens | 24–40° | 6–12 in from wall, aimed up the face |
| Path and walkway | Hooded path light | 60–120 lumens | Full cutoff down | 6–8 ft apart, staggered, set back 12–18 in |
| Steps and level change | Recessed step or hardscape light | 30–80 lumens | Shielded | Riser or adjacent wall |
| Silhouette | Wash fixture behind subject | 150–250 lumens | 60° | Aimed at the backdrop, not the plant |
The Three-Layer Method
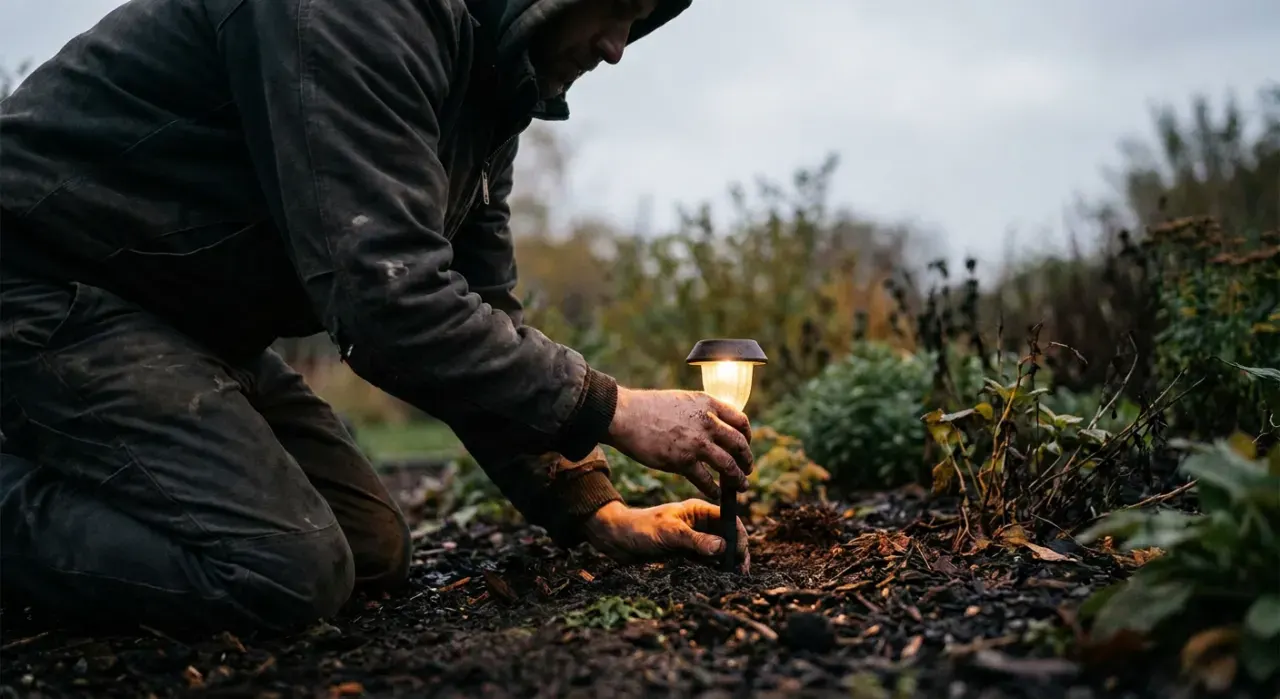
Working designers plan in layers rather than fixture by fixture, and it is a useful discipline for a homeowner because it forces the priorities into the right order.
Layer one is safety. Every change in level, the route from where you park to where you unlock a door, and any surface that gets slippery. This layer is non-negotiable and should be wired rather than solar, because a failed fixture here becomes a trip hazard rather than an inconvenience.
Layer two is wayfinding. Path lights, driveway edges, the transition from lawn to gravel. These do not need to illuminate the ground so much as describe the route. This is where restraint pays: mark the turns and the ends, and let the straight sections carry themselves.
Layer three is drama. The uplit specimen tree, the grazed stone wall, the silhouetted grass. Pick three or four and stop. This is the layer most people buy first and the reason so many yards feel harsh — with no safety or wayfinding layer underneath, the drama fixtures end up carrying the whole burden and get specified far too bright.
Build in that order and you will spend less and like it more. Layer one and two typically take eight to ten fixtures on an average lot; layer three takes four to six.
Controlling Glare — the Difference Between Amateur and Professional
Almost every yard that looks wrong looks wrong because you can see the light source. Glare contracts your pupils, destroys dark adaptation and creates a black void everywhere outside the beam, which is why an over-lit yard can genuinely be harder to move through than a dim one.
Four fixes, all cheap:
- Hex louvers and snoots. A honeycomb louver on a spotlight cuts the visible source almost entirely while barely reducing output on target. Snoots extend the barrel to tighten the beam. Both are inexpensive accessories that transform a cheap-looking fixture.
- Aim away from the primary viewing position. Decide where people stand — the patio, the front door, the kitchen window — and aim fixtures so their beams travel away from those points rather than toward them.
- Hide the fixture. Behind a shrub, below the lip of a wall, in the mulch line. A visible bullet spot at the base of a tree is a small ugly object in daylight and a glare source at night.
- Check the neighbor view. Walk to the property line after the system is on. If a beam carries past your fence, re-aim or shield. More on this in dark sky friendly lighting.
Color Temperature, Briefly but Firmly
Use 2700K. Occasionally 3000K on stone or a modern facade. Nothing cooler, with one deliberate exception: a high tree downlight simulating moonlight can justify 4000K, because real moonlight reads slightly blue and the effect sits far enough from the eye that it does not feel clinical.
The reason is not just taste. Your windows spill warm light into the yard, so cool fixtures outside create a color clash that reads as wrong before anyone can name why. Foliage also renders badly under cool white — the greens go gray-blue and lose the depth that makes a planted border interesting after dark. Full detail, including the lumen figures behind the table above, is in lumens and color temperature.
A Practical Design Process for One Evening
- Photograph the yard in daylight from the three views that matter: from the street, from the front door, and from inside the main window you look out of at night. Print them or mark them up on a phone.
- Circle three or four features worth seeing after dark. Be ruthless. A tree, a wall, the door.
- Mark the safety list — every step, threshold and level change.
- Borrow a flashlight and test. Have somebody hold a light where you are considering a fixture while you stand at the viewing position. Five minutes of this is worth an hour of planning.
- Count fixtures and total the wattage, then size the transformer at 1.5 times that. The install method, cable gauge and voltage-drop math are in how to install path lighting.
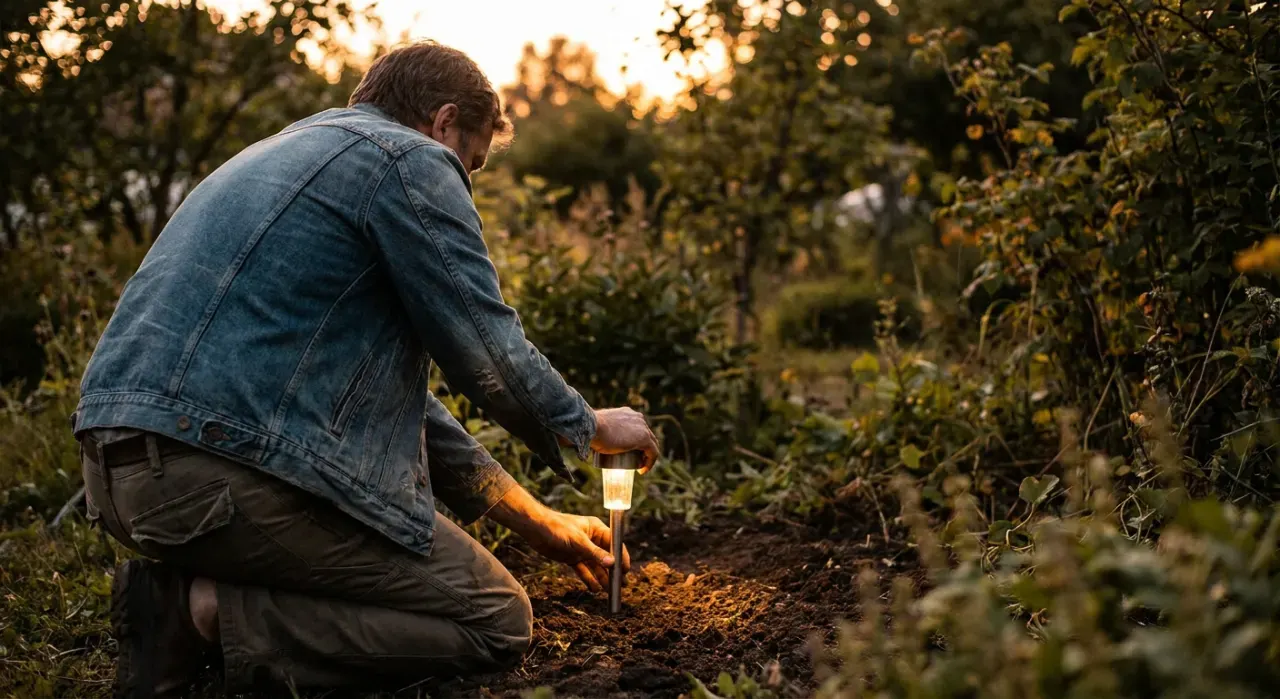
- Install on the surface first, run it for a night, then bury. Aiming always changes once the whole system is on.
Design for Two Seasons, Not One
A plan drawn in June looks different in January. A deciduous tree that absorbs an uplight beam beautifully in full leaf becomes a bare frame with open sky behind it, so the same fixture that looked subtle becomes a searchlight. Perennials that hide a fixture in August die back and expose it in November. Snow reflects and roughly doubles apparent brightness.
Two habits handle this. Re-aim spotlights twice a year, at leaf drop and at leaf-out — it takes fifteen minutes for a whole yard. And favor evergreens, walls and hardscape as your primary focal points, because their winter appearance is the same as their summer appearance. A lit stone wall and a lit spruce carry a yard through February; a lit maple does not.
Choosing Hardware That Holds the Aim
The single most common long-term complaint in owner reviews of adjustable spotlights is not brightness or color — it is that the knuckle joint loosens and the fixture drifts out of aim over a season, so a beam that was set on a tree ends up pointing at a bedroom window. Solid brass and cast aluminum fixtures with a toothed locking knuckle hold their setting; thin stamped housings with a plastic pivot do not.
That is the filter applied in best low-voltage landscape lights, where housing material, knuckle design and warranty length carry more weight than headline lumen figures. If you are uplighting on solar because trenching is not an option, the adjustable models covered in best solar spotlights are the ones where owners report the beam still hitting the tree a year later — which in that category is the harder specification to meet than brightness.
We never buy, test or physically handle the products we rank. Recommendations come from aggregated owner reviews, star ratings, review volume and expert consensus — see how we rank.
More from this hub: Garden Lighting · Lumens and color temperature · How to install path lighting · Dark sky friendly lighting · How we rank