 Garden
Affiliate Disclosure
Some links on this page are affiliate links. As an Amazon Associate, we earn from qualifying purchases — at no extra cost to you. We do not buy, test, or physically handle the products we cover; our rankings come from aggregated owner reviews, ratings and expert consensus. Commissions never change our verdicts. How we rank · full disclosure.
To propagate a rubber plant, take a stem cutting with at least one node and root it in water or moist, well-draining soil, or use air layering on a tall plant to root a stem before you cut it off — expect roots in about three to five weeks. The rubber plant (Ficus elastica) is a satisfying plant to multiply, and propagation doubles as the fix for a leggy specimen that has lost its lower leaves. The two things to get right are including a node on every cutting and handling the milky sap carefully, because that latex is an irritant.
This guide covers stem cuttings in both water and soil, air layering for tall plants, and safe handling. Our advice reflects the consensus of experienced growers and extension resources rather than first-hand trials; see how we rank.
Best time to propagate a rubber plant and what you need
Propagate in spring or early summer during active growth for the fastest, most reliable rooting; cuttings taken in winter root slowly. Gather:
- Sharp, sterilized scissors or pruners — wipe with rubbing alcohol.
- Gloves to protect against the latex sap.
- A glass jar of clean water or small pots of light, well-draining mix (potting mix with added perlite).
- Optional: rooting hormone, a clear bag or dome for humidity, and for air layering: sphagnum moss, clear plastic wrap, and twist ties.
Handling the sap safely
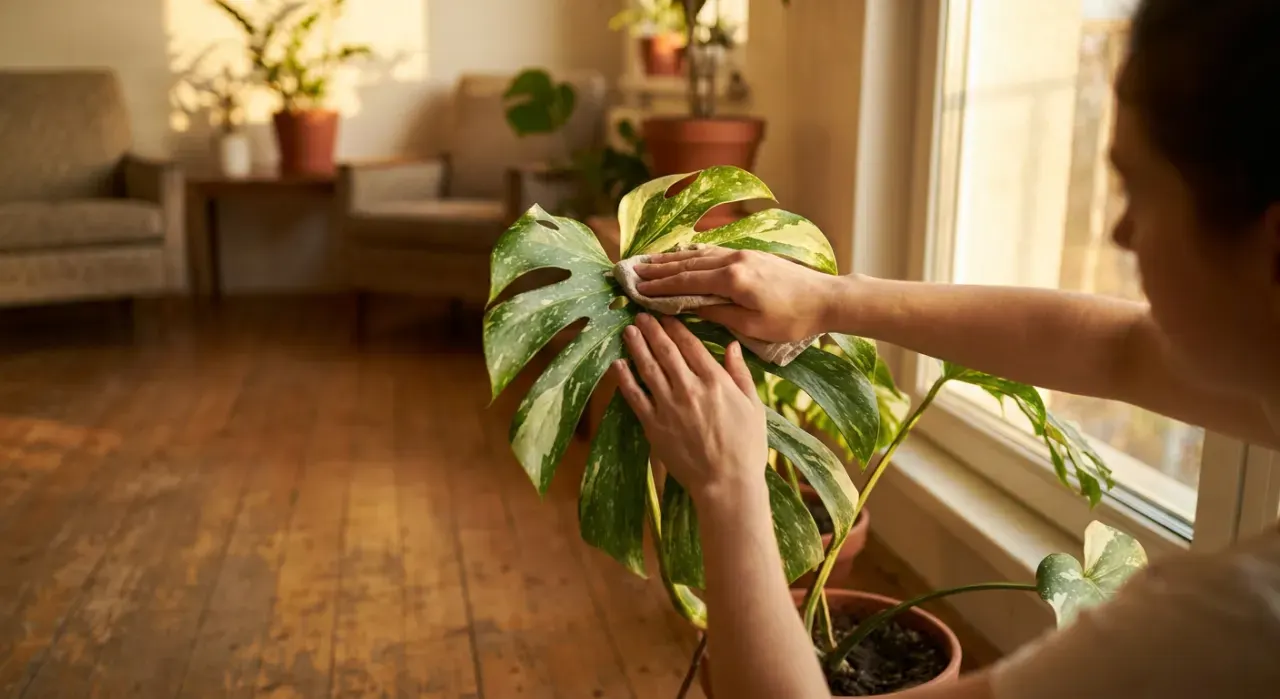
Every cut on a rubber plant weeps a milky white latex. It can irritate skin and eyes, may bother people with latex sensitivities, and is toxic to pets if eaten. Before you start: put on gloves, work over a surface you can wipe down, and after cutting, blot the cut end of both the cutting and the parent plant with a damp cloth to stop the flow. Wash your tools and hands when you finish, and keep cuttings out of reach of pets. This is routine caution, not cause for alarm — the plant is fine to grow at home.
Method 1: stem cuttings in water
Water rooting is beginner-friendly because you can watch progress.
- Choose a healthy stem tip 4 to 6 inches long with at least one node and one or two leaves at the top.
- Cut about a quarter inch below a node with sterilized scissors.
- Remove lower leaves so no foliage sits in the water; keep the top leaf or two.
- Blot the sap from both cut ends.
- Place in a jar of clean water so the node is submerged but the leaves stay above the surface.
- Set in bright indirect light and change the water every few days to keep it clean and oxygenated.
- Pot up once roots reach one to two inches, moving into well-draining mix and keeping it lightly moist while the plant adjusts.
Method 2: stem cuttings in soil
Soil rooting skips the transplant step and tends to give sturdier roots.
- Take the same kind of cutting — a node, one or two top leaves, about 4 to 6 inches.
- Blot the sap and, if using it, dip the cut end in rooting hormone.
- Insert into moist, well-draining mix so at least one node is buried, firming the soil so it stands.
- Increase humidity by loosely covering with a clear bag or dome, keeping the plastic off the leaves, to reduce water loss while it has no roots.
- Keep warm and bright in indirect light and the mix lightly moist, not soggy.
- Test after three to five weeks — gentle resistance to a tug means roots have formed. Remove the cover and grow on.
Reducing leaf area helps a leafy cutting survive: you can trim a large leaf in half or roll it into a loose tube secured with a rubber band to cut water loss.
Method 3: air layering (best for tall, leggy plants)
Air layering roots a stem while it is still attached to the parent, so the new plant is well established before you sever it. It is the ideal way to shorten a tall rubber plant that has dropped its lower leaves, giving you a rooted top and a chance for the base to resprout.
- Pick a spot on the stem below the leafy top where you want new roots.
- Make an upward diagonal cut about a third of the way through the stem, or remove a narrow ring of bark. Blot the sap.
- Hold the wound open with a toothpick or a pinch of moss, and optionally dust with rooting hormone.
- Wrap with damp sphagnum moss, a good handful, around the cut.
- Enclose the moss in plastic wrap, sealing top and bottom with twist ties to trap moisture. Keep the moss damp.
- Wait four to eight weeks for roots to fill the moss, visible through the plastic.
- Cut below the new roots, remove the plastic (leave the moss), and pot up the rooted top. The parent stump often sends out fresh shoots.
Which rubber plant propagation method to choose
| Method | Rooting time | Best for | Note |
|---|---|---|---|
| Water cutting | 3 to 5 weeks | Beginners, watching roots | Needs transplant adjustment |
| Soil cutting | 3 to 5 weeks | Sturdier roots, no transplant | Progress hidden |
| Air layering | 4 to 8 weeks | Tall, leggy plants | Highest success, more effort |
Keeping a leafy cutting alive while it roots
A rubber plant cutting starts with no roots but full-size leaves, and those big leaves lose water faster than the cutting can replace it — which is why leafy cuttings often droop or drop foliage before they root. Managing that water balance is the difference between a cutting that sails through and one that collapses. Two techniques help most:
- Reduce leaf area. Keep only one or two leaves at the top, and if those are large, cut each leaf in half across the middle or roll it into a loose tube secured with a rubber band. Less surface means less water lost.
- Raise humidity. Loosely tent the cutting with a clear plastic bag or place it under a propagation dome, keeping the plastic off the leaves and venting it briefly every day or two to prevent mold. The humid pocket slows water loss dramatically while roots form.
Pair those with bright indirect light and steady warmth — never a hot, sunny windowsill, which drives water loss up just when the cutting can least afford it. A little initial drooping is normal and not a crisis; the cutting is living on stored water until roots take over, and it firms back up once they do.
How many cuttings from one plant
One of the pleasures of propagating rubber plants is how much material a single healthy specimen yields, especially when you combine propagation with pruning. Every node along a stem is a potential cutting, so a tall plant you are cutting back for height can produce several cuttings at once from the removed top and side branches.
A practical approach when rejuvenating a leggy plant:
- Cut the main stem back to your desired height, taking the whole top as one large cutting or air-layered section.
- Section longer pieces into individual cuttings, each with a node and a leaf or two, rather than rooting one long stem.
- Root them together and pot the successful ones into a single container for an instantly fuller plant, or share them.
- Let the parent resprout — the cut stump branches from the nodes below, so you end up with a bushier original plus new plants.
This is why propagation and pruning go hand in hand for rubber plants: the same cut that controls an overgrown plant hands you the makings of the next one. See how to prune a rubber plant for the cutting technique.
Aftercare and growing on
Give a newly rooted rubber plant bright indirect light, steady warmth, and evenly moist (not wet) soil while its young roots establish, then transition to normal care: let the top inch or two of soil dry between waterings and provide plenty of bright indirect light to keep growth compact. Hold off feeding for a couple of months, then use a balanced houseplant fertilizer during the growing season — see best indoor plant fertilizer. For the fuller care picture, read how to care for a rubber plant, and if you are combining propagation with a trim, how to prune a rubber plant.
Rubber plant propagation troubleshooting
| Problem | Cause | Fix |
|---|---|---|
| Cutting rots in water | Stale water, no node submerged, or too cool | Change water every few days; ensure a node is under water; keep warm |
| Leaves droop or drop | Water loss with no roots yet | Bright indirect light, humidity dome, reduce leaf area |
| No roots after many weeks | No node in the cutting, or cold/dark spot | Recut to include a node; move somewhere warm and bright |
| Air-layer moss dries out | Wrap not sealed | Re-dampen moss, reseal both ends of the plastic |
Rubber plants are among the more rewarding houseplants to propagate because a single tall specimen can become several, and air layering turns an awkward, leggy plant into a fresh compact one. Everything else is at the houseplants and indoor greenery hub.