 Garden

Affiliate Disclosure
Some links on this page are affiliate links. As an Amazon Associate, we earn from qualifying purchases — at no extra cost to you. We do not buy, test, or physically handle the products we cover; our rankings come from aggregated owner reviews, ratings and expert consensus. Commissions never change our verdicts. How we rank · full disclosure.
Plan around three numbers: keep 30 to 36 inches of counter continuously clear for prep, allow 4 to 5 inches of clearance behind and above any heat-producing appliance, and remember standard upper cabinets sit 18 inches above the countertop. A typical US kitchen has 25-inch-deep counters, of which about 18 to 19 inches is usable once you account for the front edge and rear clearance. Work out what you actually use four or more times a week, give those appliances permanent homes near where they are used, and store everything else. That single rule fixes most crowded counters.
We never buy or physically handle the products we rank; recommendations come from aggregated owner reviews and manufacturer specifications, as described in how we rank. The category sits at the small kitchen appliances hub.
Real appliance footprints
Marketing dimensions rarely include the space an appliance needs to work — the door swing, the vent clearance, the lid that opens upward. These are the practical numbers.
| Appliance | Footprint (W x D) | Height | Extra space needed |
|---|---|---|---|
| Basket air fryer, 6 qt | 11 x 13 in | 13 – 15 in | 5 in rear and top; drawer pulls forward 10 in |
| Toaster oven, 0.8 cu ft | 18 x 16 in | 10 in | 4 in rear; door drops 12 – 14 in forward |
| Air fryer toaster oven combo | 20 x 17 in | 12 in | 4 – 5 in rear and top |
| Drip coffee maker, 12 cup | 9 x 13 in | 14 in | Lid opens upward — needs 18 in total height |
| Tilt-head stand mixer | 9 x 14 in | 14 in | Head tilts back to 17 – 18 in |
| Bowl-lift stand mixer | 11 x 15 in | 17 in | Will not fit under standard uppers |
| Full-size blender, 64 oz | 9 x 9 in | 18 – 20 in | Too tall for standard uppers with jar fitted |
| Personal blender | 5 x 6 in | 13 in | Minimal |
| Electric kettle | 7 x 9 in | 10 in | Steam vents upward — do not sit under a cabinet |
| 6 qt pressure cooker | 13 x 13 in | 13 in | Steam release needs 10 in clear above |
| Countertop microwave | 21 x 17 in | 12 in | 3 in rear and sides; door swings 20 in |
| Slow cooker, 6 qt | 15 x 10 in | 11 in | Lid lifts; handles add 2 in each side |
Two entries there catch people out repeatedly. A full-size blender with the jar fitted is 18 to 20 inches tall, so it cannot live under a standard upper cabinet — owners either store the jar separately, which means they stop using it, or dedicate a spot at the end of a run. And an electric kettle vents steam straight up into the underside of a cabinet, which will eventually delaminate the finish. Kettles belong under an open span or a range hood.
The clearance rules that matter
- 18 inches — standard height from countertop to the bottom of upper cabinets in US kitchens. Some installs run 15 to 20; measure yours.
- 25 to 25.5 inches — standard counter depth. Subtract 2 inches at the front and the appliance rear clearance to get usable depth, typically 18 to 19 inches.
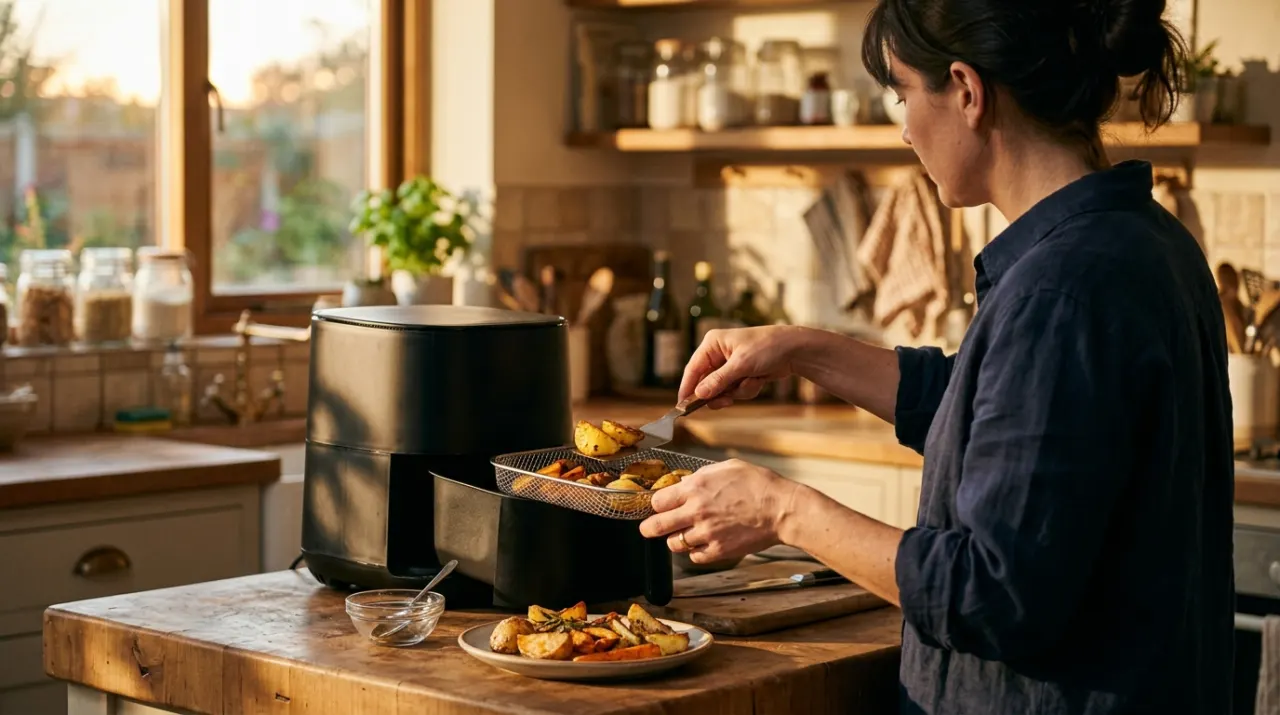
- 4 to 5 inches — rear and top clearance required by most heat-producing appliances. Check the manual; this is a fire-safety spec, not a suggestion.
- 15 inches — NKBA landing area beside a refrigerator.
- 12 to 15 inches — landing area each side of a cooktop.
- 24 inches — continuous work surface recommended beside the primary sink.
- 36 inches — standard counter height, which matters for anything you lift on and off.
Do not push heat appliances against the backsplash. A toaster oven or air fryer venting into a tiled wall reflects heat back at the unit, shortens component life, and on a painted or vinyl-wrapped wall causes visible damage within a couple of years.

Plan by zone, not by appliance
Kitchen designers work in five zones, and putting each appliance in the zone where it is used cuts the number of steps a meal takes more than any amount of decluttering does.
| Zone | Lives here | Why |
|---|---|---|
| Beverage | Coffee maker, kettle, grinder | Near the sink for water, near mugs, away from the cook path |
| Prep | Blender, food processor, scale | Beside the largest clear run and the trash pull-out |
| Cooking | Air fryer, toaster oven, pressure cooker | Near the range hood and a heat-tolerant surface |
| Baking | Stand mixer, hand mixer | Ideally a lowered surface or a stable end of a run |
| Cleanup | Dish rack, nothing electrical | Wet zone — keep appliances out of splash range |
The single most common planning error is putting the coffee maker in the middle of the main prep run. It gets used at the busiest time of day by whoever is not cooking, and it turns the best counter into a bottleneck. Move it to the end of a run near the sink and the kitchen feels larger without anything else changing.
The daily-use test
Every appliance on your counter is renting the most valuable real estate in the house. Charge rent honestly:
- Four or more times a week — stays out, permanently, with a defined spot.
- Two or three times a week — stays out only if it weighs more than about 15 pounds. Heavy appliances that get put away stop being used, which is the real reason so many stand mixers gather dust.
- Weekly — store it at waist height in an accessible cabinet, not on a top shelf.
- Monthly or less — store it anywhere, including the garage or basement, and accept that.
- Cannot remember the last time — it is not a storage problem.
Applied to a typical kitchen this leaves a coffee maker, a toaster or toaster oven, and one of a kettle or a stand mixer permanently out. That is three appliances, which is what a normal counter run supports without the space feeling gone.
Working with a genuinely small kitchen
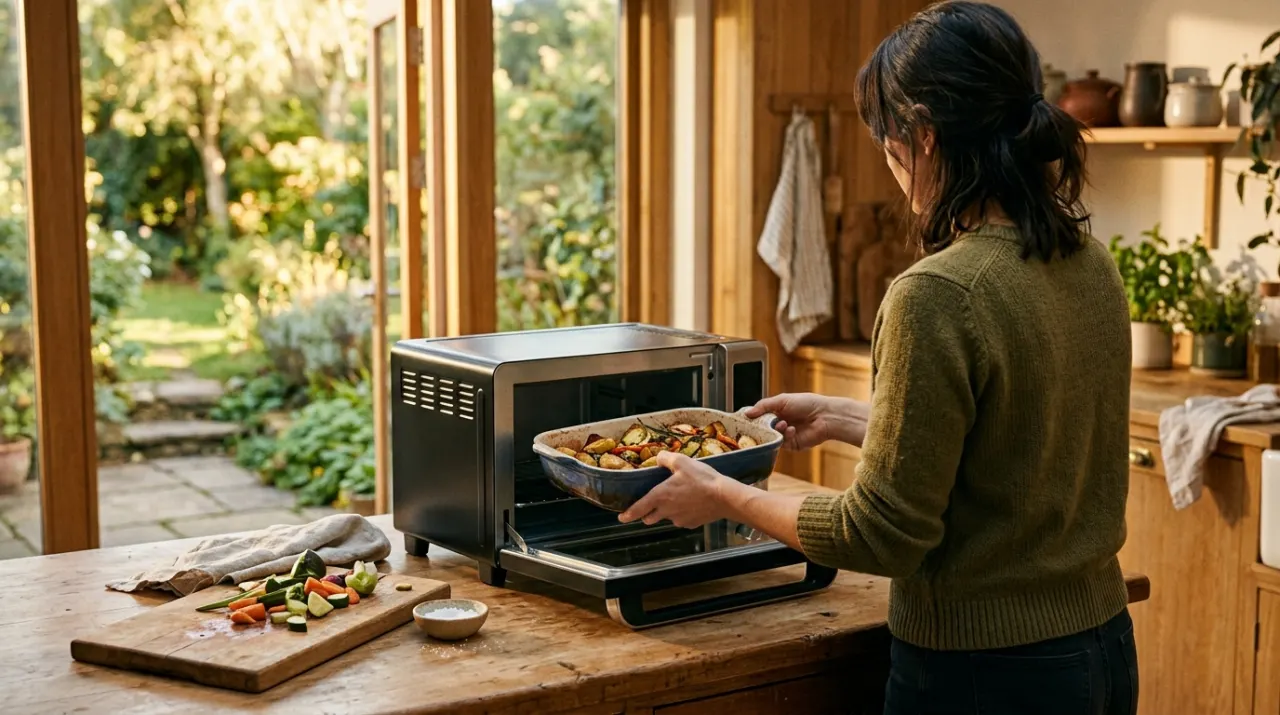
If you have one 4-foot counter run and no island, the strategy changes from arranging appliances to choosing fewer of them.
- Combine functions. An air fryer toaster oven replaces two appliances and one footprint — see combo units, and toaster oven vs air fryer if you are deciding between them.
- Go vertical. A wall-mounted rail or a shelf above the backsplash takes the small items — utensils, spice tins, the scale — off the work surface entirely.
- Use the range as counter. A cutting board that sits over unused burners adds real square footage while the oven is on and the burners are cold. Never over a lit burner or a hot glass top.
- Use appliance garages. A cabinet at counter level with a roll-up front keeps a coffee maker plugged in and out of sight, which is the only storage that does not reduce use.
- Choose smaller deliberately. A 48-ounce blender jar fits under a cabinet and a 64-ounce one does not; a 4-quart air fryer fits where a 6-quart will not. Match capacity to your household, using air fryer sizing and slow cooker sizing.
Do not forget the outlets
Counter planning is also electrical planning. A standard 15-amp circuit carries about 1,440 watts continuously, and a kettle plus a toaster exceeds that. If you are grouping high-draw appliances in one corner because that is where the outlets are, you have designed a breaker trip. Spread heat-producing appliances across different circuits where you can, and see our appliance wattage guide for which combinations cause trouble.
Since 2008 the National Electrical Code has required at least two 20-amp small-appliance branch circuits serving kitchen countertops in new construction, along with GFCI protection for countertop receptacles. Older kitchens frequently have one 15-amp circuit for the whole counter, and no amount of arranging fixes that — it is a job for a licensed electrician.
More from this hub: Small Kitchen Appliances · are stand mixers worth it · are expensive blenders worth it · best toaster oven · how we rank.