 Garden

Affiliate Disclosure
Some links on this page are affiliate links. As an Amazon Associate, we earn from qualifying purchases — at no extra cost to you. We do not buy, test, or physically handle the products we cover; our rankings come from aggregated owner reviews, ratings and expert consensus. Commissions never change our verdicts. How we rank · full disclosure.
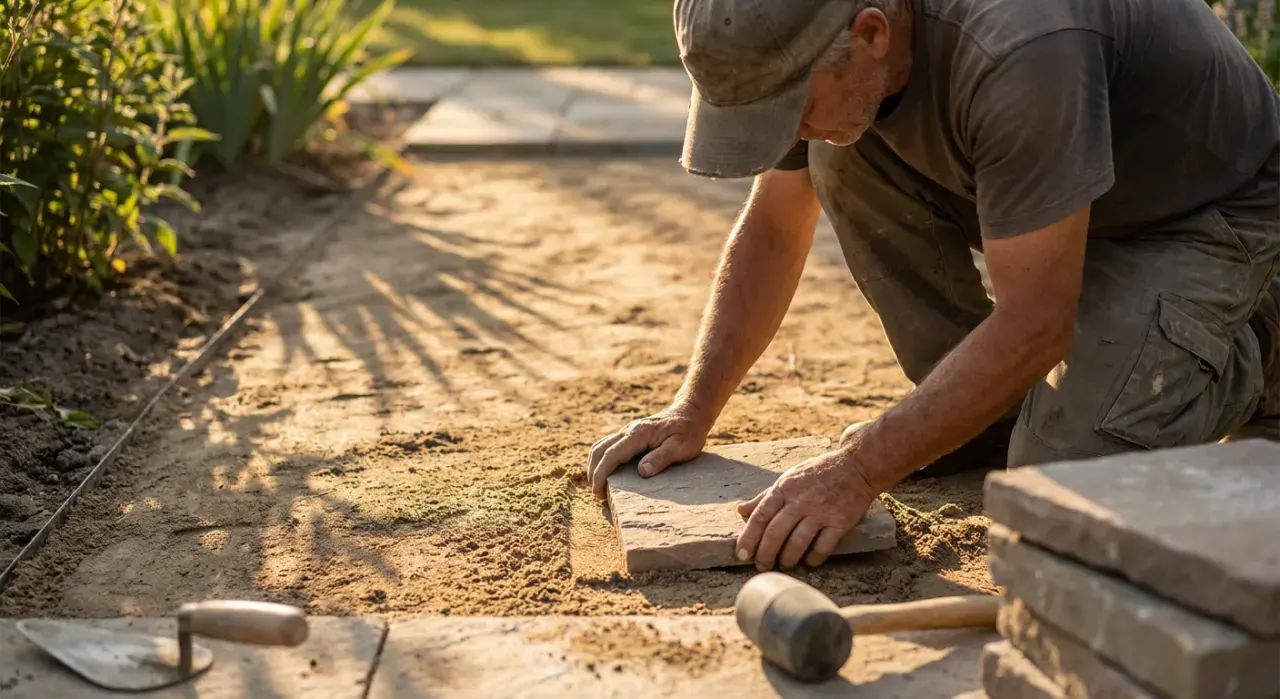
You can lay pavers directly on dirt, but you almost never should. Bare soil is uneven, holds water and moves with freeze-thaw and foot traffic, so pavers set straight on it rock, sink and grow weeds through the joints — typically within the first year. The durable method removes the dirt and rebuilds it: excavate, add 4 to 8 inches of compacted crushed stone, add about 1 inch of bedding sand, set the pavers, then lock the edges. You start from dirt, but you never finish on it.
Why does laying pavers on dirt fail?
Soil fails as a paver base for four separate reasons, and a given yard usually has more than one. Untouched dirt is never truly flat or uniformly firm, so pavers bear on high spots and bridge low ones. It holds water, and saturated soil loses bearing strength and heaves when it freezes. It has no drainage layer, so water sits under the pavers instead of moving away. And it is a seedbed, so weeds push up through every joint. The Interlocking Concrete Pavement Institute (ICPI), the industry body that writes installation standards, specifies a compacted aggregate base precisely because it fixes all four at once — it drains, it spreads load, it resists frost movement and it separates pavers from the soil below.
What does a proper paver base look like?
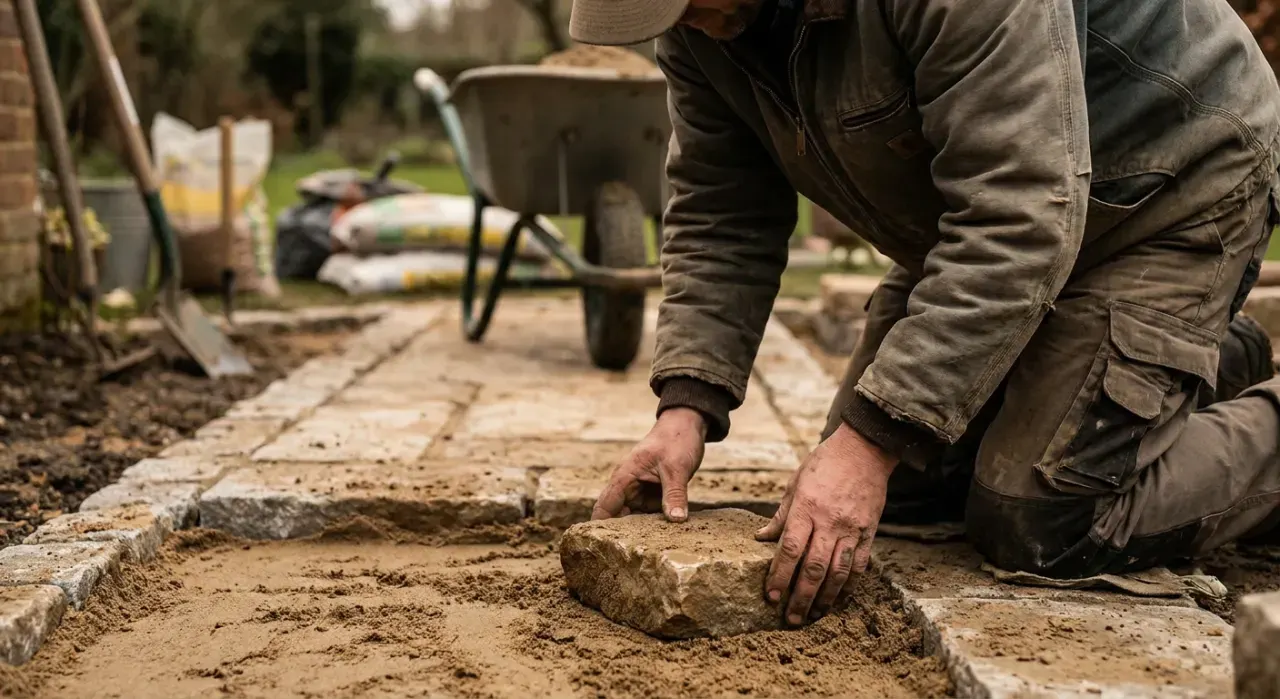
The build is a layered system, and each layer has one job. This is the standard residential cross-section for a walkway or patio over average soil.
| Layer | Typical depth | Job it does |
|---|---|---|
| Compacted subgrade (native soil) | — | Firm foundation; compact before adding anything |
| Landscape fabric (optional) | — | Separates soil from base, blocks weeds from below |
| Crushed stone base (¾-in minus) | 4–6 in walkway; 8–12 in driveway | Structural layer; drains and spreads load |
| Bedding sand (coarse concrete sand) | ~1 in | Levels pavers; never thicker than 1½ in |
| Pavers | — | Wearing surface |
| Polymeric jointing sand | Fills joints | Locks pavers, resists washout and weeds |
| Edge restraint | Perimeter | Stops the whole field from spreading outward |
Compact the base in 2-inch lifts with a plate compactor — a full 6-inch layer dumped and tamped once will settle unevenly later. Slope the finished surface away from the house at about ¼ inch per foot so water runs off rather than pooling.
When is bare dirt actually defensible?
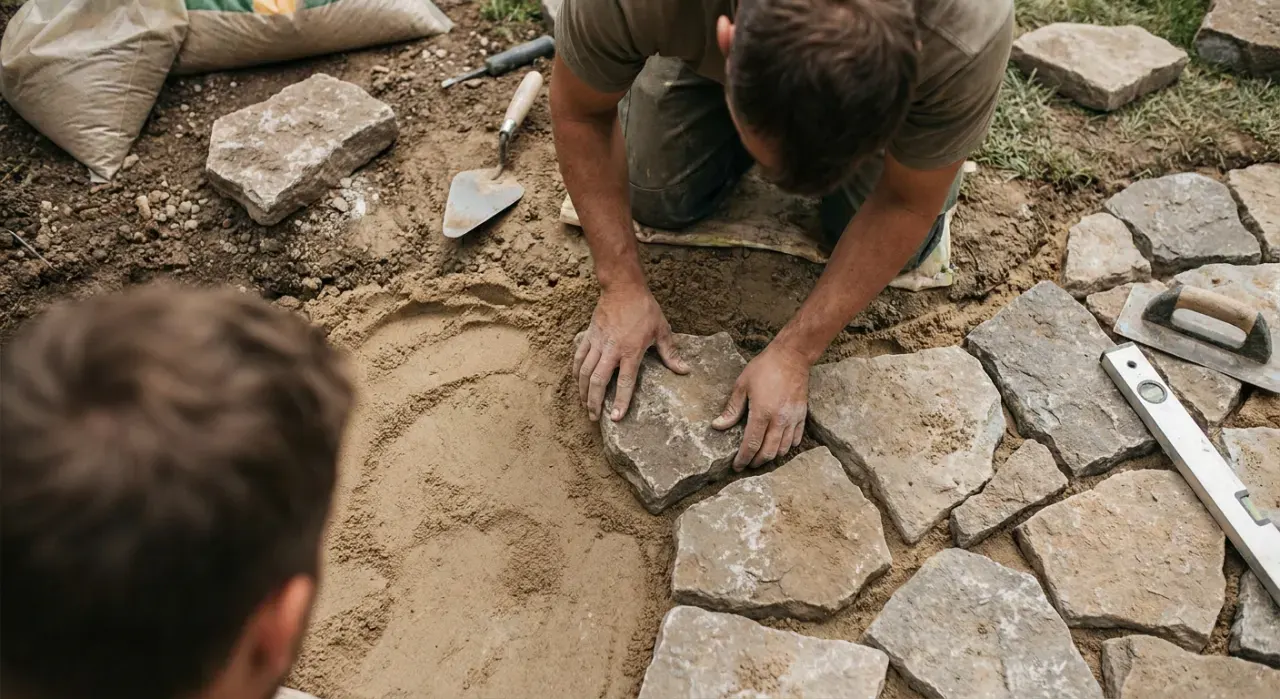
There are narrow cases where skipping the base is reasonable. A temporary path you expect to move, stepping stones set individually into a lawn where each stone floats on its own, and light-duty decorative pavers in a dry climate on sandy, fast-draining, non-expansive soil can all survive on dirt with only minor heaving. Sandy soils move far less than clay because they drain and do not swell. But if you have clay, if your ground freezes in winter, or if the surface will carry regular foot or vehicle traffic, the base is not optional — it is the difference between a patio that lasts fifteen years and one you rebuild in three.
What does skipping the base save, and cost you later?
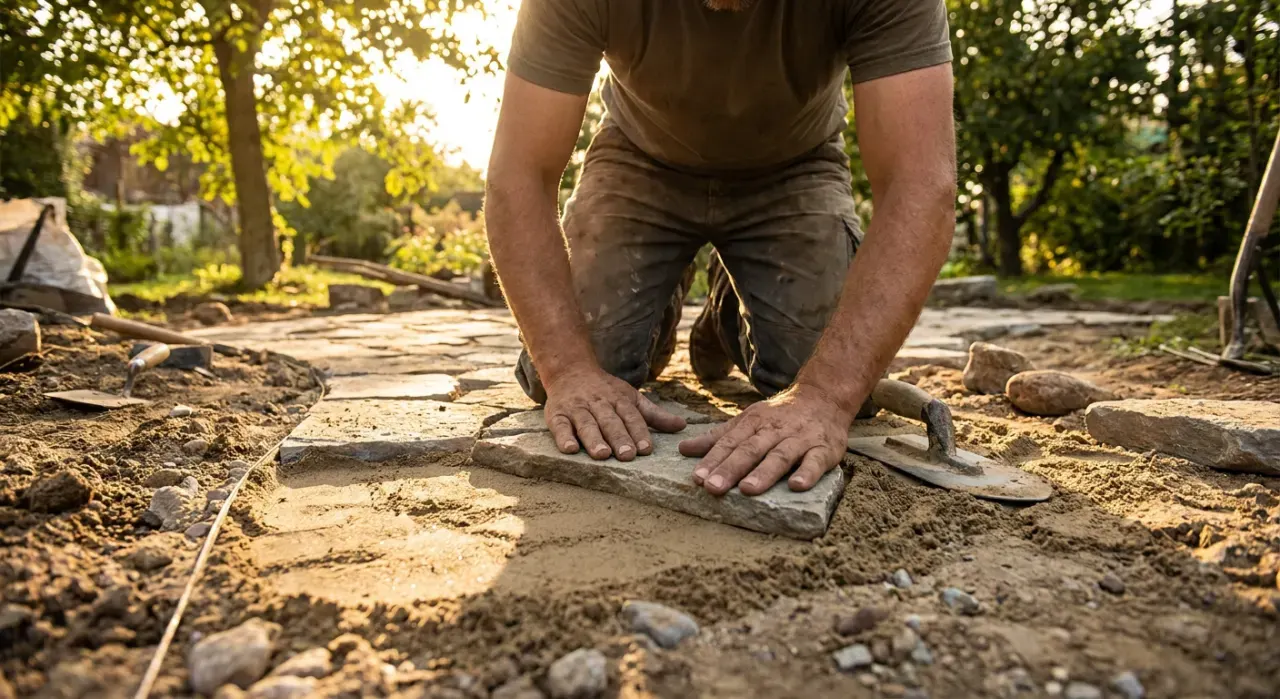
As of 2026, the base materials and equipment for a 100 square foot patio — crushed stone, bedding sand, plate-compactor rental — run roughly $150 to $400 in most US markets, plus the labor of excavating 6 to 8 inches of soil. Laying straight on dirt avoids that. But a bare-dirt install typically needs relifting or a full rebuild within two to four years, so the labor gets paid twice and the pavers themselves often crack or spall from uneven bearing. Prices vary with region, soil type and how far you haul spoil; a soil test or a local landscaper's read on your ground is worth getting before you commit either way.
The bottom line
Removing dirt and rebuilding it as a compacted base is the whole point of a paver installation — the finished surface is never resting on native soil. If you want the step-by-step, our how to lay a paver patio guide walks the full sequence, and gravel vs mulch paths covers the lower-effort alternatives. Edge restraint choices are in best landscape edging.
We never buy, test or physically handle the products we rank. Recommendations come from aggregated owner reviews, star ratings, review volume and expert consensus — see how we rank.
More from this hub: Landscaping & Hardscaping · How to lay a paver patio · Landscaping cost guide · Best landscape edging · How we rank