 Garden

Affiliate Disclosure
Some links on this page are affiliate links. As an Amazon Associate, we earn from qualifying purchases — at no extra cost to you. We do not buy, test, or physically handle the products we cover; our rankings come from aggregated owner reviews, ratings and expert consensus. Commissions never change our verdicts. How we rank · full disclosure.
The short answer: measure the lot, draw it to scale on graph paper, mark the fixed facts — sun, slope, drainage, utilities, existing trees, views you want and views you want gone — then sketch zones as bubbles before you draw a single edge. Only once the bubbles are in sensible places do you give them shapes, sizes and materials. That sequence is the difference between a yard that works and an expensive collection of features.
Almost every disappointing yard has the same origin story: someone went to the garden center first. Materials are the last decision, not the first. An afternoon with a tape measure and a pencil is the highest-value work in the entire project, and it costs nothing.
We are a research desk rather than a test lab and never buy or physically handle the products we recommend elsewhere on the site; our method is set out in how we rank. The full build sequence lives at the landscaping and hardscaping hub.
Step 1: Draw a Base Plan You Can Trust
Get graph paper and use a scale of one square to one foot for a small yard, or one square to two feet for anything over about 60 feet across. Measure the lot lines, then the house footprint, and locate the house on the lot by measuring from two corners to a fixed point — that triangulation keeps the drawing honest.
Onto that base plan, mark everything you cannot move:
- Doors and ground-floor windows, with the direction each one looks
- Faucets, outdoor outlets, AC condenser, meters, septic field, well head
- Utility locations — call 811 before planning anything that involves digging
- Existing trees, with the trunk and the canopy drip line, because the root zone extends at least that far
- Downspouts and where they discharge
- Slope direction and any spot that stays wet for more than a day after rain
- The property's high and low points
Then make several photocopies or trace over it. You will draw many versions and you do not want to redraw the base each time.
Step 2: Read the Site Before You Design It
Sun. Spend one clear day noting where sunlight falls at 9am, noon, 3pm and 6pm. This single exercise determines where a patio is pleasant, where vegetables will actually produce, and which corner will never grow lawn no matter what seed you buy. Remember that the pattern shifts substantially between June and September, and that deciduous trees change everything twice a year.
Water. Walk the yard during a heavy rain, or right after one. Where does water sheet across? Where does it pond? Does it run toward the foundation? Grade should fall away from the house at roughly 6 inches over the first 10 feet. Any layout drawn without knowing where water goes will be redrawn later at considerable expense. Remedies are in fixing yard drainage.
Soil and zone. Know your USDA hardiness zone, and dig a few test holes. Fill one with water and see how long it takes to drain — more than four hours to drain 12 inches means heavy clay and a planting palette to match.
Views and privacy. Stand at the kitchen sink, the main seating area and the back door. Note what you see. A well-placed shrub that blocks a neighbor's window is worth more than a whole bed of perennials somewhere nobody looks.
Desire lines. Look for worn strips in the lawn. That is where people walk, and no design will change it. Put the path there.
Step 3: Bubble the Zones
On tracing paper over the base plan, draw loose circles for functions. Not shapes, not materials, just where things belong:
| Zone | Typical size | Wants |
|---|---|---|
| Dining patio | 12 x 12 ft for six people | Close to the kitchen door, some afternoon shade |
| Lounge or fire pit | 12 to 14 ft circle | Further from the house, some enclosure |
| Lawn or play | Whatever is left, one clean shape | Full sun, flat, no awkward corners |
| Vegetable beds | 4 x 8 ft beds, 6+ hours of sun | Near a faucet, near the door |
| Utility | 6 x 10 ft | Screened; trash, compost, hose reel, AC |
| Circulation | 3 to 4 ft wide | Direct routes between the above |
Two placement rules do most of the work. Put the things you use daily closest to the door — herb bed, dining table, hose — because anything more than about 30 feet from the house gets used noticeably less. And put the ugly necessary things where they can be screened but still reached easily; a compost bin at the far fence line is a compost bin that stops being used by November.
Step 4: Connect the Zones with Honest Circulation
Paths are the skeleton of a layout and they are consistently drawn too narrow. Four feet for a main route lets two people walk side by side; 3 feet is the working minimum anywhere a mower or wheelbarrow travels; 18 to 24 inches is enough for an informal stepping path through a border.
Routes should be direct unless there is a reason not to be. A curve that bends around a tree, a change in grade or a planting mass looks intentional. A curve in open flat lawn looks like indecision, and people will cut the corner anyway. When you do curve a path, make the radius large enough for your mower to follow without reversing.
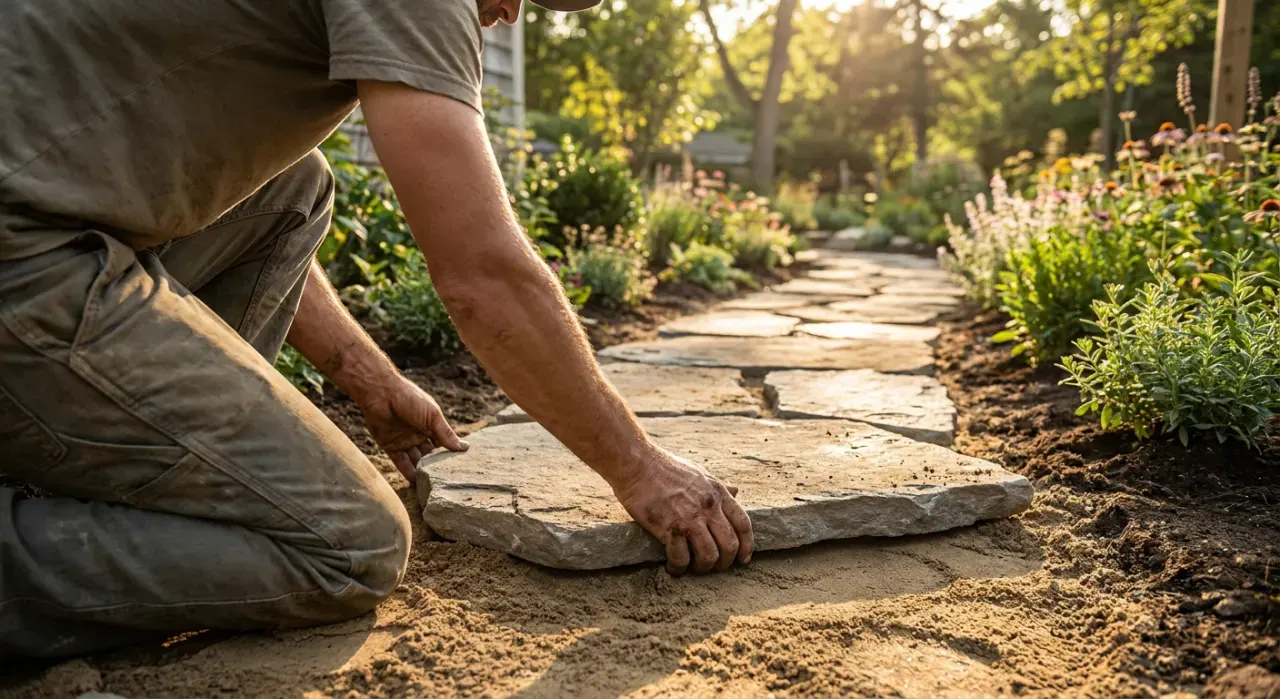
Think about what the path is made of at this stage only in terms of load: wheels and daily traffic want a hard or firmly compacted surface, occasional foot traffic through a bed can be loose material. The trade-offs are in gravel vs mulch for paths, and if it is going to be pavers, the base work is in how to lay a paver patio.
Step 5: Give the Shapes Some Discipline
Now the bubbles become real shapes. Three principles carry most residential yards.
Make beds deeper than feels right. A 24-inch strip along a wall reads as trim. A 5 to 6 foot bed reads as landscaping and gives shrubs room to reach mature size without annual butchery. If you take one dimension from this page, take that one.
One dominant shape, not five competing ones. Decide whether the yard is geometric — rectangles and straight lines echoing the house — or flowing, with sweeping curves. Mixing both without a strong reason produces visual noise. Small yards in particular benefit from a rectilinear layout set on a diagonal, because the diagonal is the longest dimension available.
Leave the lawn one clean shape. Lawns look best and mow fastest as a single simple form with no narrow necks, no tight inside corners and no isolated islands. Fit the lawn around the beds as a deliberate shape rather than treating it as the leftover space.

Step 6: Sight Lines, Screening and Making Space Feel Larger
A yard where you can see the entire boundary at a glance feels exactly as big as it is. A yard where part of the far edge is obscured feels bigger, because the eye assumes more space continues out of view. That is the whole trick, and it costs one well-placed shrub.
Work in three layers: canopy above eye level, mid-height mass from 3 to 6 feet, and ground layer below knee height. Layered planting along a boundary hides the fence line far more effectively than a single row of anything. And avoid the perimeter-ribbon layout — a narrow bed running all the way around the fence draws a hard outline around the limits of the space and makes it read smaller.
Give the eye somewhere to go. A focal point at the end of a sight line — a specimen tree, a bench, a large pot, a gate — creates depth and makes a route feel purposeful. And check the sight lines from inside the house, because that is where the yard is viewed from most hours of the year.
Step 7: Test It at Full Size Before Committing
Take the plan outside. Mark the patio footprint with marking paint or a garden hose, put the actual furniture in it, and sit there. Lay the path line out with a hose and walk it a dozen times over a couple of days. Stake the position of major shrubs and trees and look at them from the kitchen window.
This step catches the errors that drawings hide: the patio that turns out to be 2 feet too shallow for chairs, the path that goes the wrong way around the corner, the tree that would block the only good view. Moving a hose costs nothing. Moving 200 square feet of laid pavers costs a weekend and a delivery fee.
Step 8: Sequence and Budget
Build from the ground up and from permanent to temporary. Drainage and grading first, because nothing survives standing water. Then hardscape — patios, paths, walls, edging — while there is still room to run a wheelbarrow. Then soil improvement and the largest plants, which need the most root room. Mulch, perennials, annuals and lighting last.
Phasing is normal and sensible. A plan that takes three years to build is still one plan, and having it drawn means year two does not undo year one. Put realistic numbers against each phase before you start — the ranges are in what landscaping costs — and if the budget only stretches to one phase this season, spend it on edging and mulch, which is covered in front yard curb appeal.