 Garden

Affiliate Disclosure
Some links on this page are affiliate links. As an Amazon Associate, we earn from qualifying purchases — at no extra cost to you. We do not buy, test, or physically handle the products we cover; our rankings come from aggregated owner reviews, ratings and expert consensus. Commissions never change our verdicts. How we rank · full disclosure.
The fast version: run the grill hot for 10 to 15 minutes with the lid closed, scrape the grates with a bristle-free brush, then wipe them with a damp cloth. That handles routine cleaning in two minutes. A full deep clean — grates out, heat tents scrubbed, firebox scraped, grease tray emptied — takes about an hour and is worth doing two or three times a season. On a gas grill, shut off and disconnect the propane before you work inside the cookbox, and keep water away from the burners, valves and igniter.
There are two different cleaning jobs
Almost all confusion about grill cleaning comes from conflating them. Grate cleaning is about the surface food touches, it happens every cook, and heat does most of the work. Interior cleaning is about grease, it happens a few times a season, and it is the one that determines whether your grill has a fire or a decade of life.
Skipping the second is the common failure. Fat drips past the grates, coats the firebox walls and pools in the tray, and eventually ignites — which is what most people are describing when they say their grill "flared up out of nowhere". The National Fire Protection Association's grilling safety guidance puts regular removal of grease and fat build-up near the top of its list for exactly this reason.
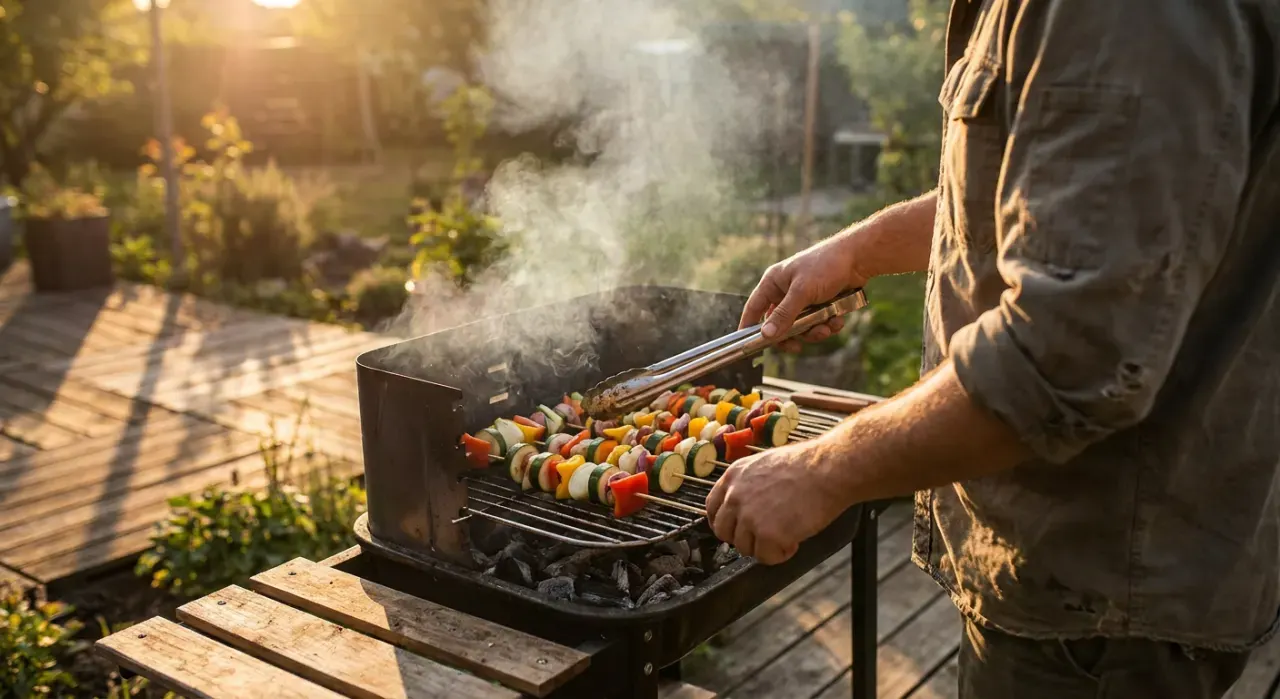
The two-minute routine after every cook
- Burn off. Lid closed, all burners on high, 10 to 15 minutes. On charcoal, do this while the coals are still hot rather than lighting more.
- Scrape hot. Work along the bars, not across them, with a bristle-free coil brush or scraper. Residue that has been carbonized comes off as black dust.
- Wipe. Damp cloth or folded paper towel in long tongs. This is the step almost everyone skips, and it is what removes loose debris and any stray brush wire before food goes on.
- Oil if the grates are cast iron or bare steel. A cloth with a few drops of high-smoke-point oil, wiped thin. Skip on porcelain and stainless.
The deep clean, step by step
Budget about an hour. You need a scraper, a bristle-free brush, dish soap, a plastic putty knife, gloves and a trash bag. A citrus degreaser makes the firebox stage considerably easier.
- Shut off the fuel. On gas, close the cylinder valve and disconnect the tank before you reach into the cookbox. On charcoal, confirm the grill is fully cold and the ash is dead.
- Burn off and scrape the grates, then let them cool and lift them out.
- Wash the grates. Hot soapy water and a stainless scrubber for porcelain and stainless. For cast iron, scrub dry with a coil brush or grill stone, use as little soap and water as possible, dry over heat, then re-oil.
- Remove and scrub the heat tents. Flavorizer bars, heat tents and vaporizer plates take the direct hit from dripping fat. Scrape them, wash them, and replace them if they have rusted through — they are cheap and they protect the burners.
- Clear the burner ports. Look along each gas burner tube for blocked holes and clear them with a straightened paperclip or a thin wire, working parallel to the tube. Blocked ports are the cause of most uneven flame and slow lighting. Brush loose scale off the tubes gently; do not bend them.
- Scrape the firebox. Push carbon and grease down the walls and across the floor into the grease channel with a plastic putty knife. Do not scrape aluminum or porcelain with steel.
- Empty and wash the grease tray and drip cup. The most important step for fire safety, and the one worth doing far more often than the rest of this list.
- Clean the exterior. Stainless cleaner wiped with the grain on stainless; warm soapy water on painted lids. Never use abrasive pads on stainless.
- Dry, reassemble, and leak-test. Everything dry before it goes back. When you reconnect the gas, brush soapy water on the hose and regulator connections with the valve open and look for bubbles — never test with a flame.
What changes by fuel type
| Grill type | Every cook | Deep clean focus | The thing people forget |
|---|---|---|---|
| Gas | Burn off, scrape, wipe | Burner ports, heat tents, grease tray | Grease tray — the fire risk |
| Charcoal | Scrape while coals are hot | Ash out of the bowl, vents cleared | Ash absorbs moisture and rusts the bowl from inside |
| Pellet | Scrape grates, check drip pan | Vacuum the firepot, clean the heat baffle | Ash in the firepot causes failed starts and flameouts |
| Griddle | Scrape hot, wipe, thin oil layer | Strip and re-season if it rusts or goes sticky | Water left on the plate rusts it overnight |
| Portable | Same as its fuel type | Everything — they are small enough to fully strip | Storing it damp in a trunk |
Charcoal grills deserve a specific warning: ash is hygroscopic. Left in the bowl over winter it pulls moisture out of the air and holds it against the steel, which is why so many kettle grills rust from the inside out. Empty the ash catcher at the end of the season, not at the start of the next one. Our charcoal grill cleaning guide goes further on vents and bowl care, and the gas grill guide covers burner service in more detail.
What not to do
Do not use oven cleaner on cast iron. It strips the seasoning back to bare metal, which then rusts. Porcelain and stainless grates tolerate it if rinsed thoroughly; cast iron does not.
Do not hose out the inside of a gas grill. Water in burner tubes, valves and the igniter causes rust and misfires. Scrape dry, wipe damp, and run the burners for a few minutes afterward to drive off residual moisture.
Do not use a pressure washer on the cookbox. It forces water into places that will not drain, and it strips porcelain.
Do not line the grease tray or firebox floor with foil. It traps grease against the metal and can block the drainage path to the cup, which is the opposite of what you want. Disposable drip cups made for the grill are fine.
Do not clean cold, dry grates with a wire brush and nothing else. Cold residue does not release, so you push harder, which is exactly when bristles come loose.
Tools worth owning
The list is short: a bristle-free brush with a scraper edge, a plastic putty knife, a stainless scrubber, dish soap, a citrus degreaser, gloves, and a fitted cover so the whole job gets easier next time. That is under $50 all in, and a cover alone measurably extends the life of a grill.

Best for cleaning hot grates without loose wire bristles
- Woven stainless coils instead of individual bristles
- 18 in handle keeps hands away from the heat
- Integrated scraper edge for carbon build-up
- Dishwasher safe head
Why buy it: coil-style heads cannot shed single wires into food, which is the one genuine hazard in grill cleaning.

Best for a cheap replacement you will not hesitate to throw away
- Bristle-free coil head
- 18 in handle
- Scraper for grate edges and flavorizer bars
- Hanging loop
Why buy it: the most-owned grill brush in the country, and cheap enough that you will actually replace it when the coils deform.
The brush is the one place not to buy the cheapest option with individual wire bristles. Bristle-free coil heads cannot shed a single wire into food, which removes the only genuinely hazardous part of grill cleaning.

Safety
Loose bristles. Wire bristles break off, stick to grates and transfer to food. Swallowed bristles have caused documented injuries requiring surgical removal, which is why bristle-free tools have largely taken over. Whichever brush you use, wipe the hot grates with a damp cloth or a folded piece of foil afterward — that single habit catches almost everything.
Grease is the fire. The most common serious grill incident is a grease fire in an under-maintained firebox. Empty the tray, scrape the walls, and never leave a lit grill unattended. Keep the grill well clear of the house, siding, deck railings and anything overhanging, as the NFPA grilling guidance sets out.
Never move, light or store a lit or hot grill in a garage, a carport, a shed or any enclosed space. Charcoal and propane both produce carbon monoxide, which is odorless and colorless, and the CPSC records roughly 20 deaths and about 400 emergency-room-treated injuries in the United States each year from carbon monoxide produced by charcoal, noting that ventilation does not make it safe (CPSC, Carbon Monoxide Information Center). A grill that seems cold can still be smoldering; it belongs outside.
Propane. Close the tank valve before disconnecting anything, check reconnected fittings with soapy water rather than a flame, and never store a spare cylinder indoors or in an attached garage.
Ash disposal. Charcoal ash stays hot for many hours. Douse it and stir until nothing steams, or store it in a metal can with a lid away from the house, before it goes in the trash.
How often, in practice
| Task | Weekly griller | Occasional griller |
|---|---|---|
| Burn off and scrape grates | Every cook | Every cook |
| Empty grease tray or ash | Monthly | Every 3–4 cooks |
| Full deep clean | 2–3 times a season | Once, before storage |
| Clear burner ports | Twice a season | Annually |
| Check heat tents and grates for rust-through | Annually | Annually |
Where to go next
A clean grill that then sits uncovered through a wet winter is back where it started, so pair this with winterizing your grill and patio. If the flames were uneven before you started, why a gas grill will not get hot covers the causes cleaning does not fix. And if you are cleaning a grill you are about to replace, our gas grill rankings and charcoal grill rankings are the place to start.
More from this hub: outdoor living & grills · how to season a grill · how long gas grills last · how we rank.