 Garden

Affiliate Disclosure
Some links on this page are affiliate links. As an Amazon Associate, we earn from qualifying purchases — at no extra cost to you. We do not buy, test, or physically handle the products we cover; our rankings come from aggregated owner reviews, ratings and expert consensus. Commissions never change our verdicts. How we rank · full disclosure.
Paint a ceiling without drips by not overloading the roller, not pressing hard, and using a thick-nap roller with a real flat ceiling paint. Drips come from too much paint on the roller or too much pressure squeezing it out. Load the roller, roll off the excess on the tray until it stops dripping, and apply with light pressure in a steady grid pattern, reloading before it runs dry. A dedicated ceiling paint is thicker and clings better than wall paint, and an extension pole keeps your stroke smooth. Cover everything below, and paint the ceiling before the walls.
Why do ceilings drip, and how do I stop it at the roller?
Gravity is working against you overhead, so the margin for a too-wet roller is small. Two things cause nearly every drip: an overloaded roller, and too much pressure. The fix is in how you load and unload the roller each time.
- Dip and roll off. Load the roller in the tray, then roll it firmly up and down the tray's ramp until it stops dripping and the nap is evenly saturated — not soaked.
- Use light-to-medium pressure. Pressing hard squeezes paint out of the nap and onto your head. Let the loaded nap do the work.
- Reload before it runs dry. Do not press to wring out the last of the paint — that streaks and, on the next dip, tempts you to overload. Reload on a rhythm.
- Keep a steady pace. Fast, jerky strokes sling droplets off the roller ends. Slow and even keeps the paint on the ceiling.
A splatter-shield ring that clips onto the roller frame catches stray droplets and is worth the couple of dollars for an overhead job.

Does the paint and roller choice matter?
A lot. The right materials make a drip-free ceiling far easier than technique alone.
| Choice | Recommendation | Why |
|---|---|---|
| Paint | Flat ceiling paint | Thicker, clings better, less spatter; flat hides marks |
| Roller nap (smooth ceiling) | 1/2 inch | Holds enough paint without overloading |
| Roller nap (textured / popcorn) | 3/4 inch | Reaches into texture without pressing |
| Reach | Extension pole | Smooth strokes from the floor; no ladder-stretching |
| Coverage cue | Color-changing ceiling paint | Goes on tinted, dries white — shows missed spots |
Ceiling paint is formulated to be thick and low-spatter precisely because painting overhead is drip-prone, and its flat sheen hides the roller marks and surface flaws that raking light across a ceiling would otherwise reveal. Thin wall paint used overhead drips and spatters far more. The roundup of rollers is in best paint rollers.
What is the rolling technique?
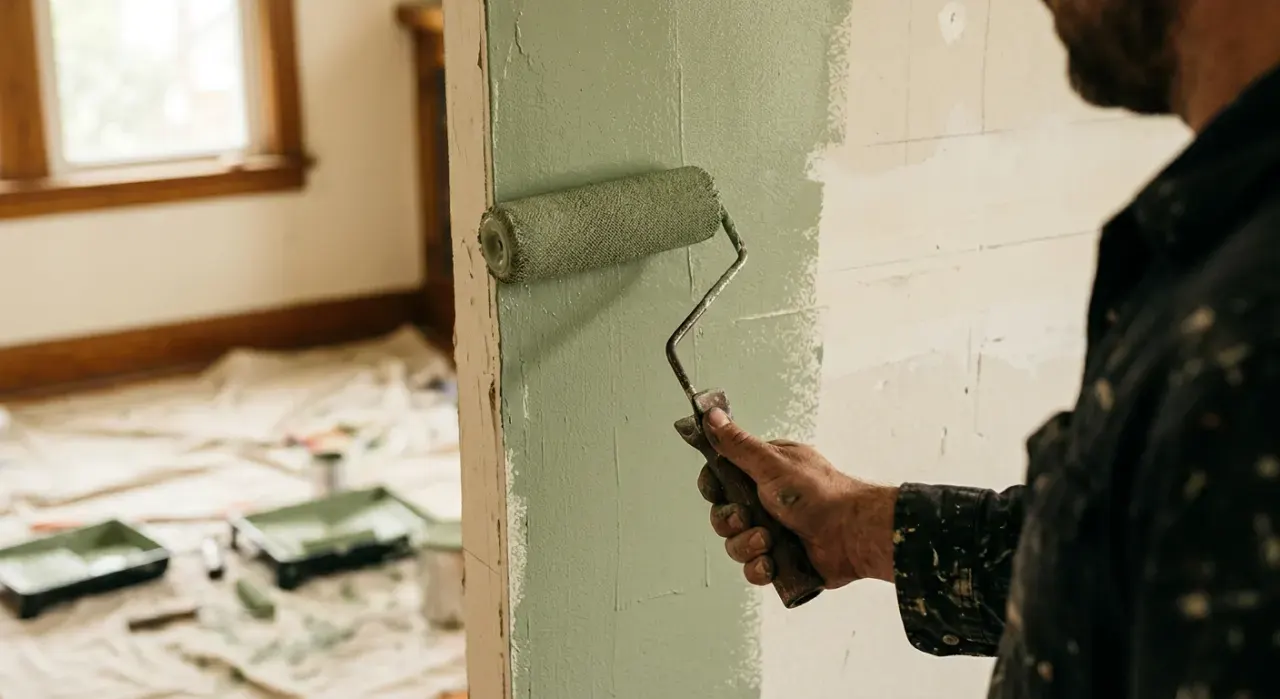
Work in a grid, section by section, keeping a wet edge. Cut in the perimeter with a brush first — the two-inch band where the roller cannot reach the wall line. Then roll the field in small sections, roughly 3 by 3 feet, applying the paint in one direction and immediately back-rolling across it to spread evenly before it starts to set. Move to the adjacent section while the last is still wet so the seams blend rather than showing as a lap line. Do not go back over an area that has begun to dry, which drags and marks it. A steady, unhurried rhythm — load, roll off, apply, back-roll, reload — is what keeps both the coverage even and the drips off the floor.

How do I protect the room?
Assume some spatter no matter how careful you are, and cover accordingly. Move furniture out or to the center and drape it, and put drop cloths — canvas grips better than plastic — across the entire floor, not just under where you are working, because fine spatter travels. Wear a hat and safety glasses; ceiling paint in the eyes is genuinely unpleasant. Paint the ceiling before the walls and trim so any specks that reach the walls get covered when you paint them, and cut the clean wall-to-ceiling line afterward against the dried ceiling. Give the ceiling its full recoat time if it needs a second pass — see waiting between coats — and match your paint quantity to the area using coverage per gallon.
We never buy, test or physically handle the products we rank. Recommendations come from aggregated owner reviews, star ratings, review volume and expert consensus — see how we rank.
More from this hub: Paint & Walls · Best paint rollers · Coverage per gallon · Waiting between coats · How we rank