 Garden
Affiliate Disclosure
Some links on this page are affiliate links. As an Amazon Associate, we earn from qualifying purchases — at no extra cost to you. We do not buy, test, or physically handle the products we cover; our rankings come from aggregated owner reviews, ratings and expert consensus. Commissions never change our verdicts. How we rank · full disclosure.
Painting kitchen cabinets is a rewarding DIY project that saves thousands over replacement, but it is prep-heavy and demands patience — budget several days to a week. No permit or pro required; the work is all in the surface prep and letting coats cure. Materials run $100 to $250 for primer, cabinet enamel, brushes or a sprayer, and sandpaper. The finish succeeds or fails on three steps people rush: degreasing, scuff-sanding, and a real bonding primer. Do those and use a hard cabinet enamel, and the cabinets look factory-finished and hold up to daily kitchen abuse.
Step-by-step: painting kitchen cabinets
- Remove and label everything. Take off doors, drawer fronts, and hardware. Number each door and its location with tape so it returns to the same spot. Paint doors flat on sawhorses.
- Degrease thoroughly. Wash every surface with a strong degreaser to cut years of cooking grease. This is the make-or-break cleaning step — paint will not bond over grease.
- Scuff-sand. Dull all surfaces with 150 to 220 grit so the primer grips. Fill dings, sand flush, and wipe off every speck of dust with a tack cloth.
- Prime with a bonder. Apply a quality bonding or stain-blocking primer, brushing or spraying thin. Let it dry and lightly sand. Primer is what makes the whole finish stick.
- First enamel coat. Brush with a fine sash brush and small foam or microfiber roller, or spray. Lay it thin and tip off smooth. Let it dry the full recoat time.
- Second coat. Lightly sand, wipe, and apply the second coat the same way. A third is fine on doors that need it.
- Cure, then reassemble. Let everything cure hard — days, not hours — before rehanging doors and drawers, or the paint sticks and peels. Reinstall hardware last.
Tools and materials
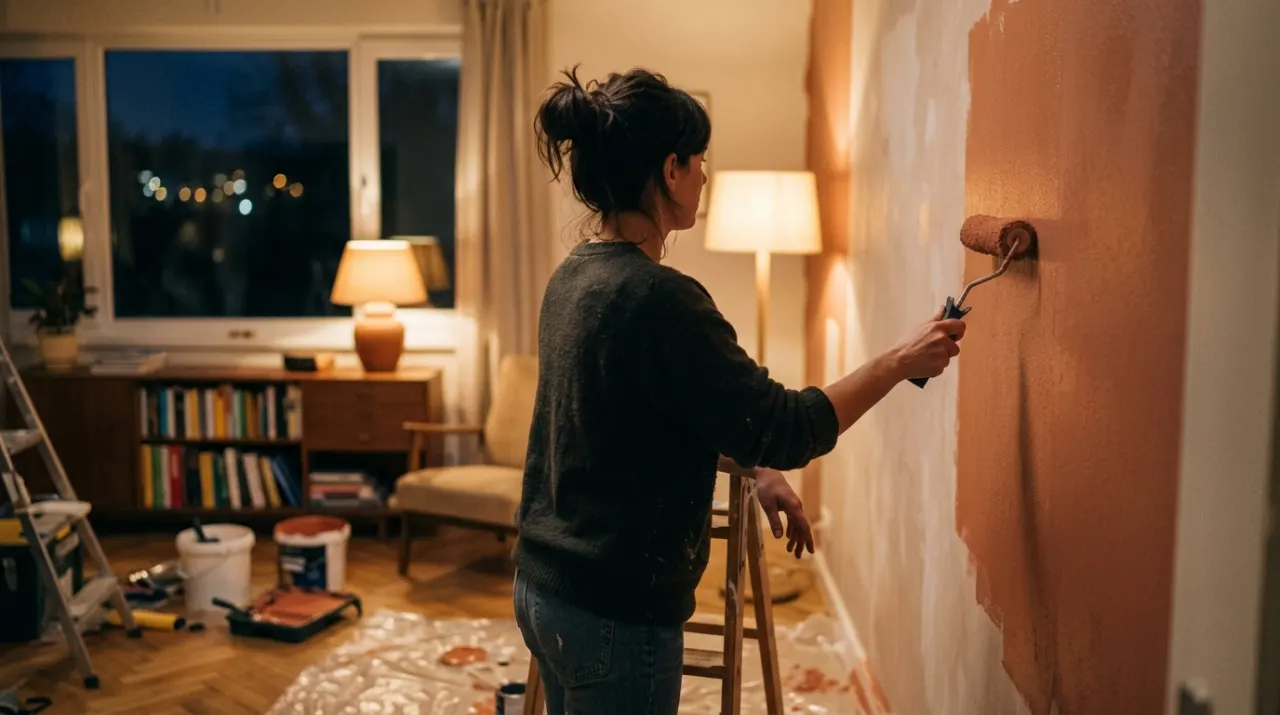
You need a degreaser, sandpaper (150 to 220 grit), a bonding primer, a fine brush and small foam roller or a sprayer, and a hard cabinet enamel. The enamel is the heart of the job — see our interior paint picks for the cabinet and trim enamels that cure hardest and level smoothest. For the glass-smooth, brush-mark-free look most people want on cabinets, a paint sprayer is the tool that gets you there. If you brush the boxes, a small roller covers flat panels evenly, and clean-release painter's tape protects the walls and counters.
Mistakes that ruin cabinet paint
- Skipping the degrease. Grease stops paint bonding. Wash hard first.
- No scuff sand or bonding primer. Paint peels off slick doors. Both steps are mandatory.
- Wall paint on cabinets. It stays soft and chips. Use a hard cabinet enamel.
- Rehanging before cure. Doors stick and peel. Wait days, not hours.
- Thick coats. Drips and long cure times. Thin coats, tipped off smooth.
We never buy, test or physically handle the products we rank. Recommendations come from aggregated owner reviews, star ratings, review volume and expert consensus — see how we rank.
More from this hub: Paint & Walls · Painting trim · Painting a front door · Sanding before painting · Best paint sprayer · How we rank