 Garden
Affiliate Disclosure
Some links on this page are affiliate links. As an Amazon Associate, we earn from qualifying purchases — at no extra cost to you. We do not buy, test, or physically handle the products we cover; our rankings come from aggregated owner reviews, ratings and expert consensus. Commissions never change our verdicts. How we rank · full disclosure.
Sanding a wall before painting is easy, low-skill DIY, and it is the quiet step that makes the difference between a smooth finish and a rough one. Prepping a room takes under an hour of sanding plus cleanup. Materials are just sandpaper and a pole sander, under $30. No permit or pro. The job is straightforward: smooth patches flush, scuff-sand glossy walls so paint grips, and knock down any roughness — then clean off every speck of dust. The one real caution is age: homes built before 1978 may have lead paint, which must never be dry-sanded.
Step-by-step: sanding a wall before painting
- Repair first. Fill holes and dents with spackle or compound and let them dry fully. You sand the repairs flush, so they must be dry and hard first.
- Choose your grit. 120 then 150 for smoothing patches and mud; 150 to 220 to scuff a glossy wall; a fine 220 screen for light nib knock-down.
- Contain the dust. Seal the room with plastic, ventilate with a fan blowing out a window, and wear a dust mask. A vacuum-attached sander captures dust at the source.
- Sand the patches flush. Work each repair until you cannot feel the edge, checking with your hand and a raking light. Feather the compound into the surrounding wall.
- Scuff-sand glossy areas. Dull any semi-gloss or glossy surfaces so the new paint bonds. You are removing the shine, not the paint.
- Knock down roughness. Pole-sand the whole wall lightly if it has drips, nibs, or texture you want smoothed, top to bottom.
- Clean thoroughly. Vacuum the walls and floor, then wipe the walls with a tack cloth or barely damp rag. Paint over dust and it will not bond or lie smooth.
Tools and materials
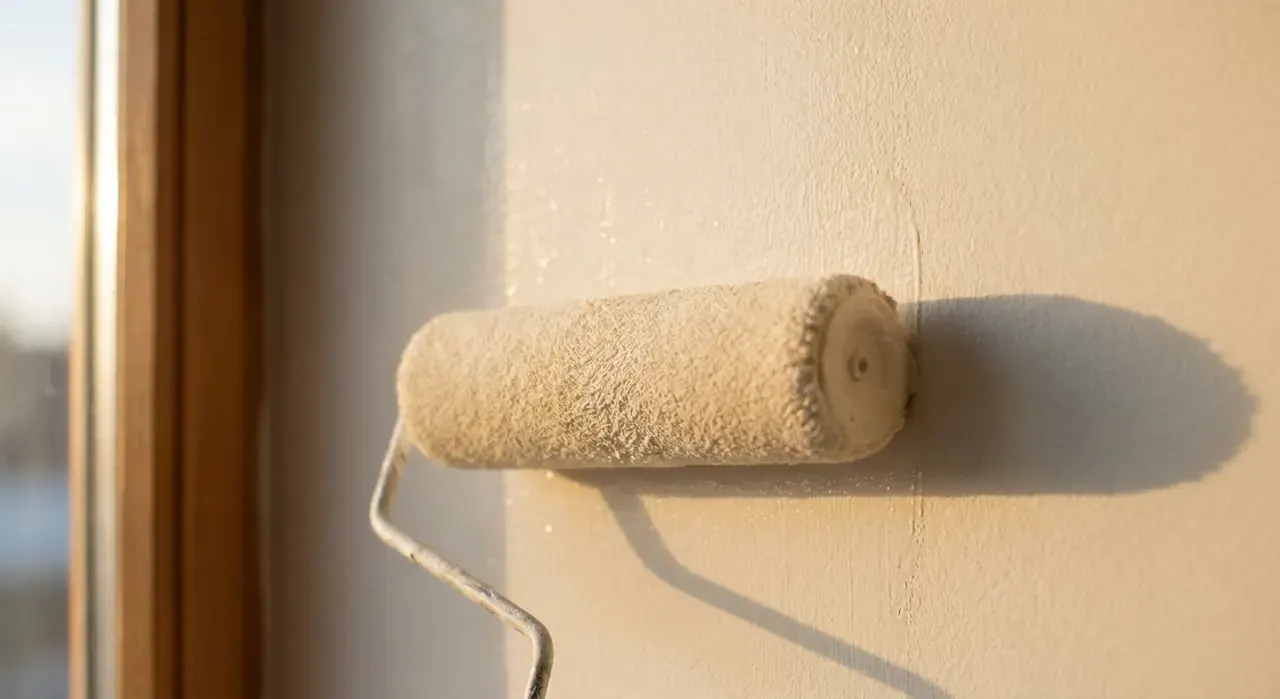
You need sandpaper or sanding screens in the right grits, a sanding block and a pole sander, a dust mask, plastic sheeting, and a vacuum. Sanding is prep for paint, so it flows straight into the rest of the job — see how it fits in painting a room and priming a wall. A smooth, well-sanded wall lets a quality paint lie flat, and our interior paint picks note which lines level best over prepped drywall. A good roller then carries that smoothness into the finish.
Mistakes that undo the prep
- Coarse grit on drywall. Scratches the face paper and shows through paint. Stay 120 and finer.
- Sanding damp compound. It gums and gouges. Let repairs dry hard first.
- Not scuffing glossy walls. New paint peels off the shine. Dull it first.
- Skipping the cleanup. Paint over dust and it will not bond. Vacuum and wipe.
- Dry-sanding pre-1978 paint. Releases lead dust. Test first and use lead-safe methods.
We never buy, test or physically handle the products we rank. Recommendations come from aggregated owner reviews, star ratings, review volume and expert consensus — see how we rank.
More from this hub: Paint & Walls · Priming a wall · Patching a hole · Skim coating a wall · Best interior paint · How we rank