 Garden
Affiliate Disclosure
Some links on this page are affiliate links. As an Amazon Associate, we earn from qualifying purchases — at no extra cost to you. We do not buy, test, or physically handle the products we cover; our rankings come from aggregated owner reviews, ratings and expert consensus. Commissions never change our verdicts. How we rank · full disclosure.
Skim coating a wall is very achievable for a patient DIYer, especially with the beginner-friendly roll-and-scrape method that skips pro-level trowel skills. A single wall is an afternoon plus overnight dry times; a whole room spread across coats is a long weekend. Materials are inexpensive — a couple of buckets of joint compound, a wide knife, and a thick roller run under $80. No permit or trade license needed. The work is not hard, but it is dry-time-bound: each thin coat has to fully dry before the next, so plan the job around the schedule rather than fighting it.
Step-by-step: the roll-and-scrape skim coat
- Prep the wall. Scrape off loose paint and high texture points, fill deep holes, and wipe away dust. Prime any glossy, stained, or dusty surface so the mud bonds.
- Thin the mud. Mix all-purpose joint compound with a little water to a thick-paint consistency that rolls on smoothly but does not run.
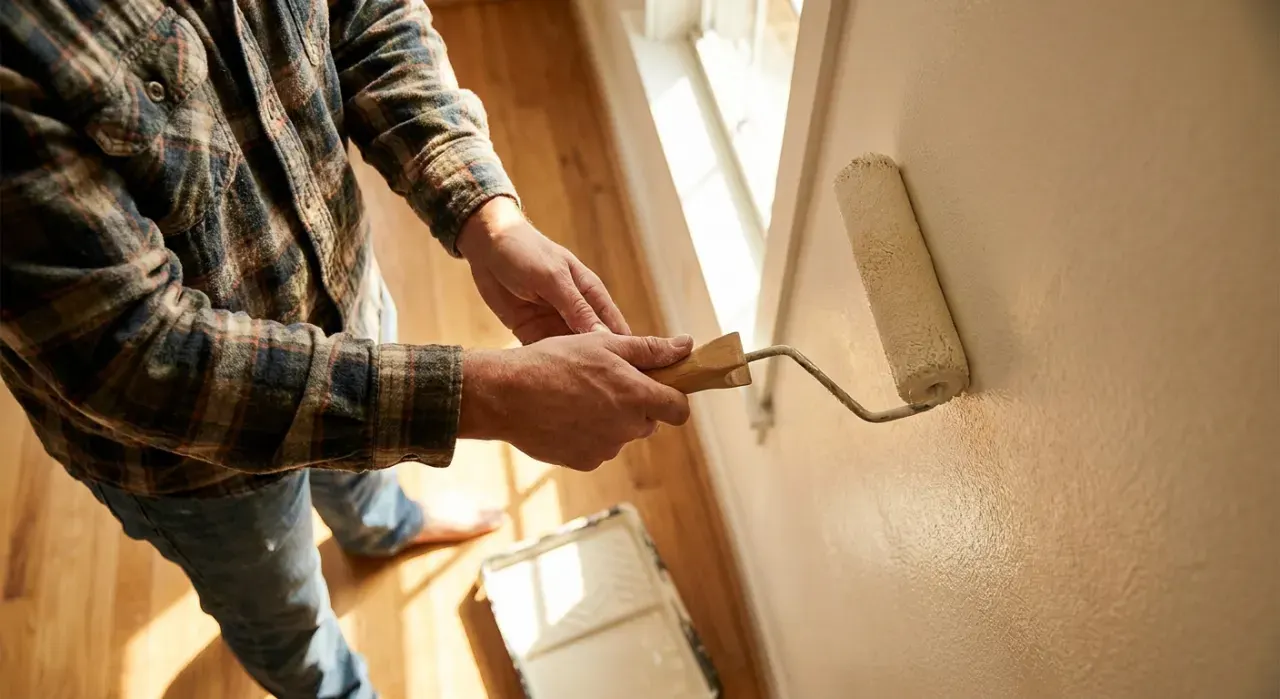
- Roll on a section. Using a 1/2- or 3/4-inch nap roller, roll the thinned mud onto a 3- to 4-foot-wide section of wall as if you were painting it.
- Scrape it flat. Immediately drag a 12-inch or wider drywall knife down the rolled section at a low angle, scraping the excess back into your pan and leaving a thin, flat film. Wipe the blade between passes.
- Work across the wall. Roll and scrape the next section, overlapping slightly, keeping a wet edge so seams blend.
- Dry, then recoat. Let the coat dry fully (about 24 hours for premixed). Knock off any ridges and apply a second thin coat the same way. Add a third if needed.
- Sand smooth. When fully dry, sand with 120- then 150-grit, checking with a raking light for waves and high spots.
- Prime and paint. Prime the bare, porous skim coat, then paint. Fresh compound always needs sealing before color.
Tools and materials
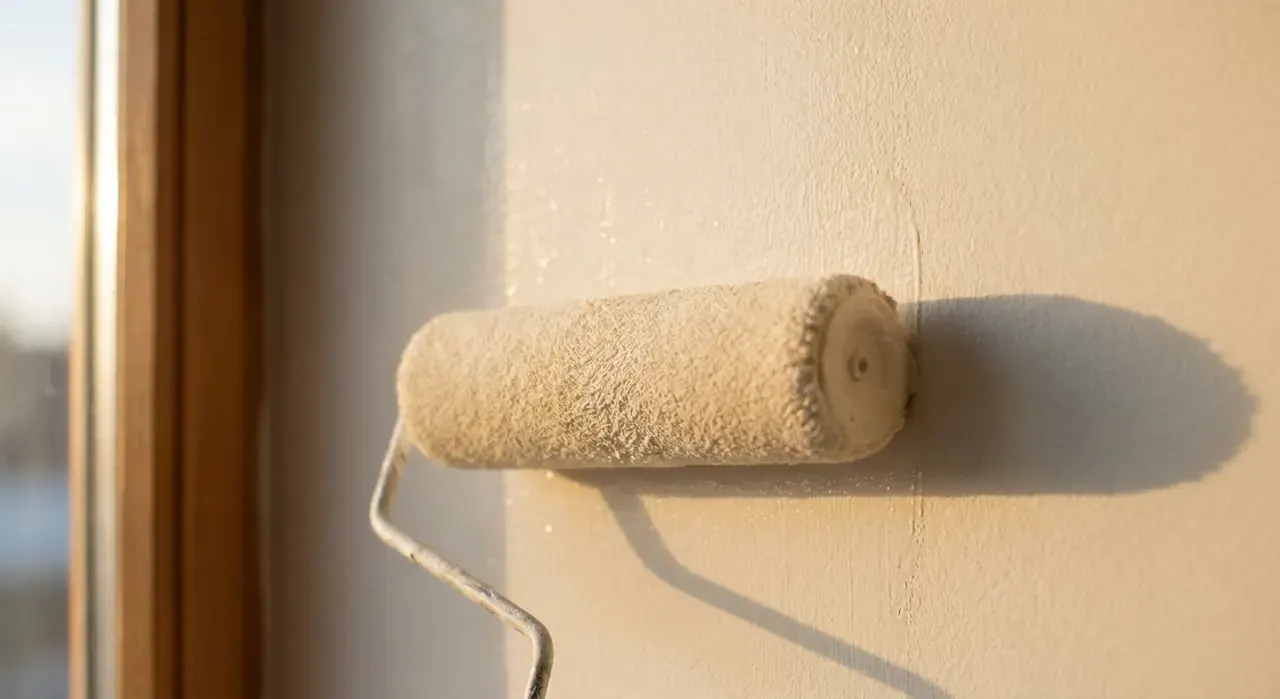
You need joint compound, a mud pan, a thick-nap roller, a wide (12-inch-plus) drywall or skim knife, and sandpaper in 120 and 150 grit. A pole sander helps on a full room. Once the wall is smooth and primed, it is a blank canvas — and a freshly skimmed wall shows every lighting flaw, so a good finish paint matters: our interior paint picks cover which lines level flattest. A quality roller keeps the final texture even, and if you are doing a large area, a paint sprayer lays a glass-smooth finish coat on a smooth wall.
Mistakes that leave a wavy wall
- Coats too thick. They crack, sag, and dry unevenly. Thin coats, more of them.
- Sanding wet mud. It gums and gouges. Wait for uniform white and full dryness.
- Skipping the bond primer. Mud slides off glossy or dusty walls. Prime first when in doubt.
- No raking light. Flaws hide under flat light. Shine a light across the wall to find waves.
- Painting bare compound. It flashes through. Prime the skim coat before color.
We never buy, test or physically handle the products we rank. Recommendations come from aggregated owner reviews, star ratings, review volume and expert consensus — see how we rank.
More from this hub: Paint & Walls · Taping and mudding seams · Texturing a wall · Repairing cracked plaster · Best interior paint · How we rank