 Garden
Affiliate Disclosure
Some links on this page are affiliate links. As an Amazon Associate, we earn from qualifying purchases — at no extra cost to you. We do not buy, test, or physically handle the products we cover; our rankings come from aggregated owner reviews, ratings and expert consensus. Commissions never change our verdicts. How we rank · full disclosure.
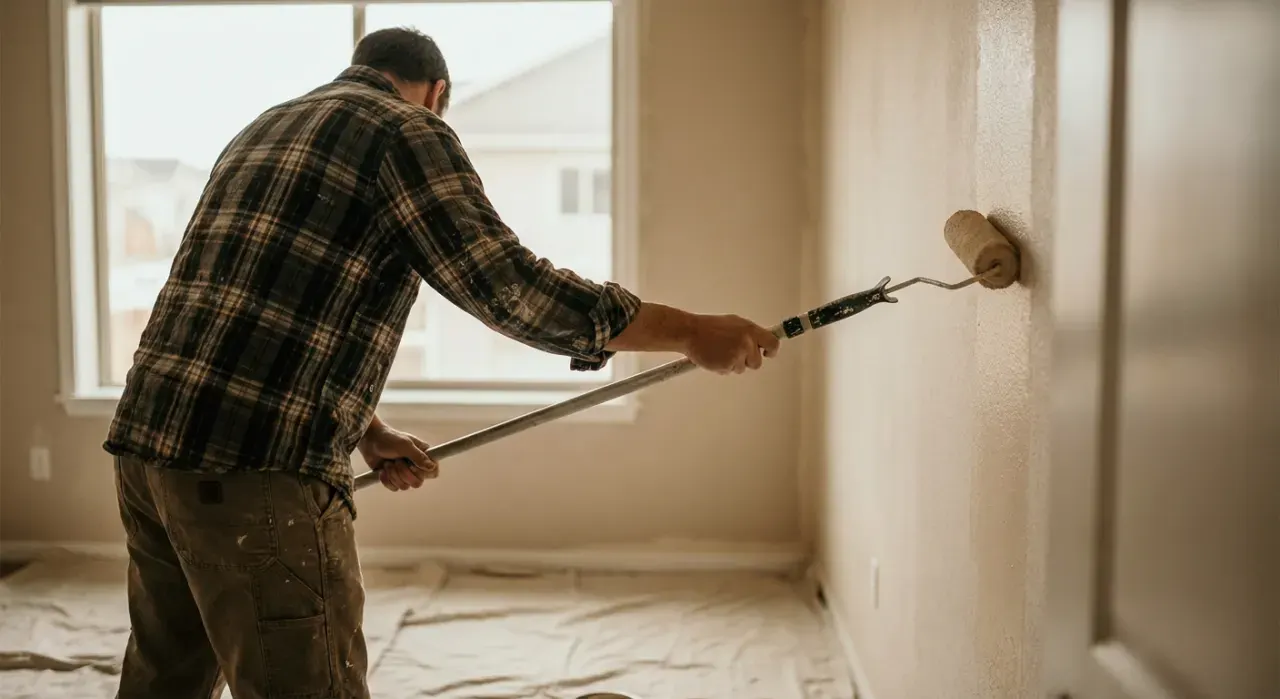
Texturing a wall is an approachable DIY job, though it rewards practice on scrap before you commit to the real wall. A single accent wall is an afternoon plus dry time; a whole room is a weekend. Materials are cheap — joint compound and a hopper gun or a thick roller run well under $100, and you can rent a sprayer. No permit or pro needed. The skill is entirely in the mud consistency and the timing, both of which you dial in on a test panel of cardboard. Get those right and the wall looks professionally finished; skip the test and you get blobs and uneven pattern.
Step-by-step: an orange-peel or knockdown texture
- Prep and mask. Repair and prime the wall smooth first. Mask trim, ceilings, and floors heavily — texture spray travels and sticks everywhere.
- Mix the mud. Thin all-purpose joint compound with water to a thick-milkshake consistency that ribbons smoothly off a knife. Mix a full batch so you do not run out mid-wall.
- Test on cardboard. Spray or roll a test panel and adjust the mix, the hopper gun's air and tip, and your distance until the pattern looks right. This step is non-negotiable.
- Apply the texture. Hold the hopper gun 18 to 24 inches from the wall and spray in even, overlapping passes for orange peel. For roll-on, load a thick-nap roller and roll a consistent pattern.
- Knock it down (knockdown only). Wait 5 to 15 minutes until the peaks lose their wet shine, then drag a wide knockdown knife lightly across to flatten the tips. Wipe the blade often. Timing is everything — too soon smears, too late does nothing.
- Let it dry fully. Give it 24 hours or more, longer for heavy texture or humid rooms, until uniformly white and hard.
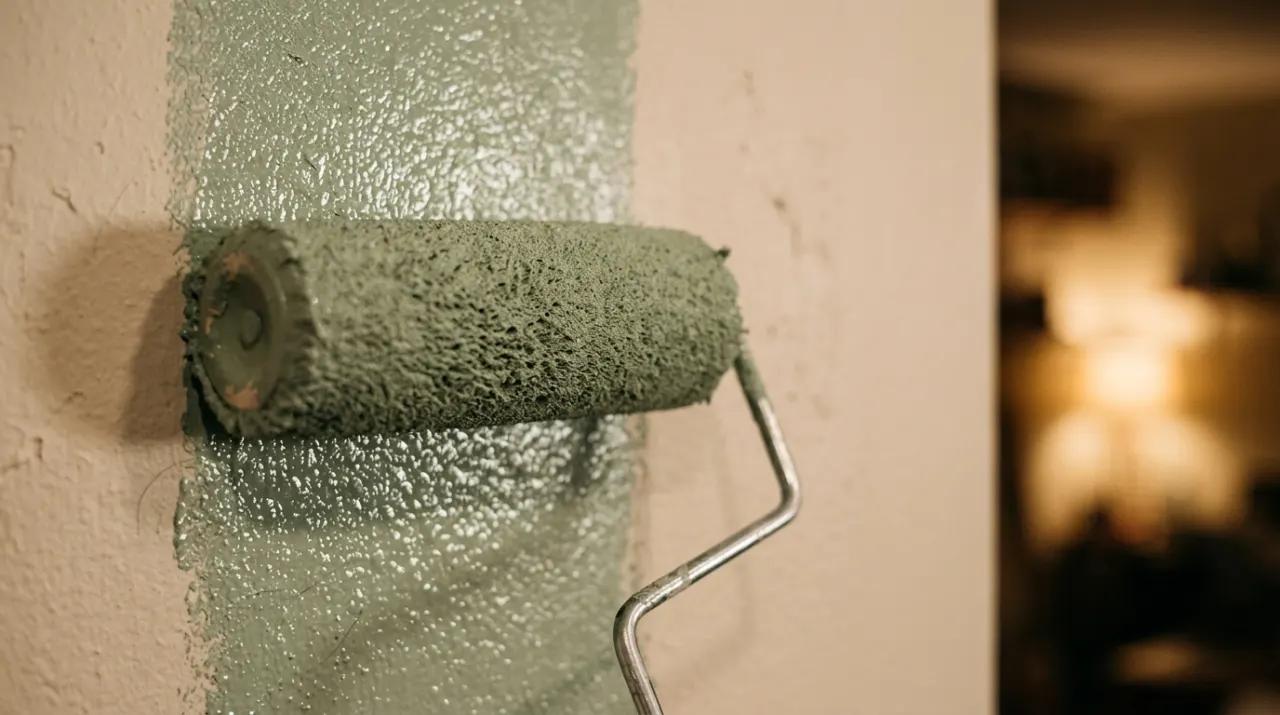
- Prime and paint. Prime the porous texture, then paint with a thick-nap roller or a sprayer that reaches into the valleys.
Tools and materials
You need joint compound, a hopper/texture gun with a compressor (rentable) or a thick-nap texture roller, a knockdown knife if you want that finish, and masking supplies. A paint sprayer is the fastest way to both apply certain textures and to paint the finished wall evenly, since texture eats coverage. When it comes time to paint, a heavy-nap roller reaches into the texture, and the right interior paint covers a porous textured surface in fewer coats. Heavy masking with quality painter's tape keeps overspray off your trim and ceilings.
Mistakes that look amateur
- Skipping the test panel. Wrong consistency spits blobs. Always test on cardboard first.
- Mistiming the knockdown. Too soon smears, too late does nothing. Wait for the wet shine to dull.
- Hard-edging a repair. A patch that stops sharply shows. Feather new texture into the old.
- Painting fresh texture without primer. Blotchy coverage. Seal the porous mud first.
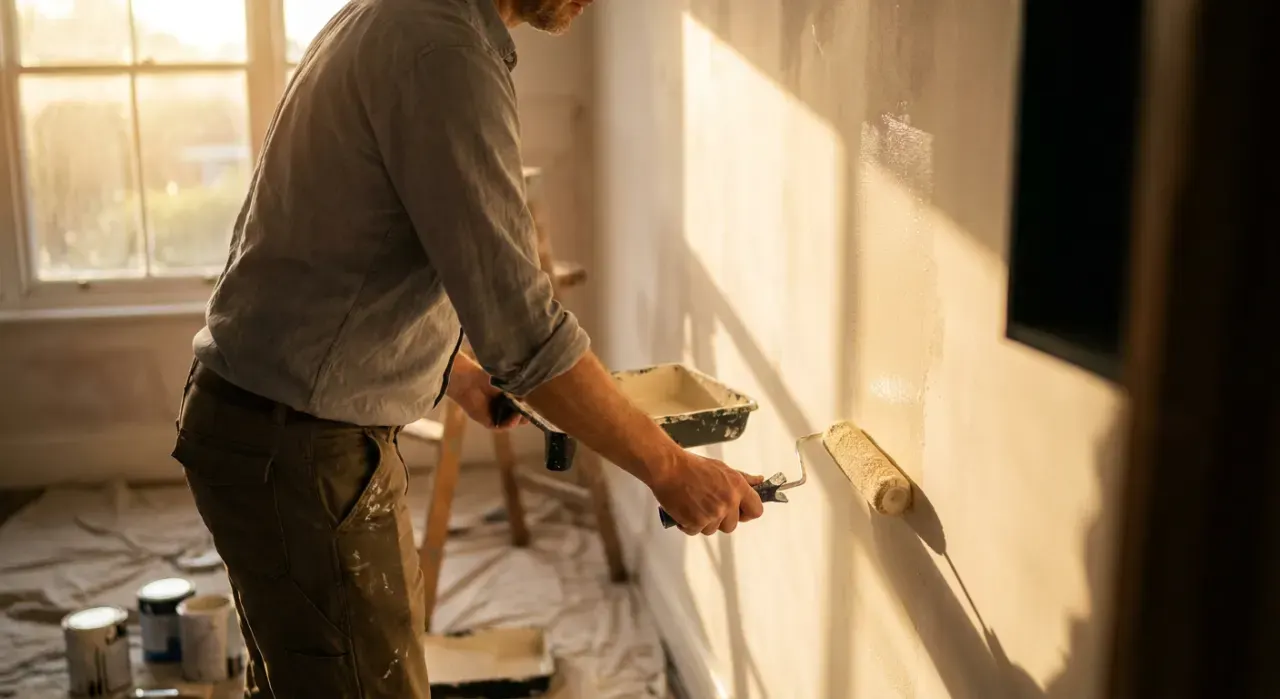
- Light masking. Overspray goes everywhere. Cover trim, ceilings and floors thoroughly.
We never buy, test or physically handle the products we rank. Recommendations come from aggregated owner reviews, star ratings, review volume and expert consensus — see how we rank.
More from this hub: Paint & Walls · Skim coating a wall · Taping and mudding seams · Removing a popcorn ceiling · Best paint sprayer · How we rank