 Garden
Affiliate Disclosure
Some links on this page are affiliate links. As an Amazon Associate, we earn from qualifying purchases — at no extra cost to you. We do not buy, test, or physically handle the products we cover; our rankings come from aggregated owner reviews, ratings and expert consensus. Commissions never change our verdicts. How we rank · full disclosure.
Repairing cracked plaster is a rewarding DIY job for older homes, but it has one gate: telling a cosmetic crack from a structural one. Thin, stable cracks are DIY — reattach loose plaster, tape, fill, skim, and paint over a couple of days plus dry time, for under $50 in materials. But wide, growing, or diagonal cracks from door and window corners, especially with sticking doors or sloping floors, can signal foundation or framing movement and deserve a professional look before you patch. For ordinary cracks, the durable-repair secret is to stabilize the loose plaster and tape the crack before filling, so it does not simply reopen.
Step-by-step: repairing a cracked plaster wall
- Assess the crack. Rule out structural warning signs — wide, diagonal, growing cracks with sticking doors or sloping floors need a pro first. Proceed with thin, stable cosmetic cracks.
- Reattach loose plaster. Press the plaster near the crack; if it flexes, secure it back to the lath with plaster washers and screws (or adhesive) so it cannot move.
- Prepare the crack. Scrape out loose debris and lightly widen and undercut a fine crack so filler can key in. Vacuum the dust.
- Tape the crack. Embed mesh or paper tape over the crack in a bedding coat of joint or setting-type compound, pressing out the excess. The tape bridges the joint so it resists reopening.
- Fill and build. Fill the crack and any depressions with compound (setting-type for strength on bigger repairs), building up in thin layers and letting each dry.
- Skim and feather. Skim a finish coat over the taped repair, feathering wide into the wall. For a badly crazed wall, skim the whole surface smooth.
- Sand, prime, paint. Sand flush under a raking light, prime the bare compound, and paint the wall corner to corner.
Tools and materials
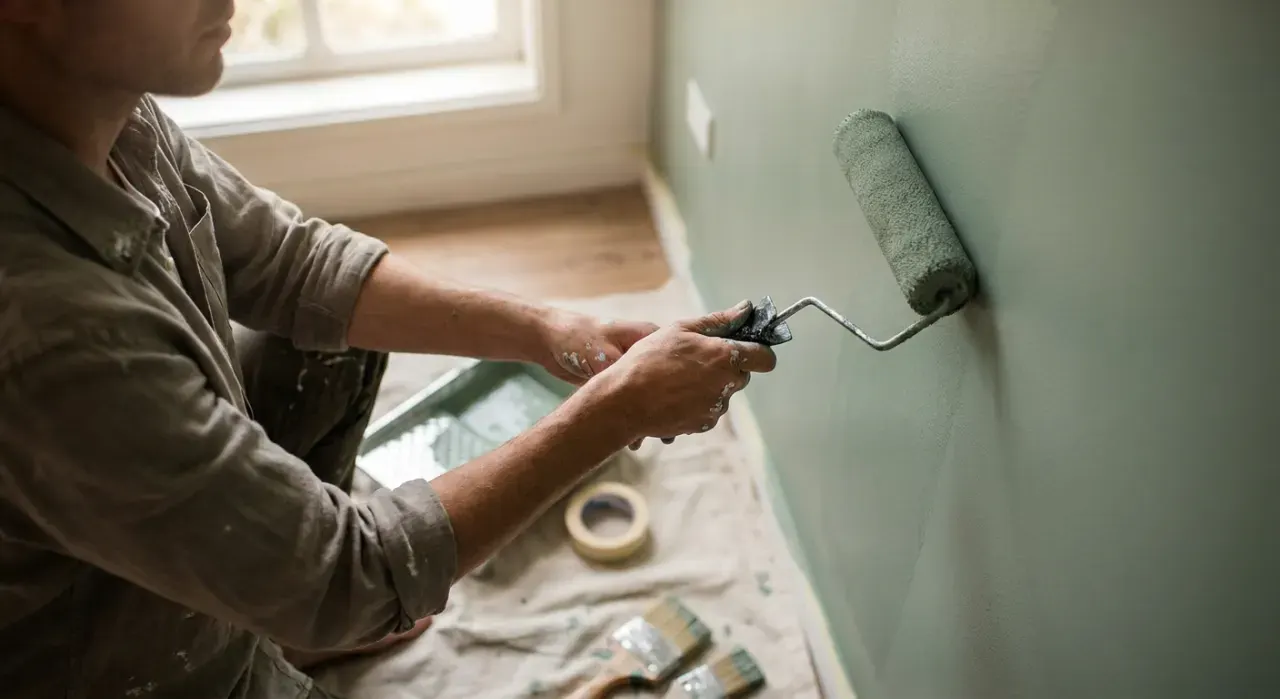
You need plaster washers and screws, a drill, mesh or paper tape, joint or setting-type compound, taping knives, sandpaper, primer, and paint. The finishing steps overlap with our skim coating and taping and mudding guides. Old plaster walls often show every flaw, so a good finish paint that levels smoothly helps — see our interior paint picks. A quality roller keeps the repaired wall's texture even, and clean painter's tape protects trim while you prime and paint.
Mistakes that reopen the crack
- Filling without stabilizing. Loose plaster keeps moving and cracks again. Reattach it first.
- Skipping the tape. An untaped crack reopens along the same line. Bridge it with tape.
- Ignoring structural signs. Diagonal, growing cracks may be foundation movement. Get them assessed.
- Premixed mud on big repairs. It shrinks and cracks. Use setting-type compound or patching plaster.
- Not undercutting fine cracks. Filler pops out. Widen and undercut so it keys in.
When to call a pro
Get a professional assessment for cracks wider than about a quarter inch, cracks radiating diagonally from door and window corners, stair-step cracks, or any crack that keeps growing or pairs with sticking doors and sloping floors — these can indicate foundation or framing movement that patching will not solve. Pre-1978 homes may have lead paint over the plaster; do not dry-sand it, and follow lead-safe practices.
We never buy, test or physically handle the products we rank. Recommendations come from aggregated owner reviews, star ratings, review volume and expert consensus — see how we rank.
More from this hub: Paint & Walls · Skim coating a wall · Patching a hole · Repairing peeling paint · Best interior paint · How we rank