 Garden
Affiliate Disclosure
Some links on this page are affiliate links. As an Amazon Associate, we earn from qualifying purchases — at no extra cost to you. We do not buy, test, or physically handle the products we cover; our rankings come from aggregated owner reviews, ratings and expert consensus. Commissions never change our verdicts. How we rank · full disclosure.
Patching a hole in drywall is a beginner-friendly job that most people can do with a putty knife and about an hour of work, plus drying time. A nail hole takes five minutes and a dab of spackle. A doorknob-sized hole needs a self-adhesive patch and two or three thin coats of joint compound over a day. Materials run roughly $10 to $25. No permit or pro is required for cosmetic wall repair, and there is nothing electrical or structural behind ordinary drywall unless you are cutting a large opening, so this is squarely a DIY project.
Step-by-step: patching a small-to-medium hole
This sequence covers holes from a nail hole up to about 6 inches. Match the method to the size before you start.
- Clean and assess the hole. Knock away loose crumbs and paper, and cut back any torn face paper with a utility knife so the surface is flat. A ragged edge telegraphs through the finished patch.
- Tiny holes (under 1/2 inch): press lightweight spackle in with a 1.5-inch putty knife, leaving it slightly proud of the surface to allow for shrinkage. Skip to sanding once dry.
- Medium holes (1/2 to 6 inches): center a self-adhesive fiberglass mesh or thin aluminum patch over the opening so it overlaps solid wall by at least an inch on every side, and press it flat.
- First coat of mud. Spread joint compound over the patch with a 4- to 6-inch knife, pushing it through the mesh and feathering the edges out about 2 inches past the patch. Keep it thin — thickness causes cracking, not strength.
- Let it dry fully. All-purpose mud needs about 24 hours; a setting-type "20-minute" mud is recoatable in under an hour. It must be uniformly white and dry through before you continue.
- Second and third coats. Apply each coat with a wider knife (6 inch, then 8 to 10 inch), feathering 2 to 3 inches wider than the last. You are burying the patch under a gentle mound that fades into the wall.
- Sand smooth. Once fully dry, sand with 120-grit, then finish with 150-grit, checking with a hand or raking light for high spots and ridges. The goal is a surface you cannot feel the edge of.
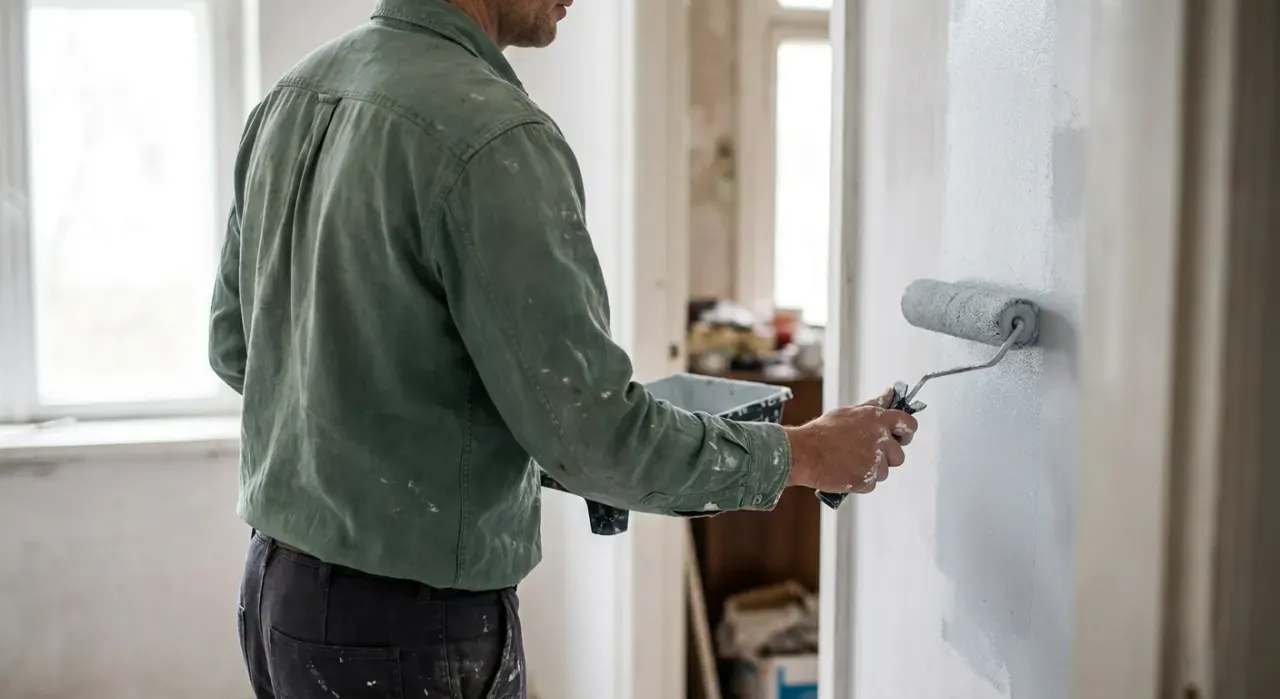
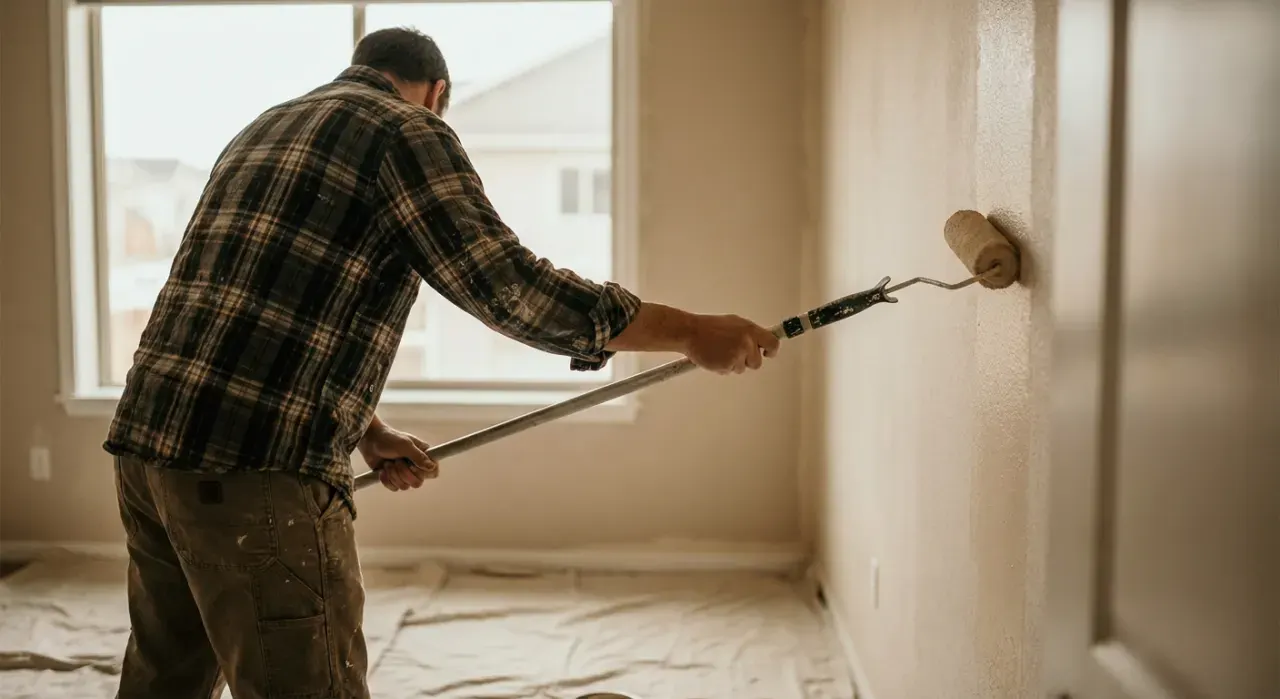
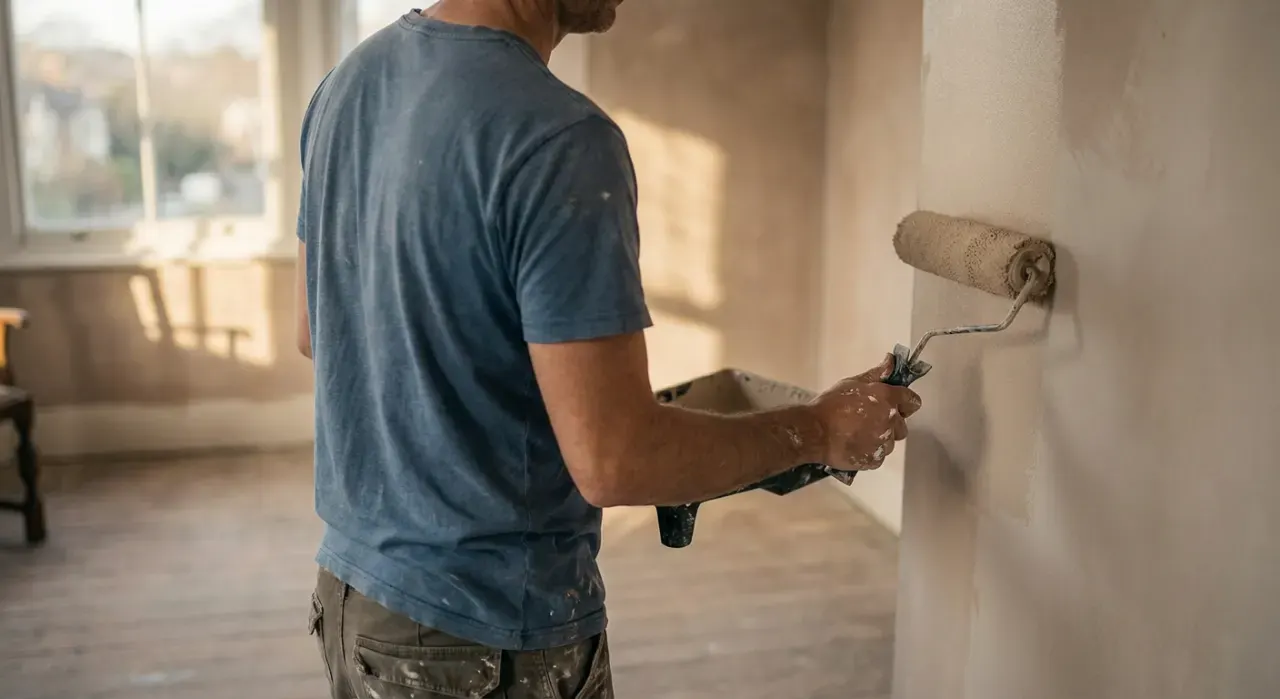
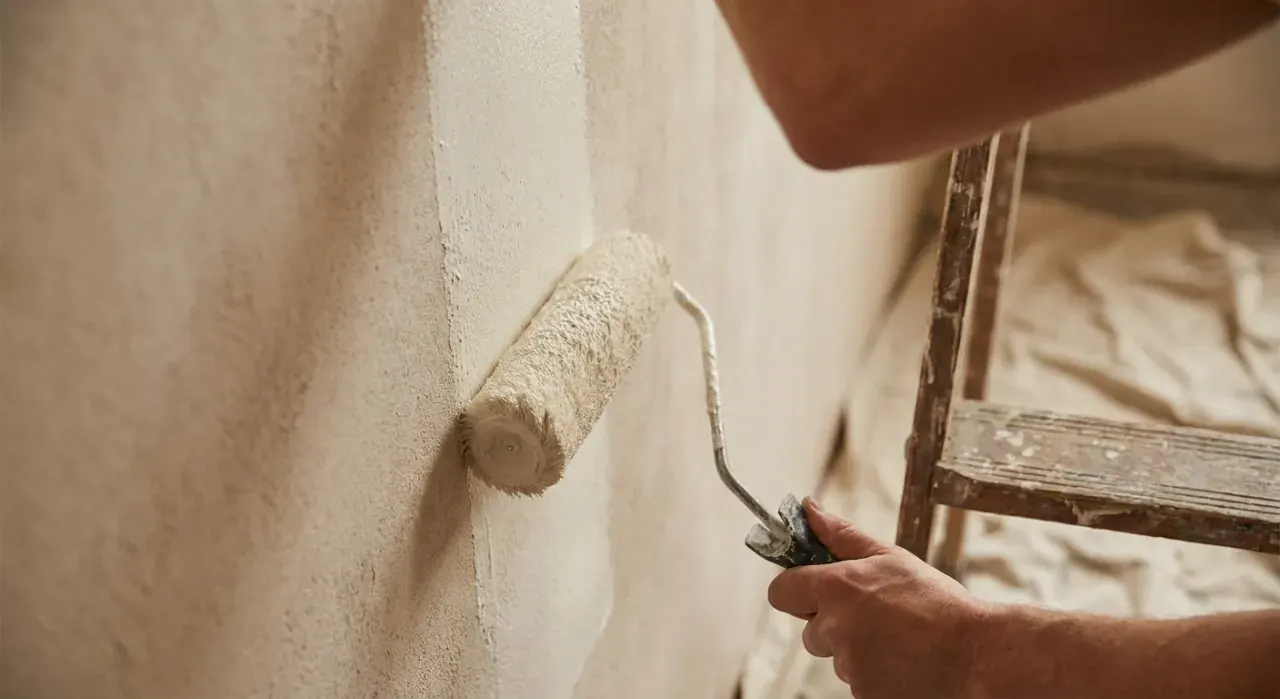
- Prime and paint. Spot-prime the patch, let it dry, then paint the whole wall corner to corner so the repair disappears.
Tools and materials
You need a putty knife (a 1.5-inch and a 6-inch), a self-adhesive patch, joint compound or lightweight spackle, sandpaper in 120 and 150 grit, and primer. For the finish coat, the quality of your paint matters more than most people expect — a decent wall paint hides a patch far better than a thin bargain one. Our interior paint picks break down which lines cover in fewer coats. If you tape off adjacent trim or an outlet before priming, good painter's tape keeps the line clean, and a smooth-surface roller gives the repaired wall an even final texture.
Mistakes that make a patch show
- Skipping primer. The patch flashes through as a different sheen. Always spot-prime.
- Piling mud on thick. One fat coat cracks and shrinks. Three thin coats always beat one thick one.
- Feathering too narrow. A sharp-edged patch shows as a bump. Widen each coat so the transition is invisible to a hand.
- Sanding wet mud. It gums, gouges and tears. Wait for uniform white and full dryness.
- Painting only the patch. A dabbed spot never matches. Paint wall-to-wall or corner-to-corner.
When to call a pro
Cosmetic patching is safe DIY. Stop and reconsider only if the hole exposes wiring, plumbing, or ductwork, if the surrounding wall is water-damaged and soft (fix the leak first), or if you find the wall is plaster over lath rather than drywall, which patches differently — see repairing cracked plaster. Homes built before 1978 may have lead paint on the walls; do not sand it dry, and follow lead-safe practices or hire a certified pro.
We never buy, test or physically handle the products we rank. Recommendations come from aggregated owner reviews, star ratings, review volume and expert consensus — see how we rank.
More from this hub: Paint & Walls · Repairing a large hole · Fixing nail pops · Sanding before painting · Best interior paint · How we rank