 Garden
Affiliate Disclosure
Some links on this page are affiliate links. As an Amazon Associate, we earn from qualifying purchases — at no extra cost to you. We do not buy, test, or physically handle the products we cover; our rankings come from aggregated owner reviews, ratings and expert consensus. Commissions never change our verdicts. How we rank · full disclosure.
Fixing a nail pop is one of the quickest, most beginner-friendly drywall repairs there is — a few minutes of work per pop plus dry time, no permit, no pro. Nail pops are cosmetic, caused by framing shrinking and moving behind the drywall, not a structural warning. Materials cost almost nothing: a couple of drywall screws, joint compound, sandpaper, primer, and paint. The one thing that separates a lasting fix from one that pops again next season is refastening the panel to the stud with extra screws rather than just tapping the old nail back in. Do that and it stays flat.
Step-by-step: the two-screw nail pop fix
- Find the stud. The pop is over a stud or ceiling joist. Confirm the solid framing behind it so your new screws bite wood.
- Deal with the popped fastener. Drive the popped nail or screw head just below the drywall surface without tearing the paper, or back it out and remove it entirely if it is loose.
- Add two screws. Drive a drywall screw an inch or two above the pop and another an inch or two below, pulling the panel tight to the stud. Set each head just below the surface, dimpling the paper but not breaking it.
- First coat of compound. Fill all three spots with joint compound using a 4- to 6-inch knife, wiping it flush. Feather the edges into the wall.
- Dry, then recoat. Let it dry, then apply a second (and if needed third) thin coat, feathering wider each time to bury the dimples.
- Sand flush. When fully dry, sand with 120- then 150-grit until you cannot feel the repair. Check with a raking light.
- Prime and paint. Spot-prime each repair, then paint the wall or corner to corner so nothing flashes through.
Tools and materials
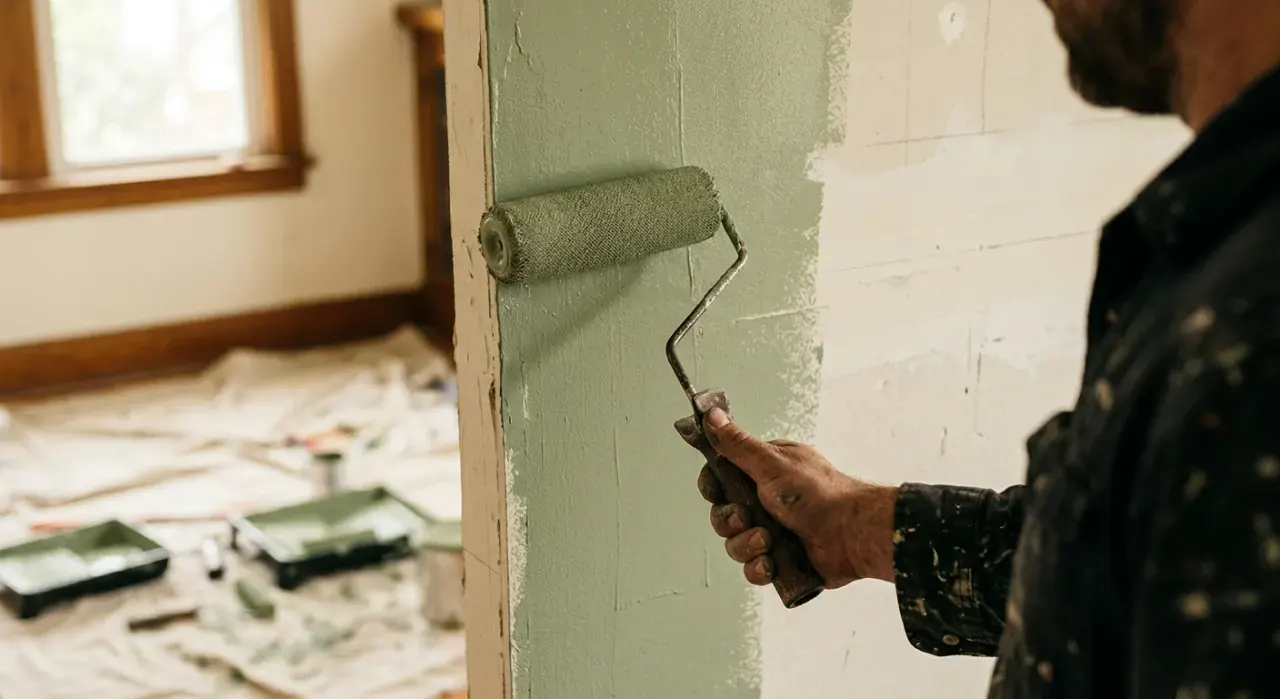
You need drywall screws, a drill or screw gun with a dimpler bit, a putty knife, joint compound, sandpaper, primer, and touch-up paint. Because you are painting over the repair, matching sheen matters, and using the same line the wall was painted with gives the cleanest blend — our interior paint picks help you match a durable, low-flash finish. If you are touching up a whole wall to hide several repairs, a fresh roller keeps the texture uniform, and taping off adjacent trim with clean painter's tape keeps the touch-up tidy.
Mistakes that make pops return
- Just hammering the nail back. It pops again. Refasten the panel with screws above and below.
- Breaking the paper with the screw. A blown-through screw has no grip. Set it just below flush, dimpling only.
- One thick coat of mud. It shrinks low and cracks. Build thin coats.
- Not spot-priming. The repair flashes through paint. Prime each one.
- Missing the stud. Screws into empty cavity do nothing. Confirm solid framing behind the pop.
We never buy, test or physically handle the products we rank. Recommendations come from aggregated owner reviews, star ratings, review volume and expert consensus — see how we rank.
More from this hub: Paint & Walls · Patching a hole · Repairing a large hole · Sanding before painting · Best interior paint · How we rank