 Garden
Affiliate Disclosure
Some links on this page are affiliate links. As an Amazon Associate, we earn from qualifying purchases — at no extra cost to you. We do not buy, test, or physically handle the products we cover; our rankings come from aggregated owner reviews, ratings and expert consensus. Commissions never change our verdicts. How we rank · full disclosure.
Repairing peeling paint is straightforward DIY, but the crucial step is diagnosing why it peeled before you repaint — otherwise it comes back. A spot repair is an hour plus dry time; the fix is scrape, feather the edges, prime, skim smooth, and repaint. Materials cost under $30. No permit or pro for the repair itself. The one caveat is the cause: if moisture from a leak or an unventilated bathroom lifted the paint, that has to be fixed first, because no amount of scraping and repainting will hold on a wall that keeps getting wet. Solve the cause, then repair.
Step-by-step: repairing peeling paint
- Find and fix the cause. Look for leaks, condensation, or missing ventilation. If moisture is peeling the paint, fix that first — a repair over an active moisture problem will fail.
- Scrape to sound paint. Use a paint scraper or putty knife to remove all loose and flaking paint, working until the edge no longer lifts. Do not paint over anything that is still peeling.
- Feather the edges. Sand the transition where remaining paint meets bare wall with 120 to 150 grit so the ridge tapers into the surface. Wipe off the dust.
- Prime the bare spots. Prime exposed drywall, plaster, or old paint with a primer suited to the surface. This seals it and gives new paint a bond.
- Skim if needed. For a visible ridge, skim a thin coat of joint compound over the feathered edge to level it flush, let it dry, and sand smooth.
- Prime the skim coat. Spot-prime any bare compound so it does not flash through the topcoat.
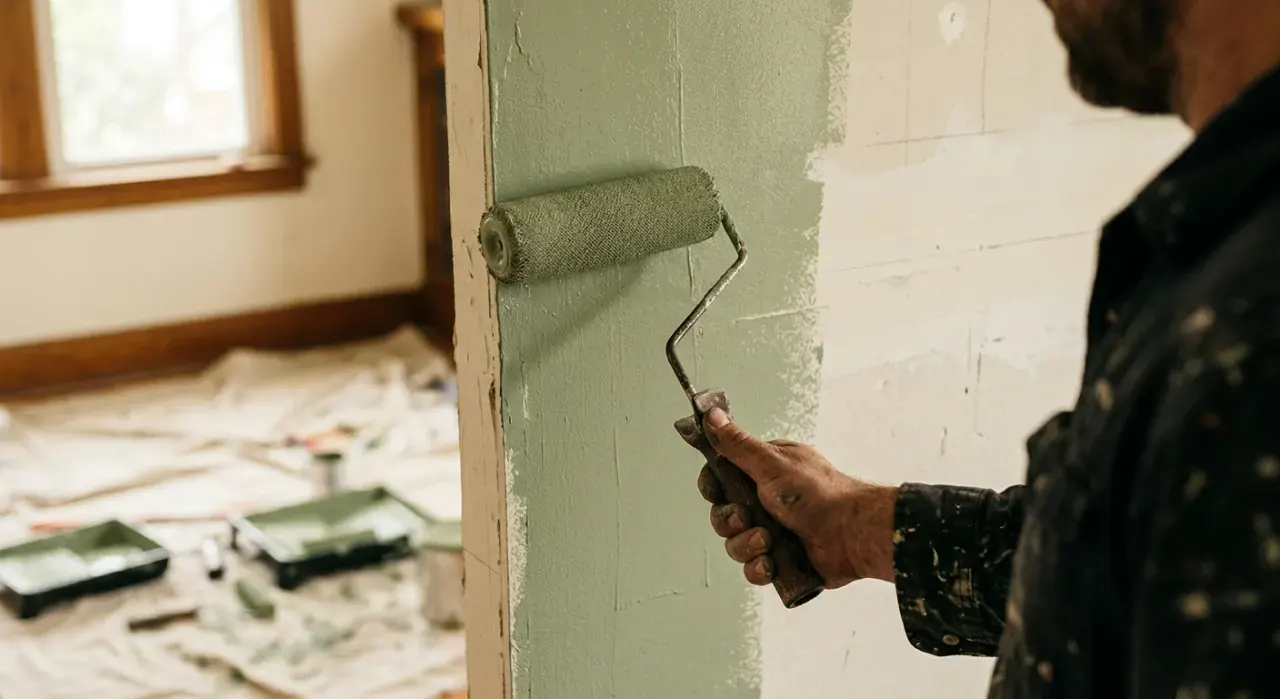
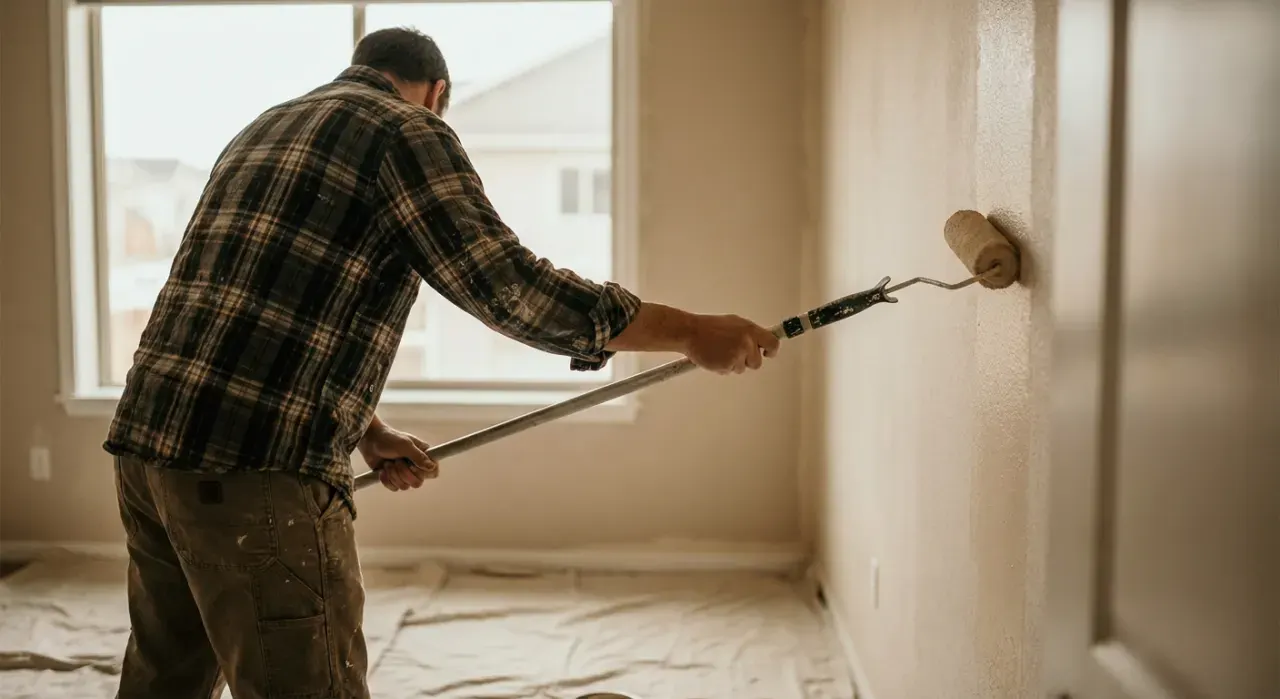
- Repaint. Paint the repaired area, feathering into the surrounding paint, then coat the whole wall or corner to corner so the sheen matches.
Tools and materials
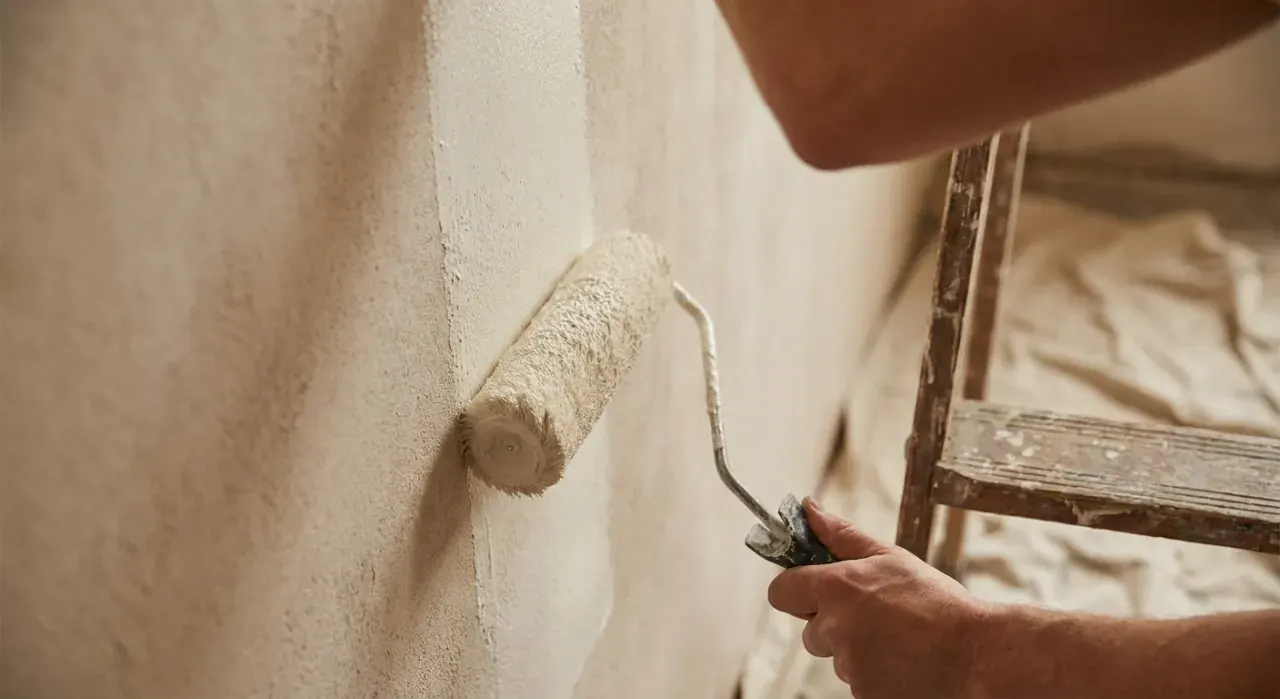
You need a paint scraper and putty knife, sandpaper, primer suited to the surface, joint compound for skimming, and matching paint. Because the repair has to blend into the existing wall, matching sheen and using a durable, well-bonding paint matters — our interior paint picks cover the lines that adhere and hold up, especially in the humid rooms where peeling starts. The repair overlaps with patching and priming. A fresh roller keeps the repainted area's texture consistent with the rest of the wall.
Mistakes that make it peel again
- Ignoring the cause. Moisture peels the repair too. Fix leaks and ventilation first.
- Painting over loose paint. The new coat lifts with the old. Scrape to sound paint.
- Not feathering the edge. The ridge shows. Sand it to a taper or skim it flush.
- Skipping primer on bare spots. New paint will not bond and flashes. Always prime.
- Spot-painting only. Sheen mismatches. Repaint the whole wall or corner to corner.
We never buy, test or physically handle the products we rank. Recommendations come from aggregated owner reviews, star ratings, review volume and expert consensus — see how we rank.
More from this hub: Paint & Walls · Patching a hole · Priming a wall · Repairing cracked plaster · Best interior paint · How we rank