 Garden
Affiliate Disclosure
Some links on this page are affiliate links. As an Amazon Associate, we earn from qualifying purchases — at no extra cost to you. We do not buy, test, or physically handle the products we cover; our rankings come from aggregated owner reviews, ratings and expert consensus. Commissions never change our verdicts. How we rank · full disclosure.
Priming a wall is easy DIY — it goes on exactly like paint — and the real skill is knowing when it is needed and which primer to grab. A room takes a couple of hours plus dry time, and a gallon of primer runs $20 to $50. No permit, no pro. Prime bare drywall, stains, glossy surfaces, dark-to-light changes, and patches; you can often skip it on a routine repaint of a sound, similar-color wall. Choosing the primer that matches the problem — porosity, stains, sheen, or color — is what makes the finish coat cover evenly and stops stains and patches from ghosting through.
Step-by-step: priming a wall
- Repair and clean first. Patch holes, sand them flush, and wipe the wall free of dust. Wash off grease. Primer bonds to a clean surface, not a dirty one.
- Choose the right primer. Drywall/PVA for bare drywall and mud; stain-blocker for water, smoke, or grease stains; bonding primer for glossy or oil-painted walls; tinted primer for a big color change.
- Mask and cut in. Tape off trim and ceilings if needed, then cut in the edges with a brush just as you would with paint.
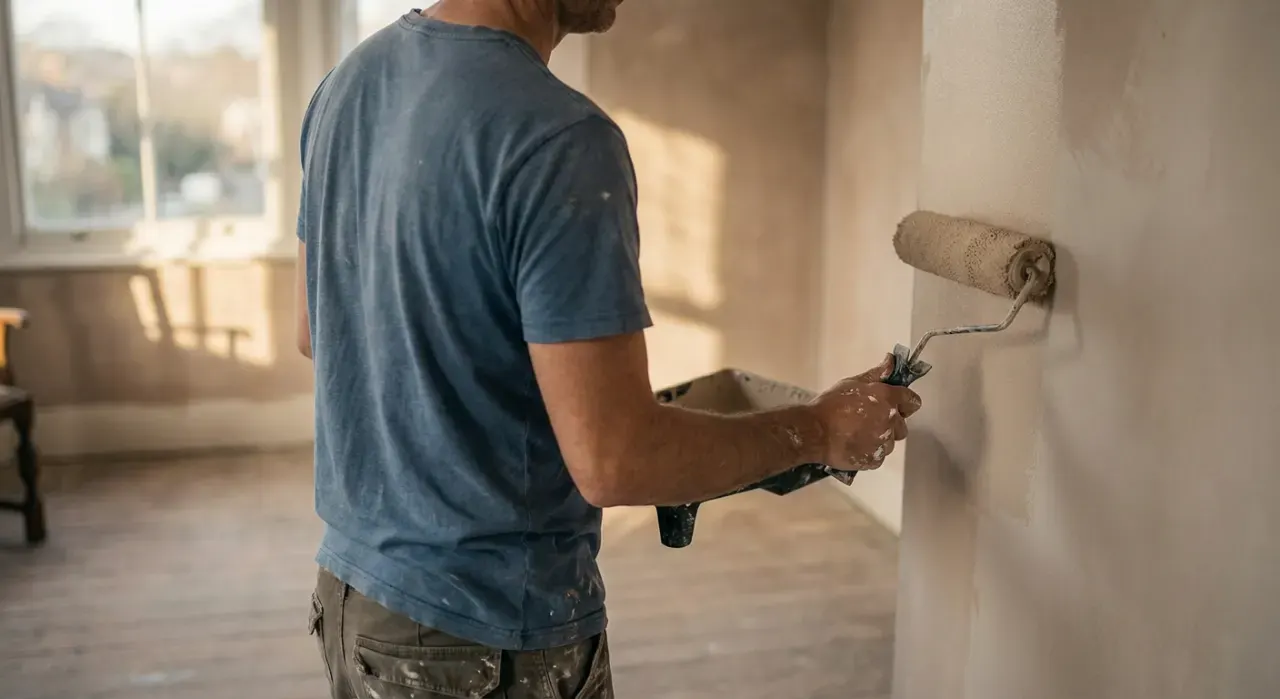
- Roll it on evenly. Use a 3/8-inch nap roller for smooth walls, keeping a wet edge and even coverage. One uniform coat is usually enough; heavy stains may want two.
- Let it dry fully. Wait the label's recoat time — often 1 to 3 hours for water-based, longer for oil. Do not paint over tacky primer.
- Light sand if needed. Knock down any raised grain or nibs with 220-grit, then wipe. This is optional on walls, worthwhile on trim and cabinets.
- Paint within a few days. Topcoat while the primer is fresh for the best bond. Then apply your two color coats as normal.
Tools and materials
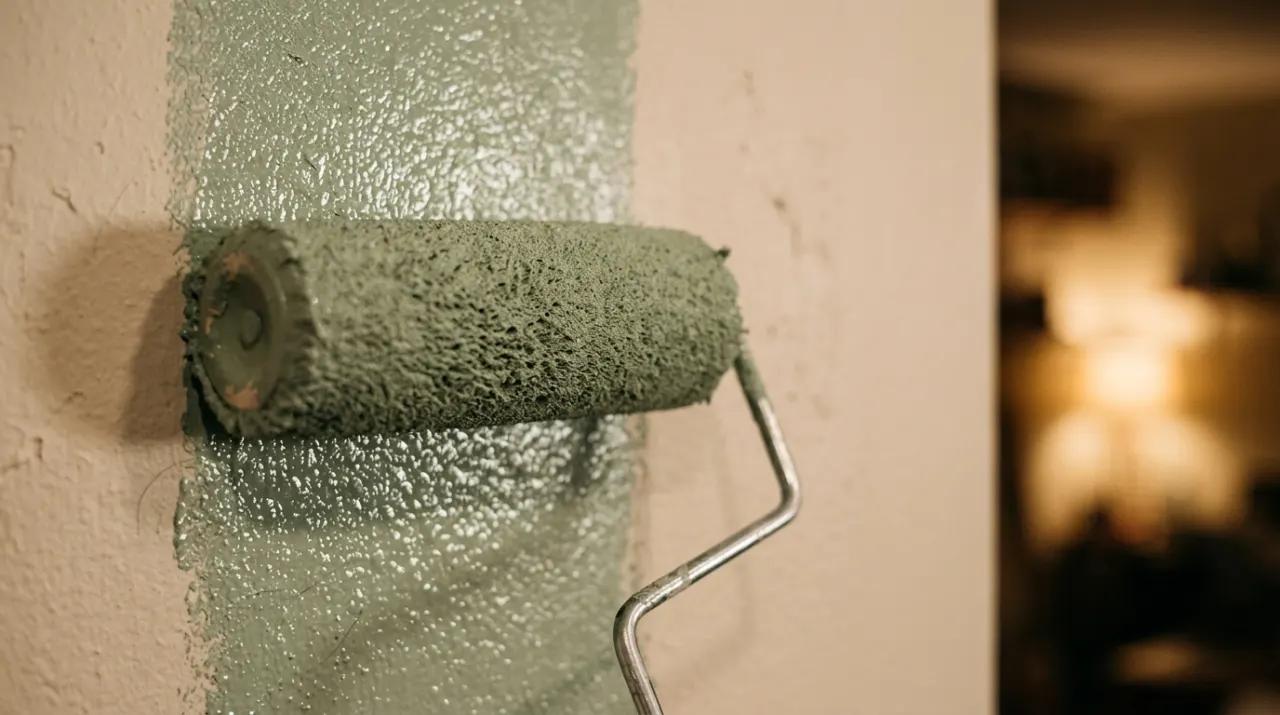
You need the right primer for the job, a roller and brush, a tray, painter's tape, and sandpaper. Primer and topcoat work as a system, so choosing a finish paint that pairs well with your primer gives the best coverage — our interior paint picks note which lines cover most efficiently over primer. Apply primer with the same tools you will use for paint: a quality roller lays it evenly, and clean painter's tape keeps your edges sharp. For big or textured surfaces, a paint sprayer primes fast and uniformly.
Mistakes that waste a primer coat
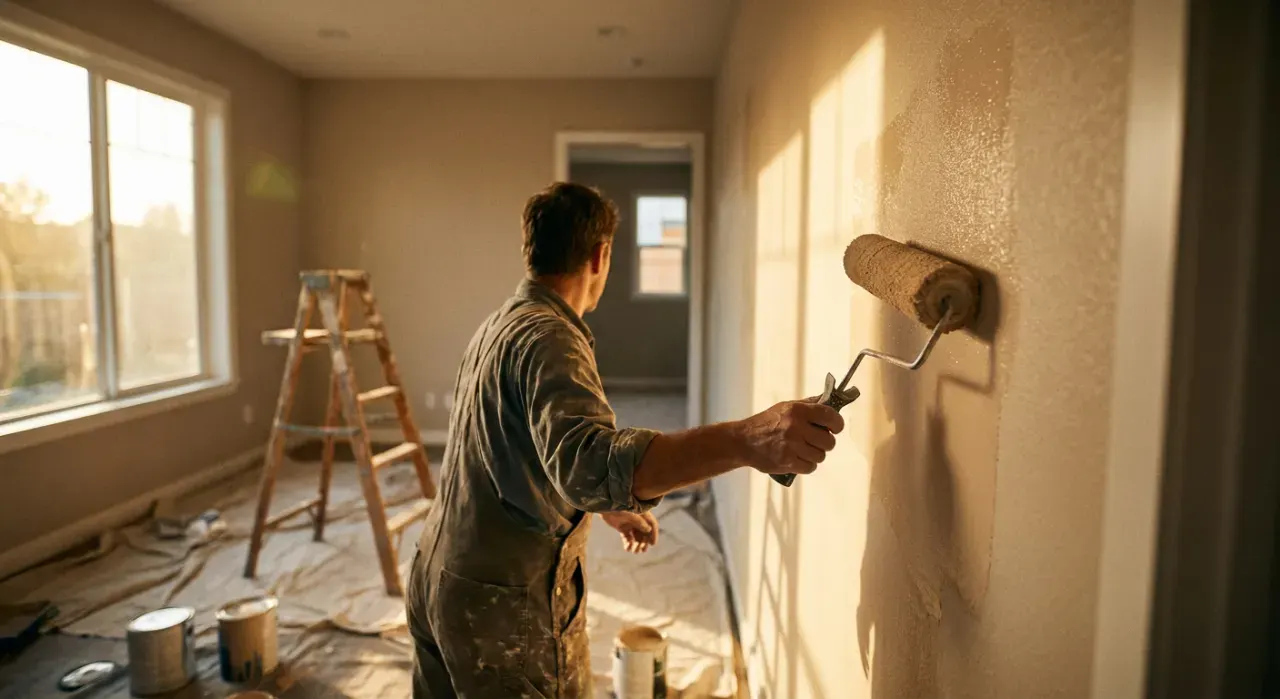
- Wrong primer for the problem. A PVA primer will not block a water stain. Match primer to the issue.
- Priming over dust or grease. It will not bond. Clean the wall first.
- Painting over wet primer. Drags and fails to adhere. Wait the recoat time.
- Skipping primer on bare drywall. The paper and mud drink paint unevenly. Always prime new drywall.
- Assuming primer replaces prep. It seals, it does not smooth. Repair and sand first.
We never buy, test or physically handle the products we rank. Recommendations come from aggregated owner reviews, star ratings, review volume and expert consensus — see how we rank.
More from this hub: Paint & Walls · Painting a room · Painting over a dark wall · Sanding before painting · Best interior paint · How we rank