 Garden
Affiliate Disclosure
Some links on this page are affiliate links. As an Amazon Associate, we earn from qualifying purchases — at no extra cost to you. We do not buy, test, or physically handle the products we cover; our rankings come from aggregated owner reviews, ratings and expert consensus. Commissions never change our verdicts. How we rank · full disclosure.
Painting a room is the most beginner-friendly DIY project in the house — a weekend of work, no special skills, and no permit or pro required. Budget most of one day for prep and the first coat, and a few hours the next for the second coat and cleanup. Materials for an average bedroom run about $80 to $200. The whole job is well within reach for a first-timer; the difference between an amateur and a professional result is almost entirely in the prep and the order of operations, both of which are easy to get right once you know them.
Step-by-step: painting a room
- Clear and protect. Move furniture out or to the center and drape it. Cover the floor with canvas drop cloths (they grip better than plastic). Remove switch and outlet covers, and loosen light fixtures.
- Clean and repair. Wash greasy or dusty walls and let them dry. Fill nail holes and dents with spackle, sand smooth at 120-grit, and wipe off the dust. A wall is only as smooth as its prep.
- Tape and prime. Tape off trim and the ceiling line if you are not confident cutting freehand. Spot-prime patches and any bare drywall so they do not flash through.
- Cut in the edges. With a 2.5-inch angled sash brush, paint a 2- to 3-inch band along the ceiling, corners, and trim. Work one wall at a time so the band stays wet for rolling.
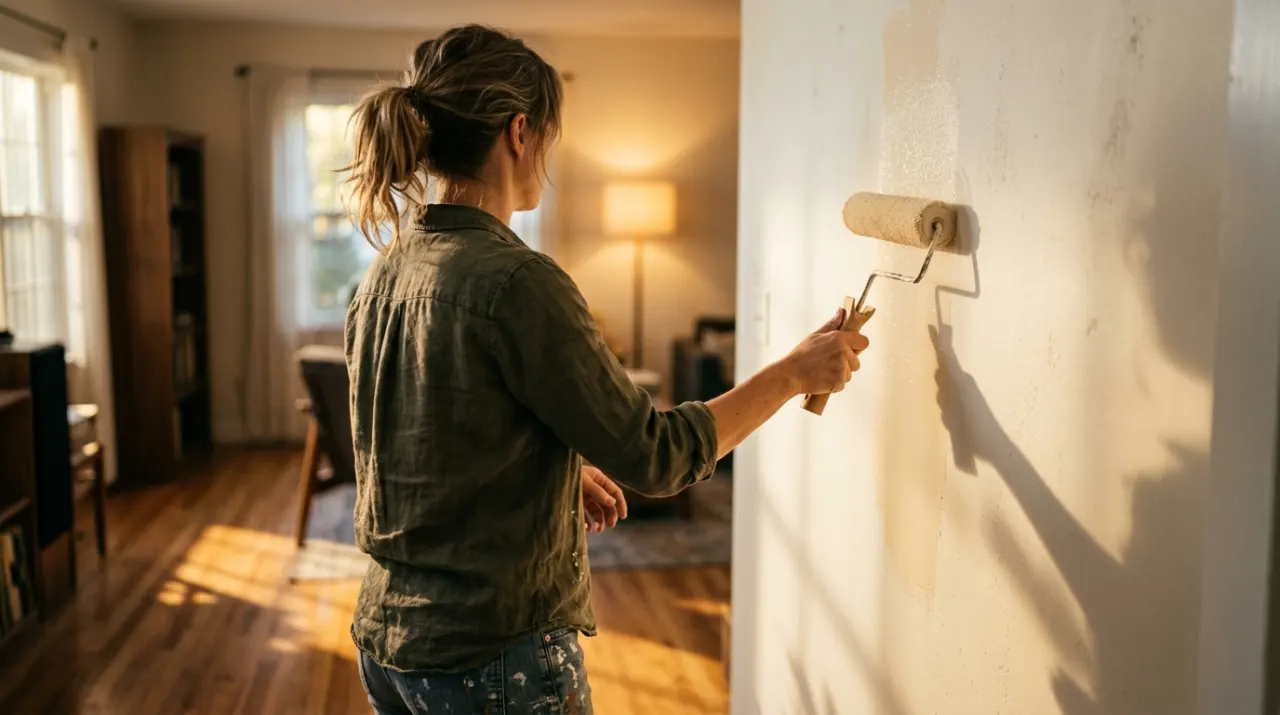
- Roll the field. Load a 3/8-inch nap roller for smooth walls (1/2-inch for lightly textured). Roll a large "W" or "M" about 3 feet wide, then fill it in without lifting, keeping a wet edge. Do not press hard.
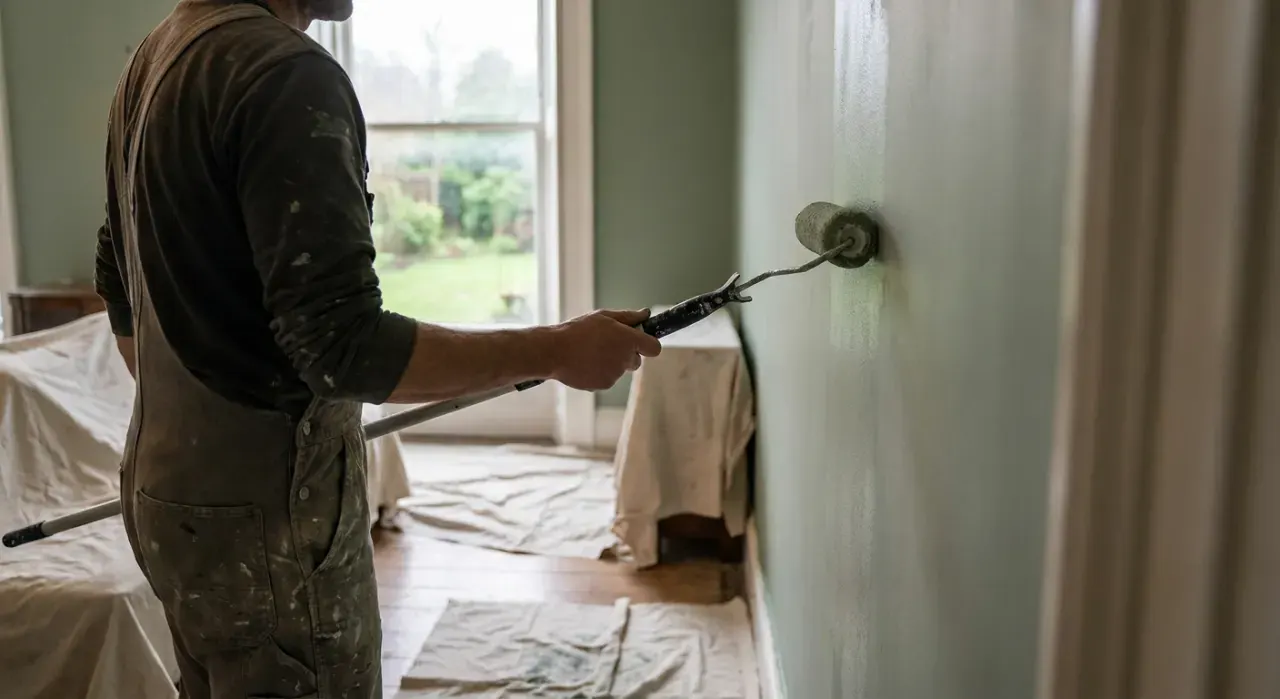
- Maintain a wet edge. Always roll into the still-wet area you just painted. Stopping and restarting on dry paint is what creates lap marks.
- Let it dry, then recoat. Wait the label's recoat time (usually 2 to 4 hours). Apply the second coat the same way. Two coats is standard.
- Paint the trim and pull the tape. Do trim last. Pull tape while the final coat is still slightly wet, at a low angle, for the cleanest line.
Tools and materials
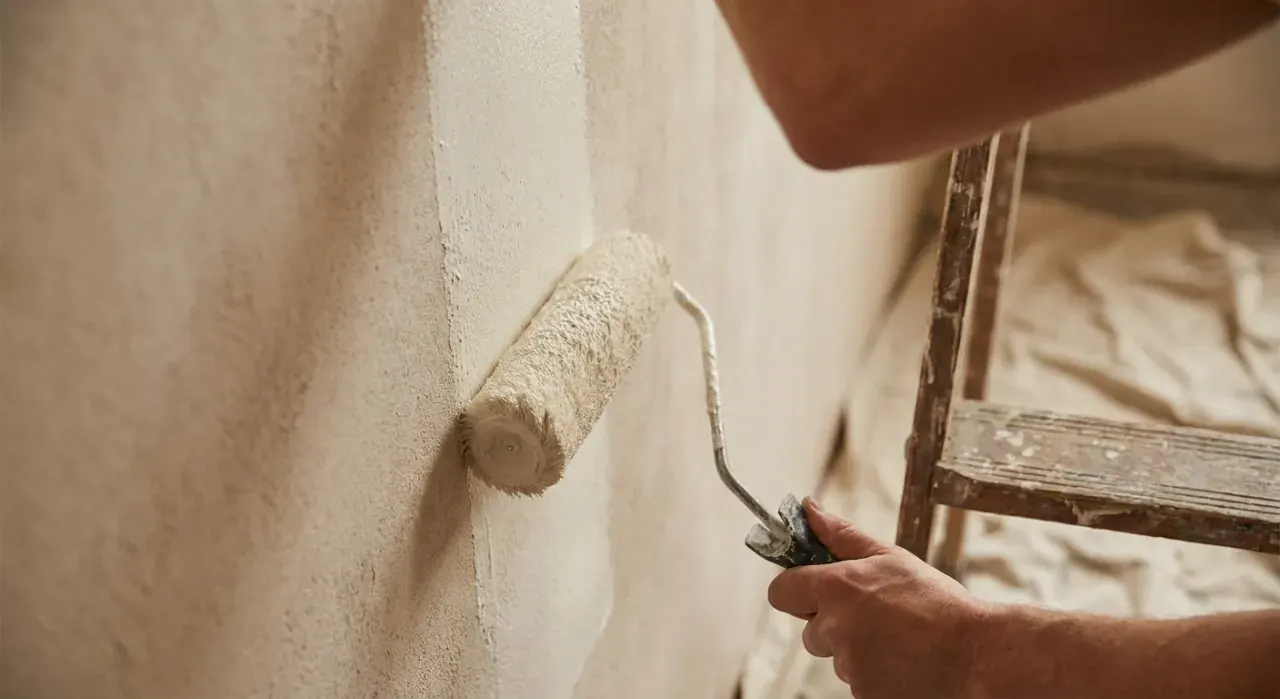
The core kit is a 2.5-inch angled brush, a roller frame with an extension pole, roller covers in the right nap, a 5-gallon bucket with a grid or a tray, painter's tape, drop cloths, and paint. Paint quality is the single biggest lever on the result — see our best interior paint roundup for lines that cover in two coats and level out smoothly. The roller you choose controls the wall texture, and clean-edge painter's tape saves hours of touch-up. For a whole-house repaint or big open walls, a paint sprayer speeds coverage dramatically, though it needs more masking.
Mistakes that ruin a paint job
- Lap marks. Caused by letting the edge dry before you roll into it. Keep a wet edge and work in manageable sections.
- Skipping prep. Dust, grease and unfilled holes all telegraph through. The finish is 80 percent prep.
- Overloading the roller. Drips and spatter. Roll off the excess on the tray ramp until it stops dripping.
- Recoating too soon. Drags the first coat and leaves thin spots. Wait the full recoat time.
- Cheap paint on a dark-to-light change. You will fight it for three coats. Buy the right paint once.
We never buy, test or physically handle the products we rank. Recommendations come from aggregated owner reviews, star ratings, review volume and expert consensus — see how we rank.
More from this hub: Paint & Walls · Cutting in without tape · Priming a wall · Painting trim · Best interior paint · How we rank