 Garden
Affiliate Disclosure
Some links on this page are affiliate links. As an Amazon Associate, we earn from qualifying purchases — at no extra cost to you. We do not buy, test, or physically handle the products we cover; our rankings come from aggregated owner reviews, ratings and expert consensus. Commissions never change our verdicts. How we rank · full disclosure.
Cutting in without tape is a hand skill any patient DIYer can learn in an afternoon, and it produces a sharper line than tape ever will. There is no cost beyond a good angled brush, no permit, and nothing to call a pro for. The catch is purely practice: your first few feet along a ceiling will wobble, and by the end of the wall you will be laying clean lines. If you have a spare wall or a closet, warm up there first. Once it clicks, freehand cutting in is faster than taping and gives a flat, ridge-free edge.
Step-by-step: the freehand cut-in
- Load the brush lightly. Dip an angled 2.5-inch sash brush about 1.5 inches into the paint. Tap each side against the bucket to remove drips but keep the tip loaded.
- Lay off the excess first. Make your first stroke about a quarter inch away from the line to unload some paint, then work back toward the edge. Starting on the line with a fully loaded brush floods it.
- Set the chisel edge. Angle the brush so the long point of the bristles rides toward the line. Push gently until the bristles fan up and the tip just touches the edge.
- Feed the bead and glide. Move sideways in one smooth pass at steady speed. You are pushing a small bead of paint up to the line and letting surface tension hold it there.
- Steady your hand. Rest your pinky or the heel of your hand lightly against the wall or trim as a guide. Use your whole arm, not just your wrist, on long runs.
- Reload before it runs dry. A brush that skips and drags has run out. Reload on a rhythm rather than pressing harder, which throws the line off.
- Roll while wet. Cut in one wall, then roll it before the band dries so the brushed and rolled areas blend with no picture-frame effect.
Tools and materials
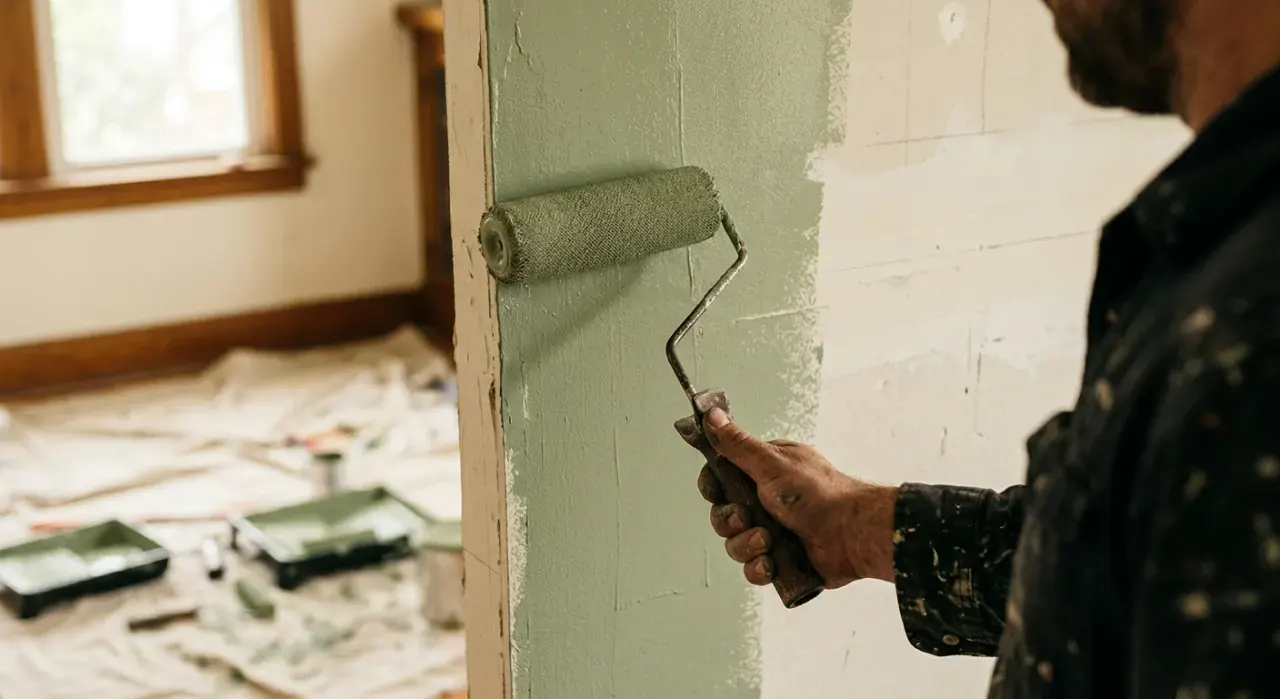
The one tool that matters most here is the brush. A quality 2.5-inch angled sash brush holds its edge and repays the cost many times over; a limp cheap brush makes a clean line nearly impossible. Beyond that you need your wall paint, a small cut bucket or the can, and a damp rag for quick corrections. If you would rather ease in with tape on the hardest edges, a low-bleed painter's tape gives you a backstop. The paint itself affects how forgiving the line is — a thicker, better-leveling paint holds the bead cleanly, which our interior paint picks cover, and pairing your cut-in with the right roller keeps the whole wall consistent.
Mistakes that wreck the line
- Overloading the brush. Paint floods past the edge. Load lightly and lay off the excess before you reach the line.
- Starting on the line. A full brush dumps there. Begin a hair below and work up.
- Stopping and starting. Break points show as bumps. Move in continuous passes and reload smoothly.
- Cutting in then rolling much later. The band dries and frames the wall. Roll while the cut-in is wet.
- Using a worn or cheap brush. Splayed bristles cannot hold an edge. A good brush is the whole game.
We never buy, test or physically handle the products we rank. Recommendations come from aggregated owner reviews, star ratings, review volume and expert consensus — see how we rank.
More from this hub: Paint & Walls · Painting a room · Painting trim · Painting an accent wall · Best painter's tape · How we rank