 Garden

Affiliate Disclosure
Some links on this page are affiliate links. As an Amazon Associate, we earn from qualifying purchases — at no extra cost to you. We do not buy, test, or physically handle the products we cover; our rankings come from aggregated owner reviews, ratings and expert consensus. Commissions never change our verdicts. How we rank · full disclosure.
Spraying kitchen cabinets gives the smoothest, factory-like finish because it leaves no tool texture, but it requires heavy masking, a spray space for the doors, and practice to avoid runs; rolling with a high-density foam roller and brushing the profiles gives a very good, durable finish with far less setup and mess. Spray if you want the flattest possible look and will prep meticulously. Roll if you want a clean, forgiving DIY that still looks sharp. Either way, the paint choice and prep matter more than the tool.
Why the tool changes the finish
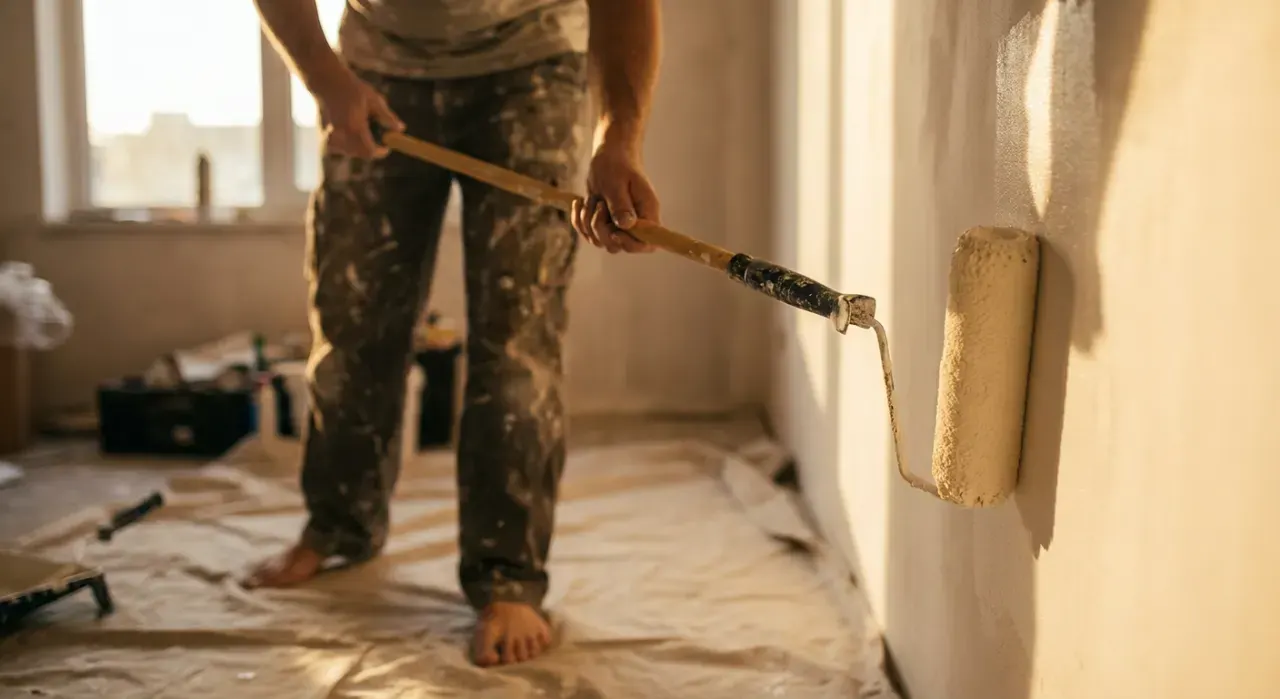
A sprayer atomizes paint into a fine mist that lands as a thin, uniform film with no ridges, so once it levels and cures it reads as smooth as a factory door. A roller deposits paint in a thin layer that carries a faint texture, though a dense foam roller with a self-leveling enamel minimizes it, and a brush is used only for the recessed profiles and edges. The gap between them narrows a lot with the right foam roller and enamel; it widens if you use flat wall paint or a nappy roller.
Sprayer vs roller for cabinets at a glance
| Sprayer | Foam roller + brush | |
|---|---|---|
| Finish smoothness | Smoothest, factory-like | Very good, faint texture |
| Setup / masking | Heavy; whole kitchen | Light |
| Overspray / cleanup | High | Low |
| Learning curve | Steeper; runs possible | Forgiving |
| Gear cost | ~$80–400 (HVLP/airless) | ~$15–30 (rollers + brush) |
| Best for | Flawless look, many doors | Simpler DIY, fewer doors |
Which is right for your kitchen?
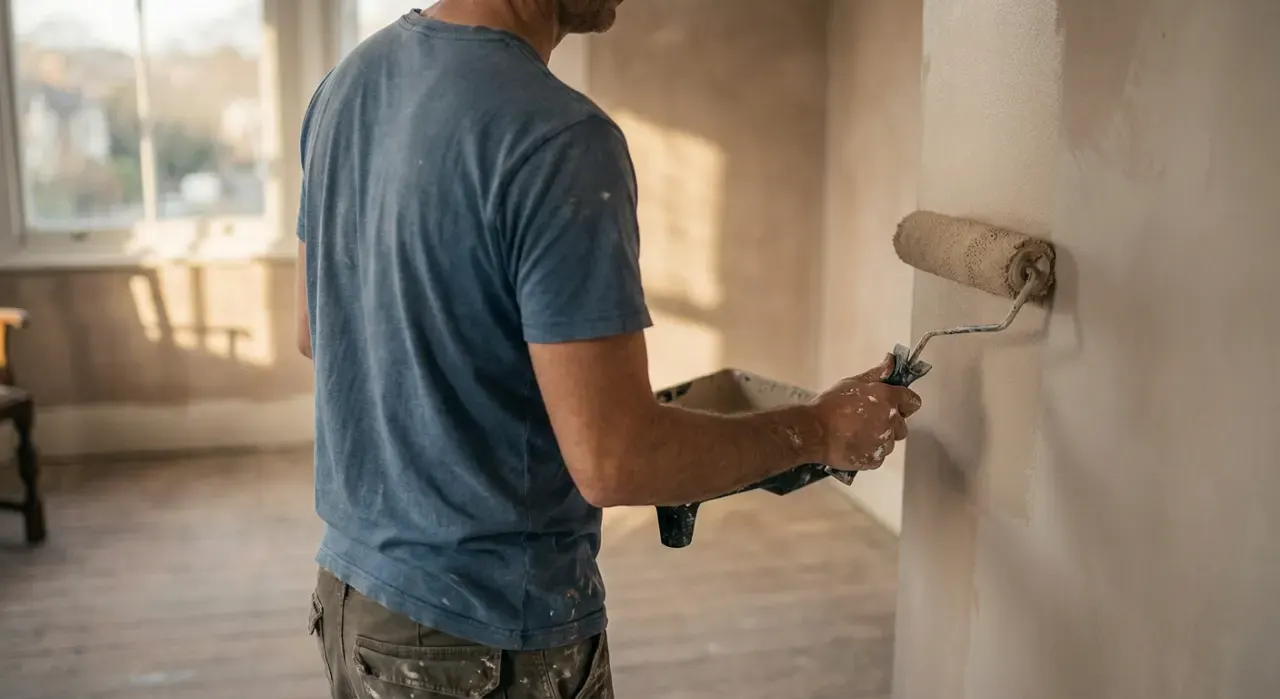
Choose spraying if you have a lot of doors, want the flattest finish, and can set up a dust-free spot (a garage or a spray shelter) to lay the doors flat and mask the boxes in place. An HVLP or fine-finish airless plus a hard cabinet enamel is the pro route. Choose rolling if you have a smaller kitchen, are painting for the first time, or don't want to mask an entire room from overspray. A foam roller on the flats and an angled brush in the profiles is well within reach for a careful DIYer.
The part that matters most: prep and paint
Whatever you apply it with, cabinet paint lasts only if you degrease, scuff-sand slick factory finishes with about 220-grit, prime with a bonding primer, and use a self-leveling cabinet or trim enamel rather than flat wall paint. Let each coat cure fully; cabinets take days to weeks to fully harden before heavy daily use, and rushing that is the top cause of chips and tackiness. This prep is identical for spray or roll, and it, not the tool, decides how the job holds up.

Which should you do?
If a truly flawless, furniture-grade finish is the goal and you'll invest the masking and practice time, spray with an HVLP or fine-finish airless. If you want a clean, durable result with less mess, gear cost, and risk, roll the flats with a high-density foam roller and brush the details. Both look great with proper enamel and prep; pick the one whose trade-offs you'd rather live with.
Where to go next
Choosing a sprayer? See airless vs HVLP sprayers and our picks for the best paint sprayers. Rolling instead? Compare foam vs microfiber rollers and see the best paint rollers. For the full walkthrough, our how to paint kitchen cabinets guide covers prep step by step. Everything sits under the paint and walls hub.
We never buy or physically test the products we rank — our recommendations come from aggregated owner reviews and expert consensus, and the method is on how we rank.