 Garden
Affiliate Disclosure
Some links on this page are affiliate links. As an Amazon Associate, we earn from qualifying purchases — at no extra cost to you. We do not buy, test, or physically handle the products we cover; our rankings come from aggregated owner reviews, ratings and expert consensus. Commissions never change our verdicts. How we rank · full disclosure.
A nail gun makes fast, professional-looking work of trim and framing, but it deserves respect — nail gun injuries send tens of thousands of people to US emergency rooms each year, and OSHA puts the figure at tens of thousands of serious injuries annually. The good news: nearly all are preventable with a few habits. There’s no cost or permit to using one safely; it’s about technique. The big ones are running a sequential (single-shot) trigger instead of a bump trigger — OSHA cites research finding the risk of injury twice as high with a multi-shot contact trigger as with a single-shot sequential one, keeping your free hand out of the nail path, wearing eye protection, and disconnecting power before clearing a jam. Learn those and a nailer is a safe, transformative tool.
Tools and materials
- The right nailer for the job — a brad nailer (18-gauge) for trim and light work, a finish nailer (15/16-gauge) for heavier trim, a framing nailer for structure.
- ANSI-rated safety glasses (mandatory) and hearing protection for pneumatic setups — a compressor and nailer together clear the 85 dBA NIOSH treats as hazardous.
- The correct nails for your tool and material, and a firm clamp or a helper so your free hand doesn’t have to hold work near the firing line.
- A nailer speeds builds like a picture frame or crown molding; a cordless drill still handles structural fastening.
Step 1: Set a sequential trigger
If your gun has a switchable trigger, set it to sequential (single-shot) mode: nose down first, then pull the trigger, one nail per pull. This one setting eliminates double-fires and most unintended discharges — the injuries a contact/bump trigger is repeatedly linked to. Reserve bump-firing for experienced production work; for DIY, sequential is the safe default.
Step 2: Keep your free hand clear
The hand and fingers are the most-injured body part, usually the free hand steadying the work. Never place it behind, beside, or in line with where the nail exits. Clamp the workpiece instead, or hold it a hand-span away from the nail path. Assume a nail could deflect and exit the side of the board, and keep flesh out of that arc.
Step 3: Avoid blowouts and deflections
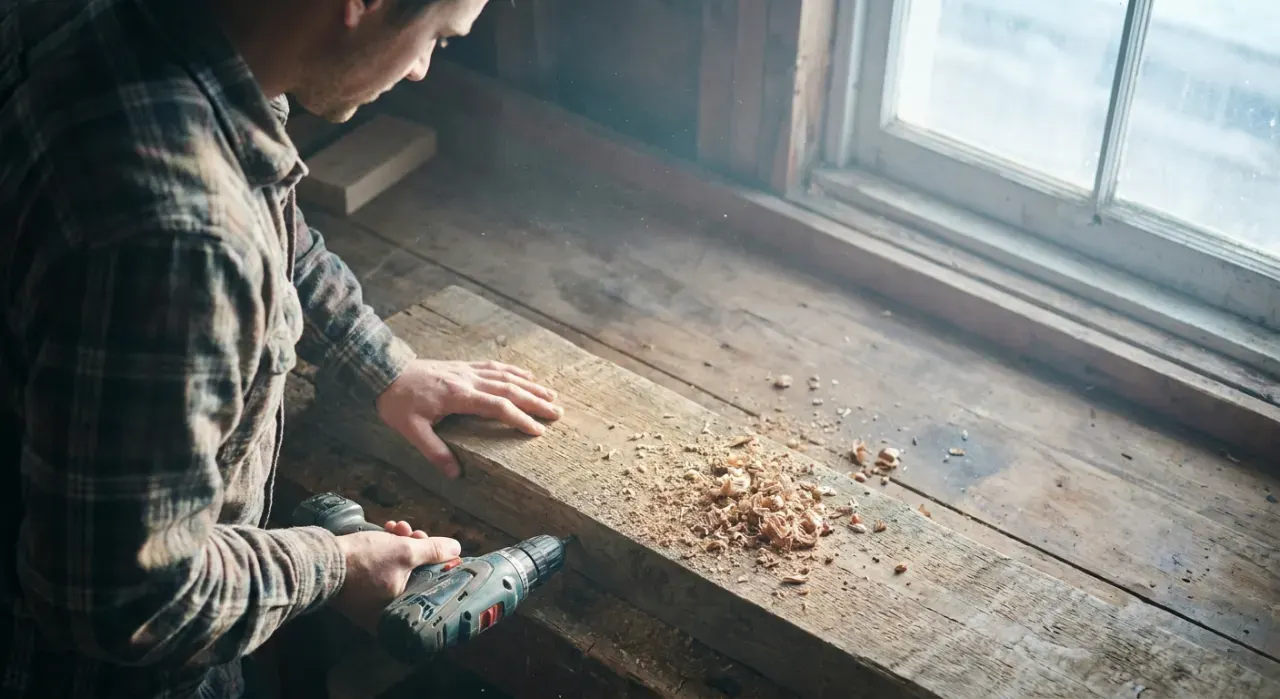
Nails deflect off knots, hidden nails, and steep angles, and blow out near edges. Drive perpendicular to the surface, stay in from edges, and watch the grain and for existing fasteners. When you must nail near an edge or into questionable material, position your body and hands so a stray nail can’t reach them.
Step 4: Wear eye protection and control recoil
Put on ANSI-rated safety glasses every time — deflected nails and fragments are a real eye-injury risk. Hold the tool firmly so it doesn’t bounce off the work after firing, and release the trigger between placements. Never carry a nailer with your finger on the trigger, and never defeat the nose safety contact.
Step 5: Clear jams safely
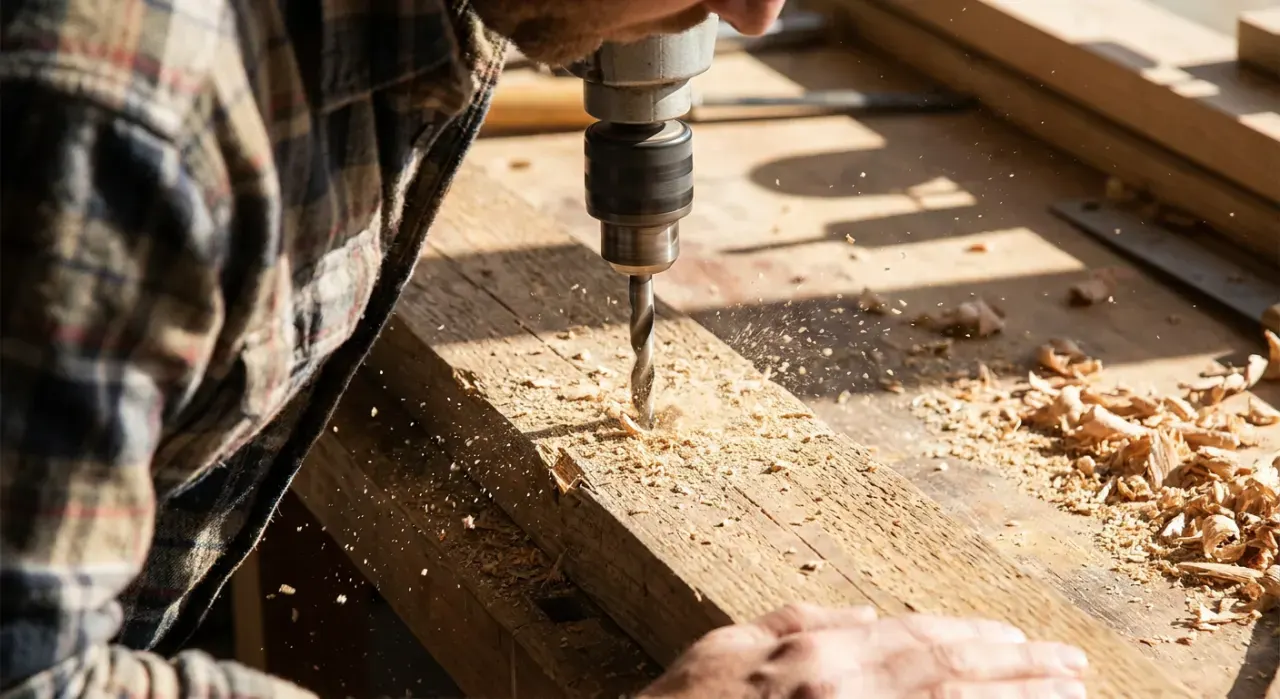
When the gun jams, disconnect it first — unplug the air hose or remove the battery before you open the nose or poke at the magazine. A tool that fires while your fingers are in the mechanism causes serious injury. Clear the jam with the tool dead, reconnect, and test-fire into scrap before resuming.
Where to go next
A safe nailer makes finish work like crown molding and picture frames quick and clean. Pair it with accurate cuts from our speed square guide. It all lives under the power tools and workshop hub.
We never buy or physically test the tools we rank — our picks come from aggregated owner reviews and expert consensus, explained on how we rank. Always follow the tool manufacturer’s safety manual.