 Garden
Affiliate Disclosure
Some links on this page are affiliate links. As an Amazon Associate, we earn from qualifying purchases — at no extra cost to you. We do not buy, test, or physically handle the products we cover; our rankings come from aggregated owner reviews, ratings and expert consensus. Commissions never change our verdicts. How we rank · full disclosure.
A picture frame is a small, precise project that teaches the mitering skills used in trim and molding, and anyone can make one in an afternoon. Materials cost 10 to 30 dollars depending on the molding and glass, and the tools are a saw (ideally a miter saw), a clamp, and glue. There’s nothing hazardous or permitted about it. The whole challenge is precision: the two opposite sides must be identical in length and the 45-degree miters must be dead-on, or the corners gap. Cut with a stop block, test on scrap, and reinforce the corners so they never pop.
Tools and materials
- A miter saw (or a miter box, or a table saw sled) for accurate 45-degree cuts, and a stop block to make opposite sides identical.
- A table saw or router to cut the rabbet — see router techniques and, if you want a table, how to build a router table.
- A band clamp or corner clamps and wood glue for the corners; an orbital sander to finish — our sander picks help.
- Materials: frame molding or square stock, glass or acrylic, a mat and backing board, V-nails or splines, and picture-hanging hardware.
Step 1: Cut the rabbet in the molding
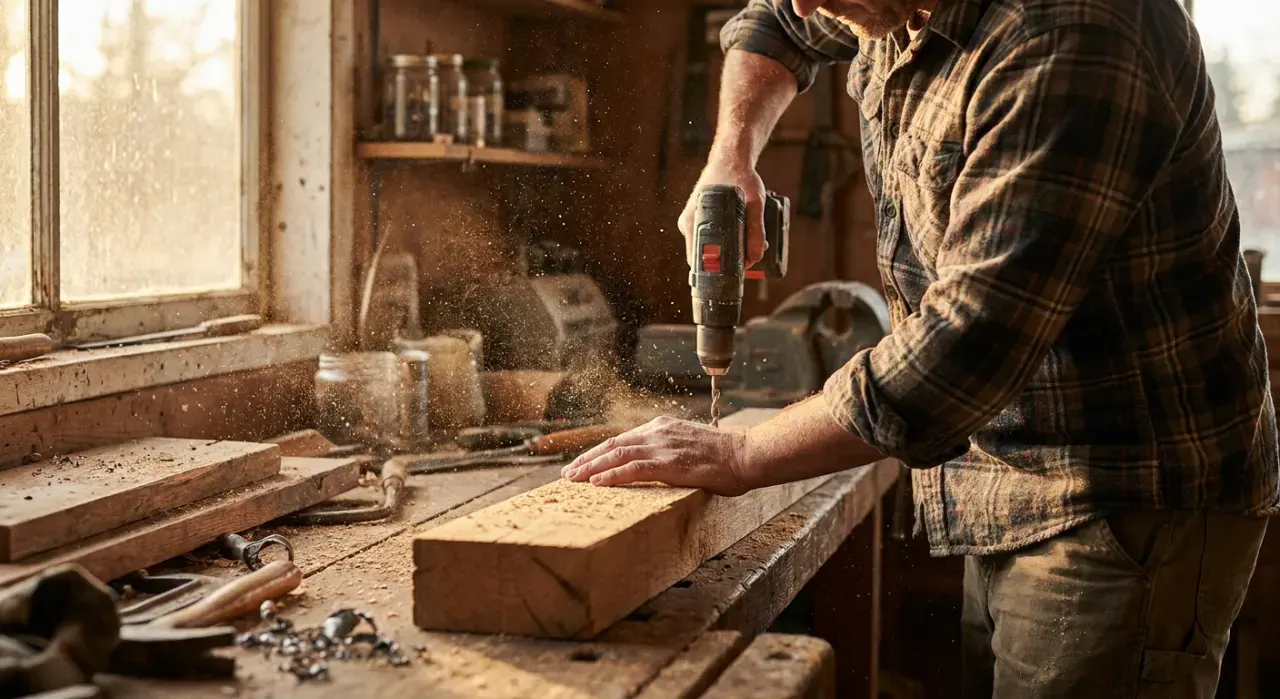
Before mitering, cut a rabbet — a stepped groove — along the back inside edge of your frame stock. It must be deep enough to hold the glass, mat, artwork, and backing (typically 3/8 to 1/2 inch deep). A table saw with two passes or a router with a rabbeting bit does this cleanly. The rabbet is what everything seats into; a frame without one has nowhere to hold the picture.
Step 2: Size and mark the pieces
Measure your art or mat and add about 1/8 inch total clearance — that’s your inside rabbet opening. Calculate each frame piece’s miter-to-miter length from that opening plus the frame face width. Do this arithmetic on paper first; a frame built to the wrong numbers won’t fit the picture. Mark the two pairs of sides clearly.
Step 3: Cut identical miters
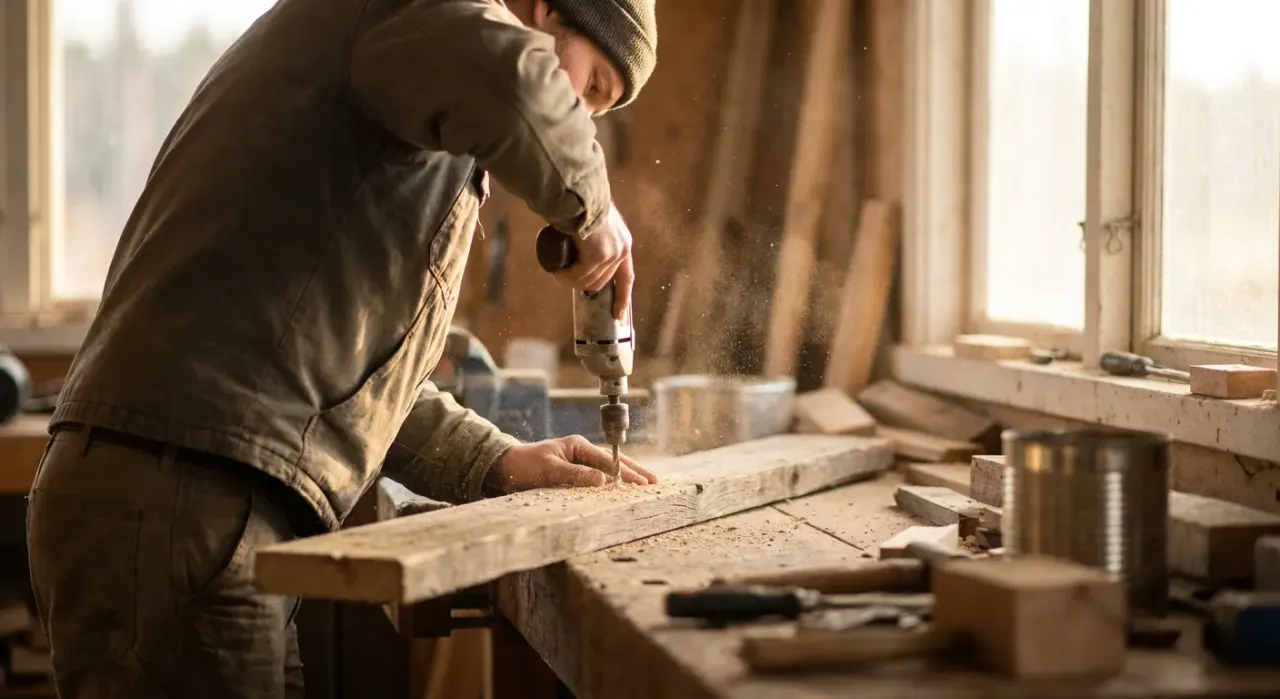
Set your saw to 45 degrees and confirm it on scrap by joining two test cuts and checking for a true square corner. Use a stop block so each pair of opposite sides comes out exactly the same length — unequal sides guarantee gapped corners. Cut all four pieces, keeping the rabbet oriented consistently.
Step 4: Glue and clamp the corners
Dry-fit all four corners first. Then apply glue to the mating miter faces, assemble the frame, and pull it tight with a band clamp so all four corners close at once. Check each corner is aligned and tight before the glue sets, and wipe squeeze-out. End-grain miters are weak on glue alone, so plan to reinforce them.
Step 5: Reinforce, finish, and assemble
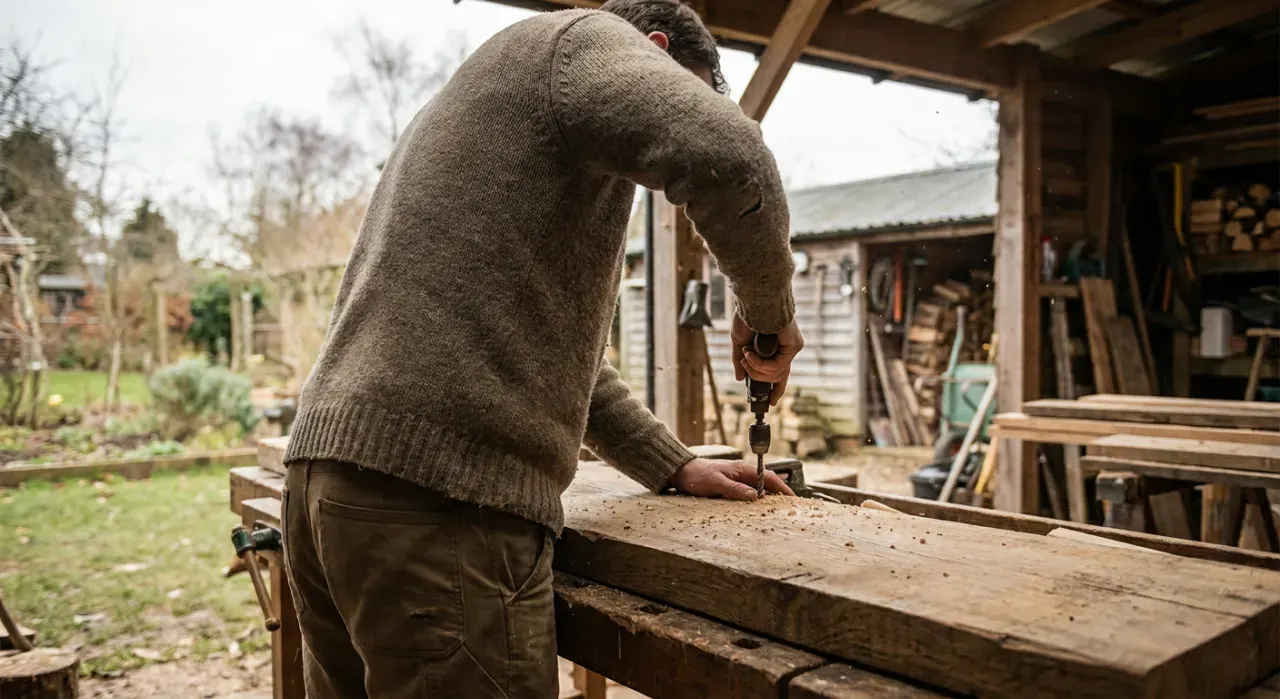
Once dry, reinforce each corner with a glued spline (strongest and decorative), small brads, or V-nails from the back. Sand and finish the frame. Then load it from the back: glass, mat, artwork, backing board, secured with points or turn buttons, and add hanging hardware. The reinforced corners are what keep the frame together through years of handling.
Where to go next
Mitering scales up to crown molding, and the finishing skills carry into a cutting board. Build precision with our speed square guide. It all lives under the power tools and workshop hub.
We never buy or physically test the tools we rank — our picks come from aggregated owner reviews and expert consensus, explained on how we rank.