 Garden
Affiliate Disclosure
Some links on this page are affiliate links. As an Amazon Associate, we earn from qualifying purchases — at no extra cost to you. We do not buy, test, or physically handle the products we cover; our rankings come from aggregated owner reviews, ratings and expert consensus. Commissions never change our verdicts. How we rank · full disclosure.
A wooden cutting board is a rewarding weekend build and a great introduction to glue-ups and finishing. An edge-grain board — the beginner-friendly kind — costs about 20 to 40 dollars in hardwood and needs a saw, clamps, glue, and a sander. Nothing about it is difficult or hazardous. The details that matter are choosing a safe, hard, tight-grained wood, using a waterproof glue, and finishing with food-safe mineral oil so the board resists water and doesn’t crack. Get those right and you’ll have a board that lasts decades and makes a great gift.
Tools and materials
- A saw to cut strips to length — a circular saw with a guide or a table saw works.
- Clamps (the one tool you can’t skip for a glue-up) and an orbital sander — our orbital sander picks help you get a glassy surface.
- A router with a roundover bit to soften the edges is a nice touch — see how to round edges with a router.
- Materials: hard maple, walnut, or cherry strips; waterproof wood glue (Titebond III); food-safe mineral oil; and optional beeswax for board butter.
Step 1: Select and rip the wood
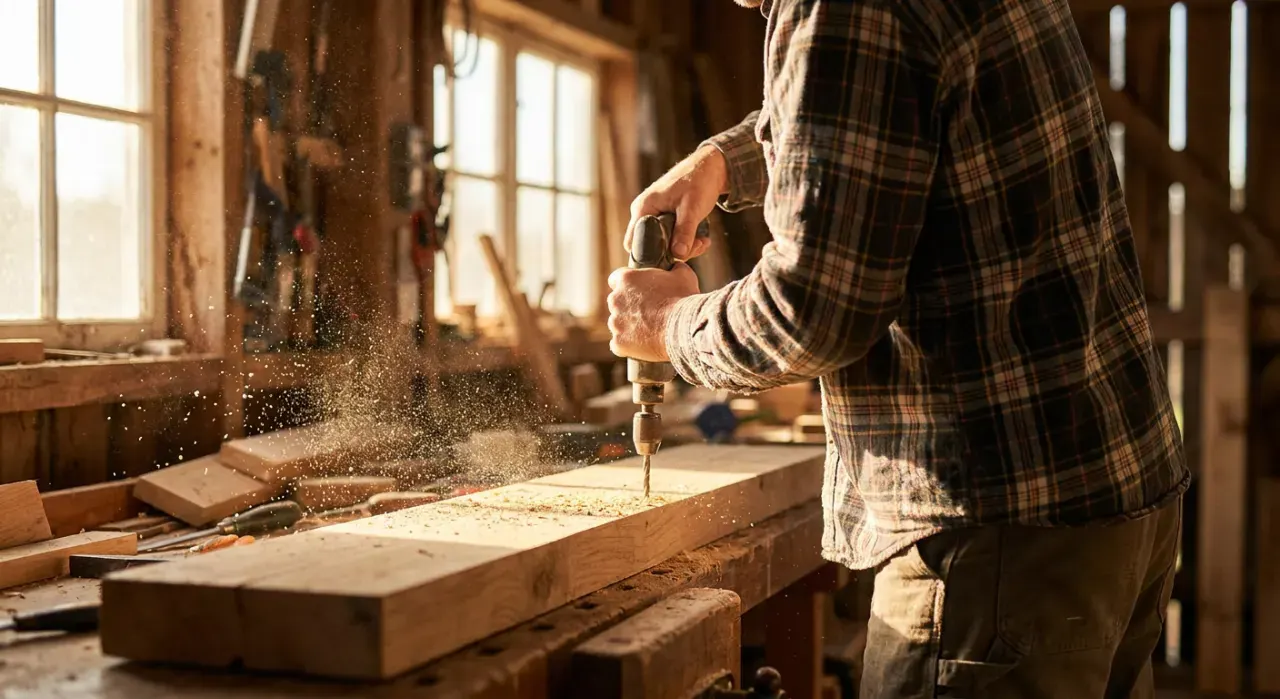
Choose hard maple, walnut, cherry, or beech — dense, tight-grained, food-safe hardwoods. Avoid oak and ash (open pores trap food) and any softwood. Rip your boards into strips of even width, and mix species for a striped look if you like. Cut all strips to the same length. Keep the pieces flat and square so they glue up without gaps.
Step 2: Dry-fit, then glue up
Arrange the strips on edge in the order you want, alternating grain direction to reduce warping. Then apply waterproof glue to every mating face, stand the strips together, and clamp across the width until glue squeezes out along the entire seam. Even, firm clamping is what makes a joint that never splits — a starved or gappy joint is the number-one cause of a board failing later. Let it cure a full 24 hours.
Step 3: Flatten and sand
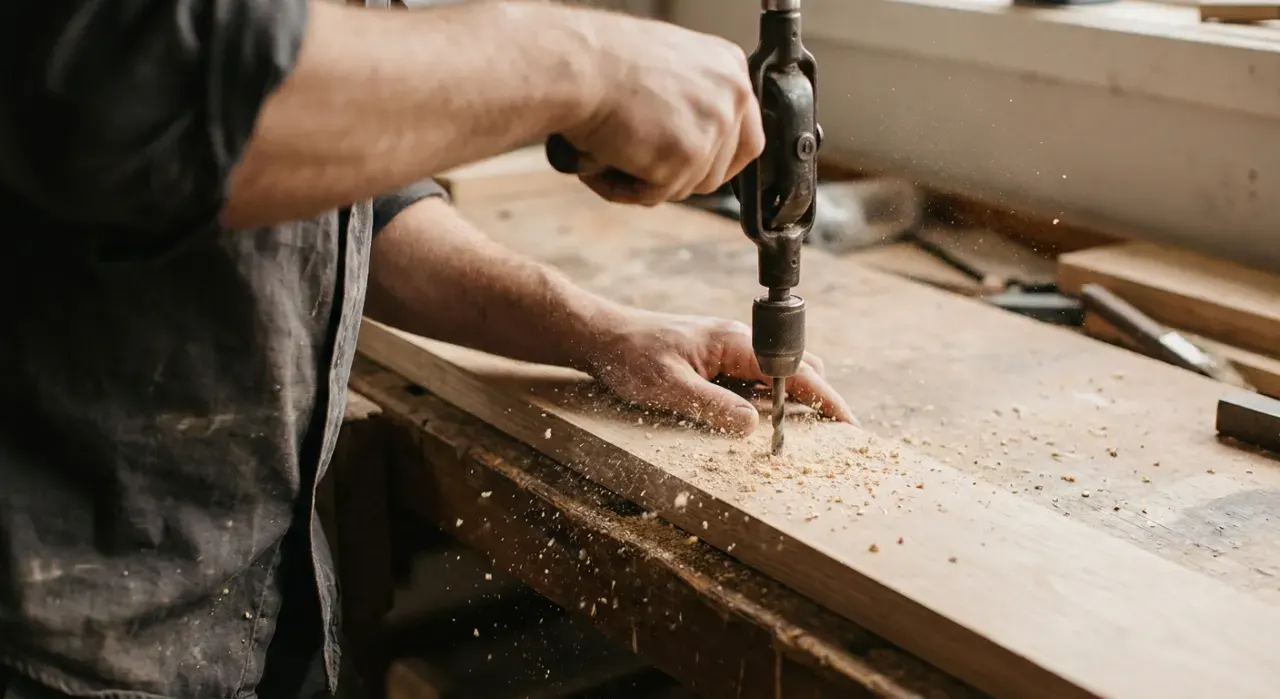
Unclamp and scrape off the dried glue beads. Sand both faces flat and smooth, working up through the grits — 80, then 120, 180, and 220. A random-orbit sander makes quick work of it. The board should feel glassy with no ridges between strips. Ease all four edges and the corners so nothing is sharp; a roundover bit does this beautifully.
Step 4: Raise the grain and final-sand
Wipe the board with a damp cloth. The water raises tiny wood fibers, making the surface feel slightly rough once dry. Sand lightly again at 220 to knock them down. Doing this now means the board stays smooth after its first wash instead of turning fuzzy. Wipe off all dust.
Step 5: Oil it — several coats
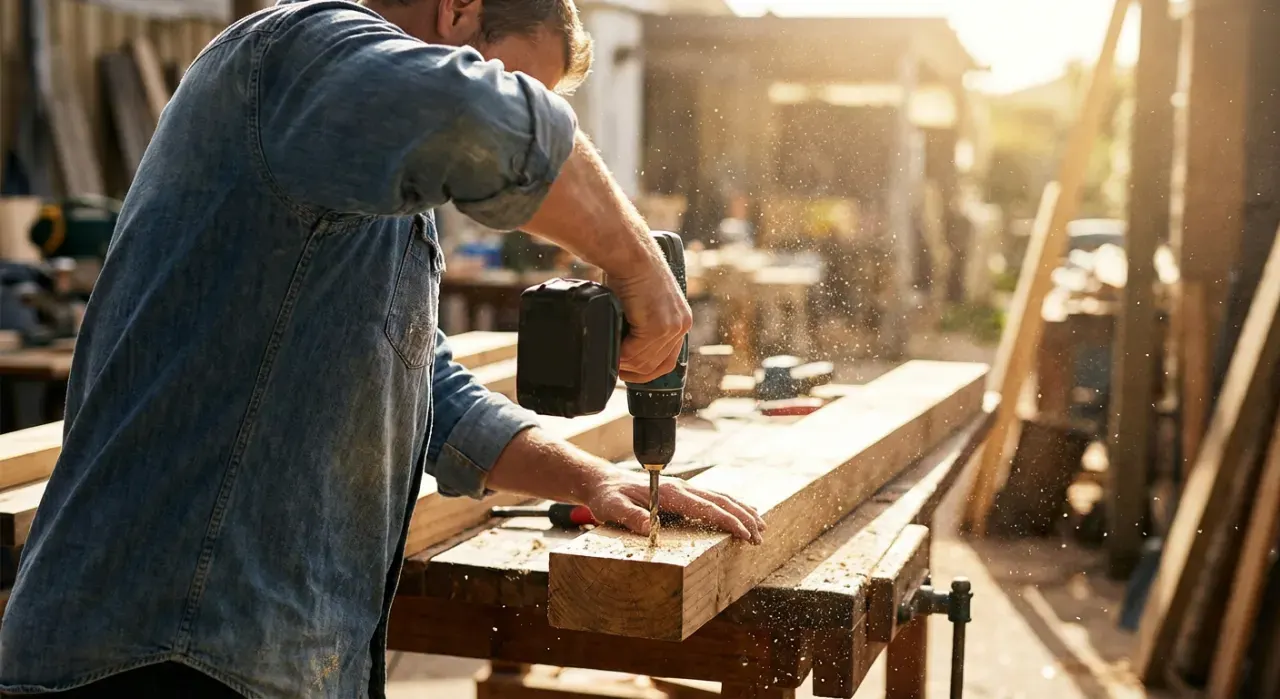
Flood the board with food-safe mineral oil and let it soak in for hours or overnight, then wipe off the excess. Repeat several times over a few days until the wood stops drinking it in. Finish with a coat of board butter (mineral oil and beeswax) if you want extra water resistance. Never use polyurethane or cooking oils. Re-oil whenever the board looks dry.
Where to go next
Cutting boards teach the glue-up and finishing skills behind bigger builds like a refinished tabletop or a picture frame. Soften every edge with our router roundover guide. It all lives under the power tools and workshop hub.
We never buy or physically test the tools we rank — our picks come from aggregated owner reviews and expert consensus, explained on how we rank.