 Garden
Affiliate Disclosure
Some links on this page are affiliate links. As an Amazon Associate, we earn from qualifying purchases — at no extra cost to you. We do not buy, test, or physically handle the products we cover; our rankings come from aggregated owner reviews, ratings and expert consensus. Commissions never change our verdicts. How we rank · full disclosure.
Refinishing a tired tabletop is one of the most satisfying weekend DIY projects, and it needs no permit or special skill. Expect to spend a weekend (much of it drying time) and 30 to 80 dollars on sandpaper, stain, and finish. The tools are a random-orbit sander, a vacuum, and brushes or rags. The whole outcome rides on two disciplines: sanding through the grits in order without skipping (skipping leaves scratches that stain reveals), and applying thin, patient topcoats. Rush either and the flaws show; take your time and the top looks factory-new.
Tools and materials
- A random-orbit sander — the right tool for a flat top, far faster and cleaner than a sheet sander. See our best orbital sanders.
- A shop vacuum to clear dust between grits and before finishing — dust is the enemy of a smooth coat. Our shop vac picks help.
- Sandpaper in 80, 120, 150/180, and 220 grit, plus tack cloths, brushes or applicator pads, and gloves.
- Materials: chemical stripper (optional), wood stain (optional), and a durable topcoat such as polyurethane or a hardwax oil.
Step 1: Clean and assess
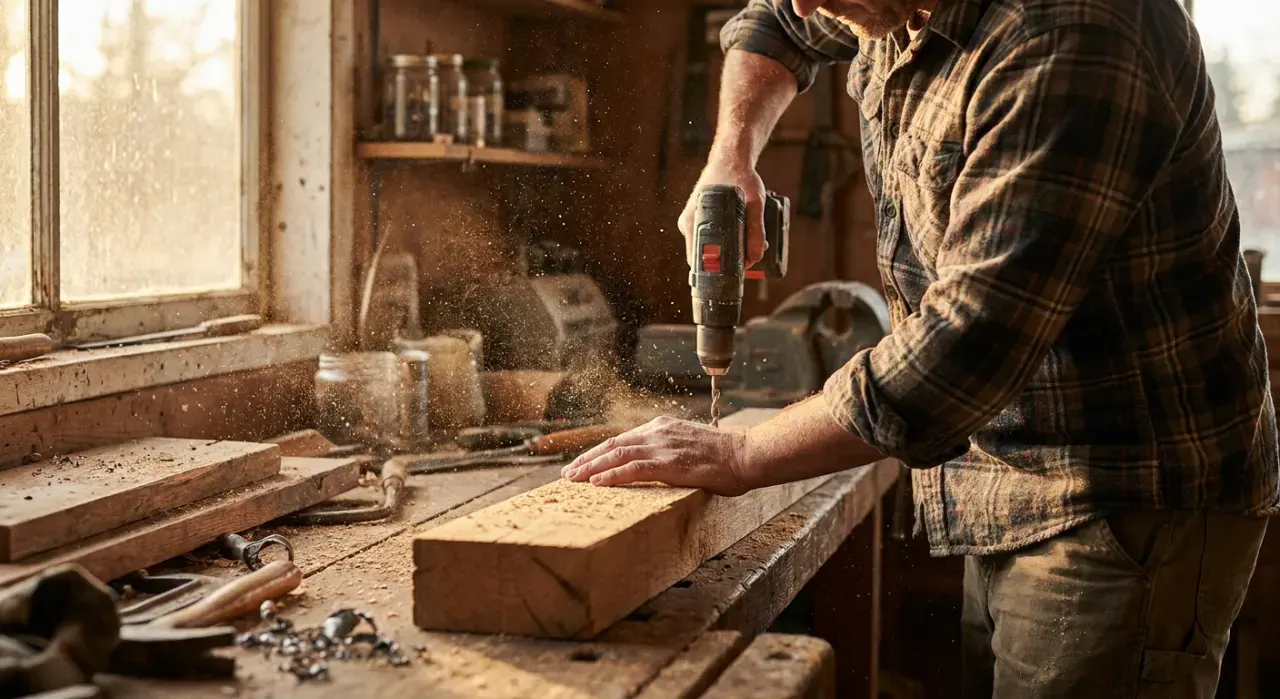
Clear the table, clean it, and look closely. Note whether the top is solid wood or veneer — veneer is thin, and aggressive power-sanding can cut right through it. For thick or carved finishes, plan to use chemical stripper; for a thin worn finish on a flat solid top, sanding alone is fine. Set up in a ventilated space and lay down a drop cloth.
Step 2: Remove the old finish
Start sanding at 80 grit to cut through the old finish and level the surface, keeping the sander flat and moving. Or apply chemical stripper, let it work, and scrape the softened finish off, then sand to clean up. On veneer, favor stripper and go very gently with any power sander. Get down to bare, even wood with no shiny finish patches remaining.
Step 3: Sand up through the grits
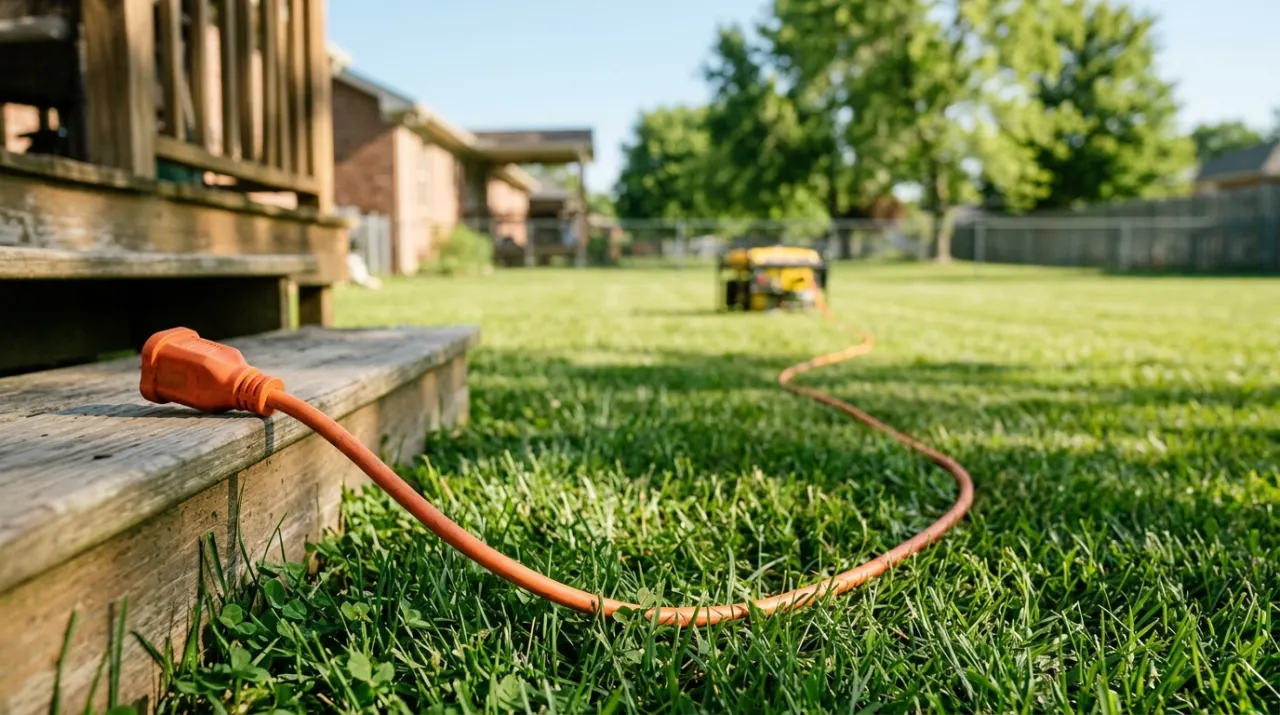
Move to 120 grit to erase the 80-grit scratches, then 150 or 180 for a stain-ready surface (220 if clear-coating only). Never skip more than one grit — the fine paper can’t remove coarse scratches, and stain makes every one visible. Let the sander’s weight do the work, move slowly, and vacuum thoroughly between grits so stray coarse grit doesn’t scratch the finer passes.
Step 4: Raise the grain and final-sand
Wipe the top with a damp cloth to swell the cut fibers, let it dry, and sand lightly at your final grit. This keeps the surface smooth after a water-based finish instead of turning rough with the first coat. Vacuum and wipe with a tack cloth so not a speck of dust remains.
Step 5: Stain and topcoat
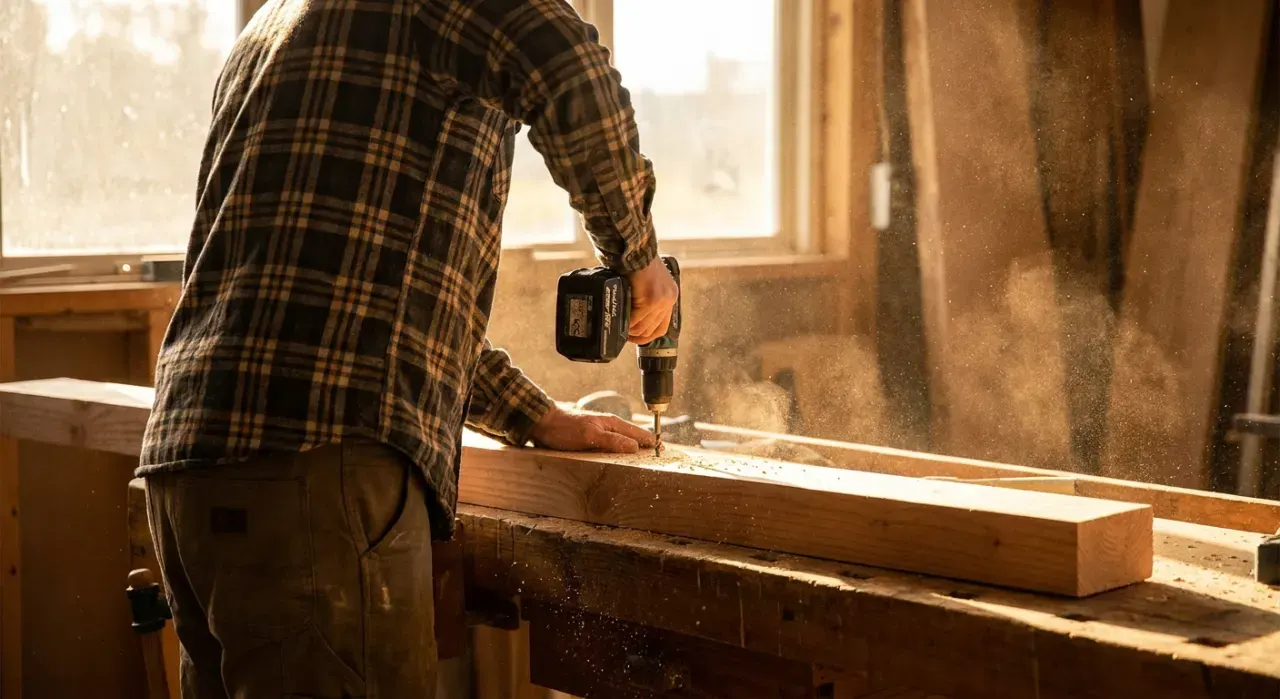
If staining, apply evenly with the grain, wipe off the excess after the recommended dwell time, and let it dry fully. Then apply thin coats of your topcoat — two to three coats of polyurethane for a hardworking table — sanding lightly with 320 grit and vacuuming between coats. Thin, patient coats level out glassy; thick coats run and trap bubbles. Let it cure before putting the table back in service.
Where to go next
The sanding and finishing skills here carry straight into a cutting board or a wooden bench. Soften the table’s edges first with our router roundover guide. It all lives under the power tools and workshop hub.
We never buy or physically test the tools we rank — our picks come from aggregated owner reviews and expert consensus, explained on how we rank.