 Garden
Affiliate Disclosure
Some links on this page are affiliate links. As an Amazon Associate, we earn from qualifying purchases — at no extra cost to you. We do not buy, test, or physically handle the products we cover; our rankings come from aggregated owner reviews, ratings and expert consensus. Commissions never change our verdicts. How we rank · full disclosure.
A simple wooden bench is a perfect confidence-building project — cheap, fast, and genuinely useful. From 2x4s it costs under 50 dollars, takes an afternoon, and needs only a saw, a drill, and clamps. No permit, nothing structural. The two things that separate a solid bench from a wobbly one are getting the seat height right (17 to 18 inches for sitting) and adding an apron and stretchers to triangulate the legs so it doesn’t rack. Nail those and you’ll have a bench strong enough to stand on and nice enough for an entryway or dining table.
Tools and materials
- A saw to cut the 2x4s — a circular saw with our speed square guide, or a miter saw for fast square crosscuts.
- A drill/driver and ideally a pocket hole jig for clean hidden joints — see our best cordless drills.
- Clamps for the glue-up and an orbital sander to smooth it — our sander picks help.
- Materials: about four to six 8-foot 2x4s (cedar or treated for outdoors), wood glue, 2.5-inch screws or pocket screws, and paint or finish.

Step 1: Cut to a plan
For a 4-foot bench about 18 inches tall, cut four legs at roughly 16.5 inches (the seat adds thickness to reach 18), two long aprons at 45 inches, two short aprons at 12 inches, and seat slats to length. Cut everything square — a bench shows crooked cuts in its stance. Work to a cut list rather than eyeballing.
Step 2: Build the two leg assemblies
Join two legs with a short apron and a lower stretcher to form each end assembly — a small ladder. Keep the parts square (equal diagonals) and glue plus pocket-screw or through-screw each joint. The lower stretcher near the floor is what stops front-to-back wobble; don’t leave it out.
Step 3: Connect with the long aprons and stretcher
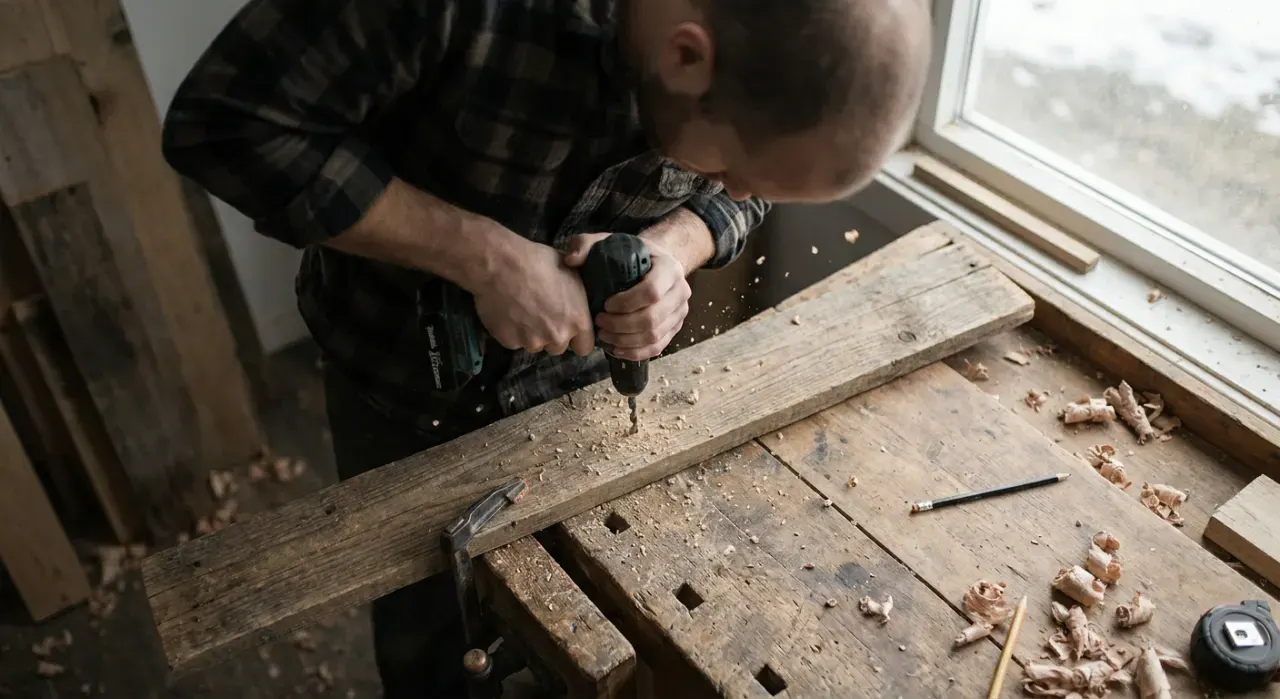
Stand the two end assemblies up and connect them with the long aprons under the seat and a long lower stretcher between the leg stretchers. This apron-and-stretcher frame triangulates the whole bench and kills side-to-side racking. Check the assembly sits flat and square before the glue sets.
Step 4: Attach the seat
Lay the seat slats across the aprons with a small even gap between them (a pencil’s width) so the bench sheds crumbs and water and looks intentional. Fasten from below through the aprons, or from the top with screws you then plug and sand. Support the seat on the aprons so no slat spans too far unsupported.
Step 5: Sand and finish
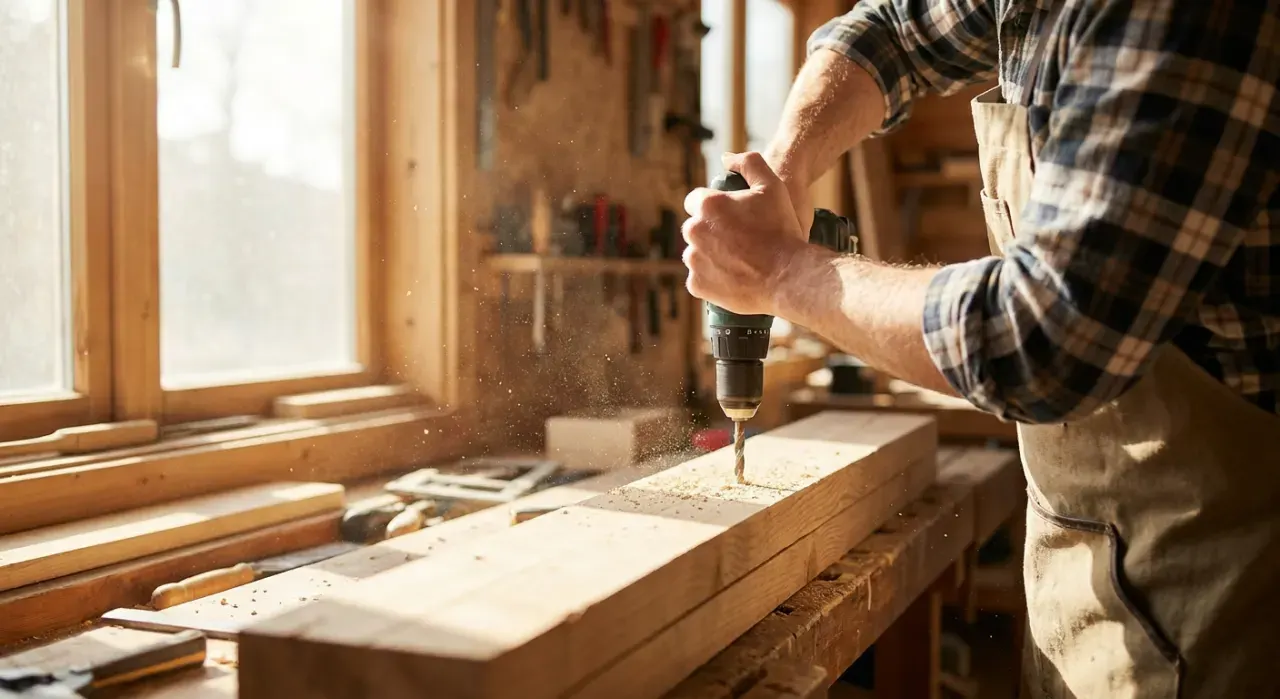
Sand all surfaces and ease the edges and corners so nothing snags clothing. Wipe off dust and apply paint, stain, or clear finish — two coats for durability. For an outdoor bench, use an exterior finish and rot-resistant wood so it survives the weather. Let it cure before use.
Where to go next
The same skills build a bookshelf or a planter box, and everything’s easier on a workbench. It all lives under the power tools and workshop hub.
We never buy or physically test the tools we rank — our picks come from aggregated owner reviews and expert consensus, explained on how we rank.