 Garden
Affiliate Disclosure
Some links on this page are affiliate links. As an Amazon Associate, we earn from qualifying purchases — at no extra cost to you. We do not buy, test, or physically handle the products we cover; our rankings come from aggregated owner reviews, ratings and expert consensus. Commissions never change our verdicts. How we rank · full disclosure.
A pocket hole jig is the fastest way for a beginner to make strong, hidden wood joints, and it takes about five minutes to learn. A jig costs anywhere from 20 to 150 dollars depending on the model, and once set up you can drill a joint in seconds. There is nothing hazardous or permitted about it. The two settings that matter are matching the jig and the drill-bit collar to your material thickness, and using the correct screw length for that thickness. Get those right, clamp the joint before you drive, and pocket screws will hold face frames, cabinets, and furniture rock-solid.
Tools and materials
- A pocket hole jig (Kreg is the common brand) with its stepped drill bit and stop collar.
- A drill/driver to bore the holes and drive the screws — see our best cordless drills. An impact driver drives the screws fast.
- A face clamp to hold the joint flush while you drive — the accessory that prevents nearly every alignment problem.
- Pocket-hole screws in the right length and thread for your material, plus optional glue and pocket-hole plugs.
Step 1: Set the jig and collar to your material
Measure your stock. For 3/4-inch boards, set the jig’s drill guide to 3/4 inch and slide the stop collar on the bit to the 3/4-inch mark, then lock it. These two settings together control where the hole exits and how deep you drill. Setting them for the wrong thickness is the most common mistake and causes screws to blow through the face or miss the joining board.
Step 2: Clamp the workpiece and drill
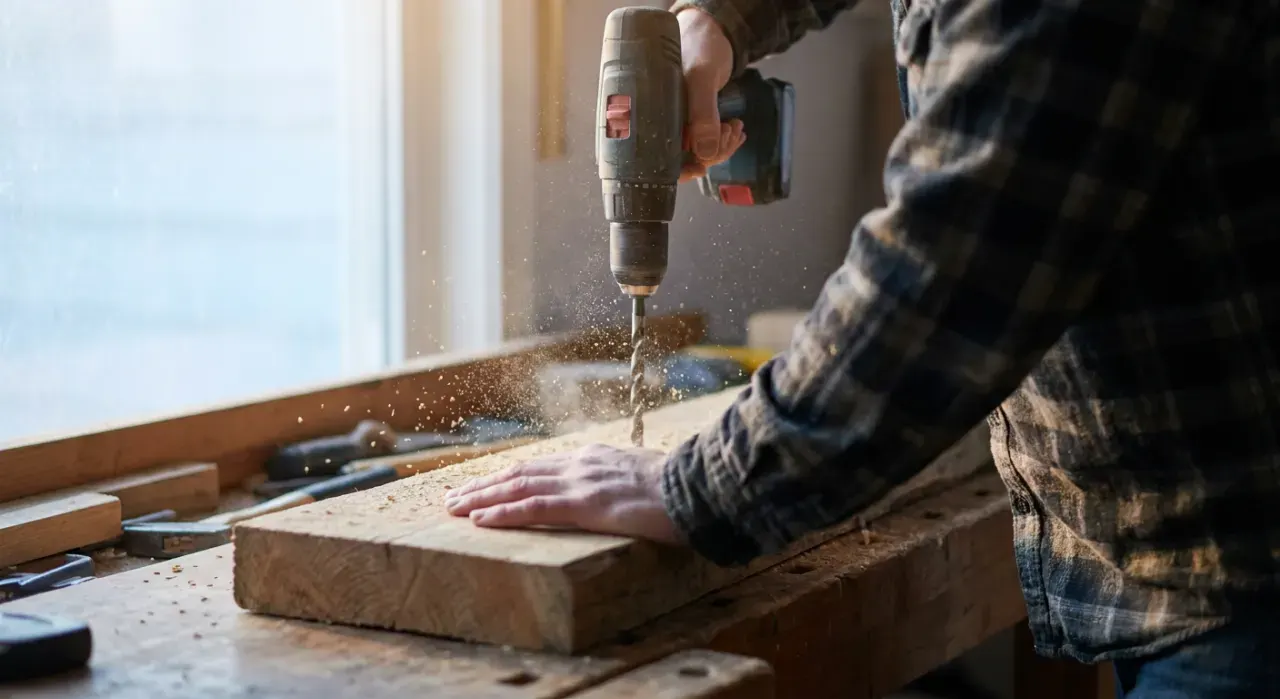
Clamp your board firmly in the jig so it can’t shift, then run the stepped bit in until the collar meets the jig. Drill at full speed and pull the bit out while it’s still spinning to clear chips. You’ll get a clean angled pocket with a flat-bottomed pilot for the screw. Vacuum the chips out of the pocket so they don’t interfere with the screw.

Step 3: Pick the right screw
Choose the screw length for the board thickness the pocket is in: 1-1/4 inch for 3/4-inch stock, 2-1/2 inch for 1-1/2-inch stock. Use coarse-thread for softwood and plywood, fine-thread for hardwood. The chart on the jig or screw box removes the guesswork. The wrong length either punches through or leaves a weak joint.
Step 4: Clamp the joint and drive
Hold the two boards flush with a face clamp — this is the step people skip and regret. Drive the pocket screw with a square driver bit at moderate speed until it’s snug; stop there. Without the clamp, the screw drags the joining board out of alignment as it seats. For extra strength and permanence, add a thin bead of glue to the mating surface first.

Step 5: Plug or hide the holes
Position pocket holes on the back or underside where they won’t show. If a hole lands on a semi-visible face, tap in a pocket-hole plug, cut it flush, and sand — it disappears under finish. Planning hole placement before you drill keeps every pocket out of sight in the finished piece.
Where to go next
Pocket holes make quick work of a bookshelf, a wooden bench, or a tool storage cabinet. They pair well with clean cuts — see our straight-cut guide. It all lives under the power tools and workshop hub.
We never buy or physically test the tools we rank — our picks come from aggregated owner reviews and expert consensus, explained on how we rank.