 Garden
Affiliate Disclosure
Some links on this page are affiliate links. As an Amazon Associate, we earn from qualifying purchases — at no extra cost to you. We do not buy, test, or physically handle the products we cover; our rankings come from aggregated owner reviews, ratings and expert consensus. Commissions never change our verdicts. How we rank · full disclosure.
A simple bookshelf is a perfect early woodworking project — one sheet of plywood, a day of work, and no permit or structural concern. Expect to spend roughly 60 to 120 dollars in materials (2026) and a few hours with a saw, a drill, and clamps. The two things that separate a good bookshelf from a sagging one are keeping each shelf’s span under about 30 inches and anchoring the finished piece to a wall stud so it can’t tip. Everything else is straight cuts and square assembly.
Tools and materials
- Circular saw (with a guide) or a table saw to break down the sheet — see the best circular saws and our guide to cutting straight.
- Drill/driver for pilot holes and screws; a good cordless drill is essential. Pocket-hole joinery uses a pocket hole jig.
- Orbital sander to smooth faces and edges before finishing — our orbital sander picks help.
- Materials: one 3/4-inch plywood sheet, wood glue, 1.25-inch screws or pocket screws, edge banding, and paint or clear finish.

Step 1: Break down the sheet to a cut list
A common bookcase is 30 inches wide, 11.25 inches deep, and about 48 inches tall. Cut two sides at 48 inches, and shelves at 28.5 inches (so a 30-inch overall width works out with 3/4-inch sides). Rip every piece to the same 11.25-inch depth. Cut straight and square — a bookcase shows every crooked cut. Support the sheet fully so it doesn’t pinch the blade.
Step 2: Choose your joinery and mark the shelf positions
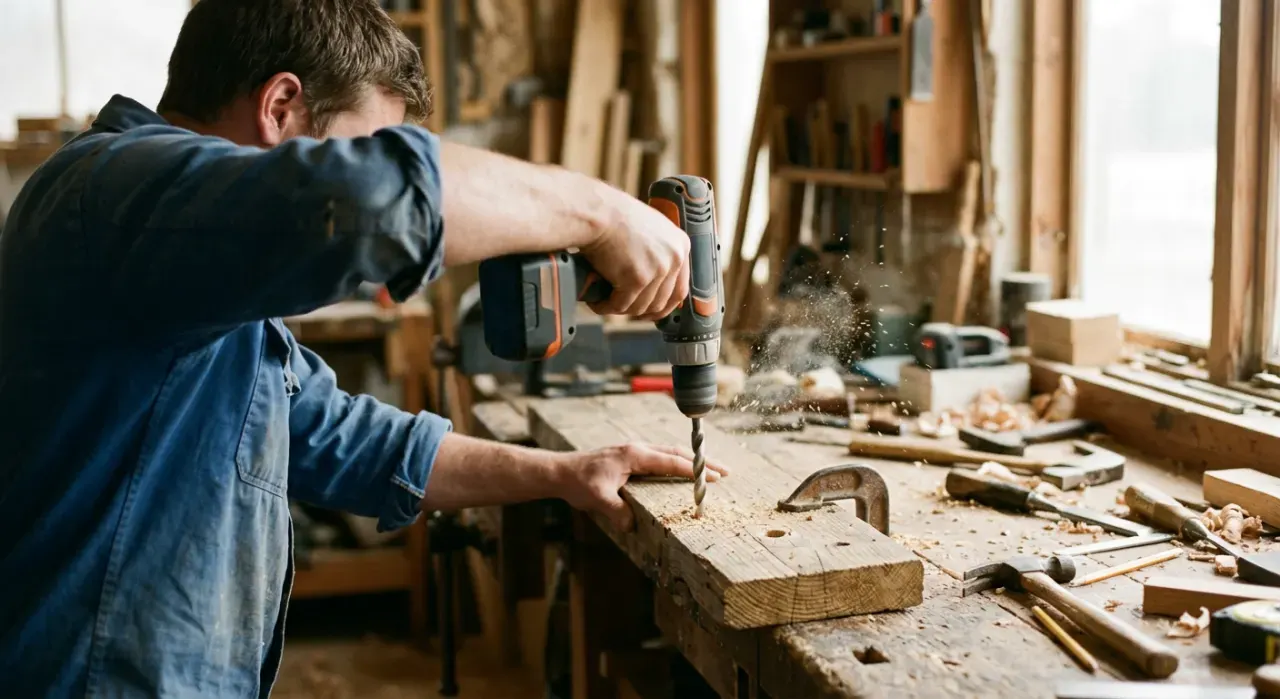
Mark shelf locations on the inside faces of both sides, measuring identically on each so shelves sit level. For maximum strength, rout a 3/8-inch-deep dado (groove) at each mark for the shelf to seat into. For speed, drill pocket holes in the shelf ends instead. Either way, glue the joints — glue does most of the holding; the fasteners just clamp it while it dries.
Step 3: Assemble the carcass
Glue and fasten the top and bottom shelves between the two sides first to form a rigid box, checking for square by measuring both diagonals — equal diagonals mean square. Then install the middle shelves. Add a back panel of 1/4-inch plywood, which squares the whole case and stops it from racking (leaning into a parallelogram). Do not skip the back; it is what keeps the shelf permanently square.
Step 4: Edge, sand, and finish
Iron-on veneer edge banding hides plywood’s raw front edges; trim it flush and sand lightly. Sand all faces to 150 grit, then 220 if you’re staining. Wipe off the dust and apply paint or two coats of clear polyurethane, sanding lightly between coats. A finished edge and a smooth surface are what make a shop-built shelf look bought.
Step 5: Anchor it to the wall
Stand the bookshelf where it belongs, find a stud behind it, and drive an anti-tip strap or an L-bracket from the top back rail into the stud. A loaded bookcase is top-heavy and genuinely can tip onto a child — this two-screw step is non-negotiable in any home with kids or pets.
Where to go next
Ready for more? A simple wooden bench and a picture frame use the same skills, and everything is easier on a proper workbench. It all lives under the power tools and workshop hub.
We never buy or physically test the tools we rank — our picks come from aggregated owner reviews and expert consensus, explained on how we rank.