 Garden
Affiliate Disclosure
Some links on this page are affiliate links. As an Amazon Associate, we earn from qualifying purchases — at no extra cost to you. We do not buy, test, or physically handle the products we cover; our rankings come from aggregated owner reviews, ratings and expert consensus. Commissions never change our verdicts. How we rank · full disclosure.
Yes — a basic workbench is one of the best first builds for a new DIYer. A sturdy 6-foot 2x4-and-plywood bench takes an afternoon to a full day, costs roughly 80 to 150 dollars in lumber and screws (2026), and needs only a drill/driver, a saw, and a square. There is nothing structural or permitted about it. The only real skill is cutting square and driving screws where the plan says. Get the frame square and braced and it will outlast most of the tools you set on it.
Tools and materials
You can build this entire bench with a cordless drill and a circular saw. Nothing exotic.
- Drill/driver for pilot holes and screws — the single most-used tool in the build. If you are buying one, our best cordless drills guide ranks current models on owner ratings.
- Circular saw to cut the 2x4s and rip the plywood top to size; see the best circular saws. A miter saw makes the crosscuts faster but is not required.
- Impact driver (optional but a huge time-saver for the lag screws and long deck screws) — our impact driver picks cover it.
- Materials: about nine 8-foot 2x4s, one 3/4-inch plywood sheet (top and lower shelf), 2.5-inch and 3-inch construction screws, wood glue, and a speed square.
Step 1: Cut the lumber to a plan
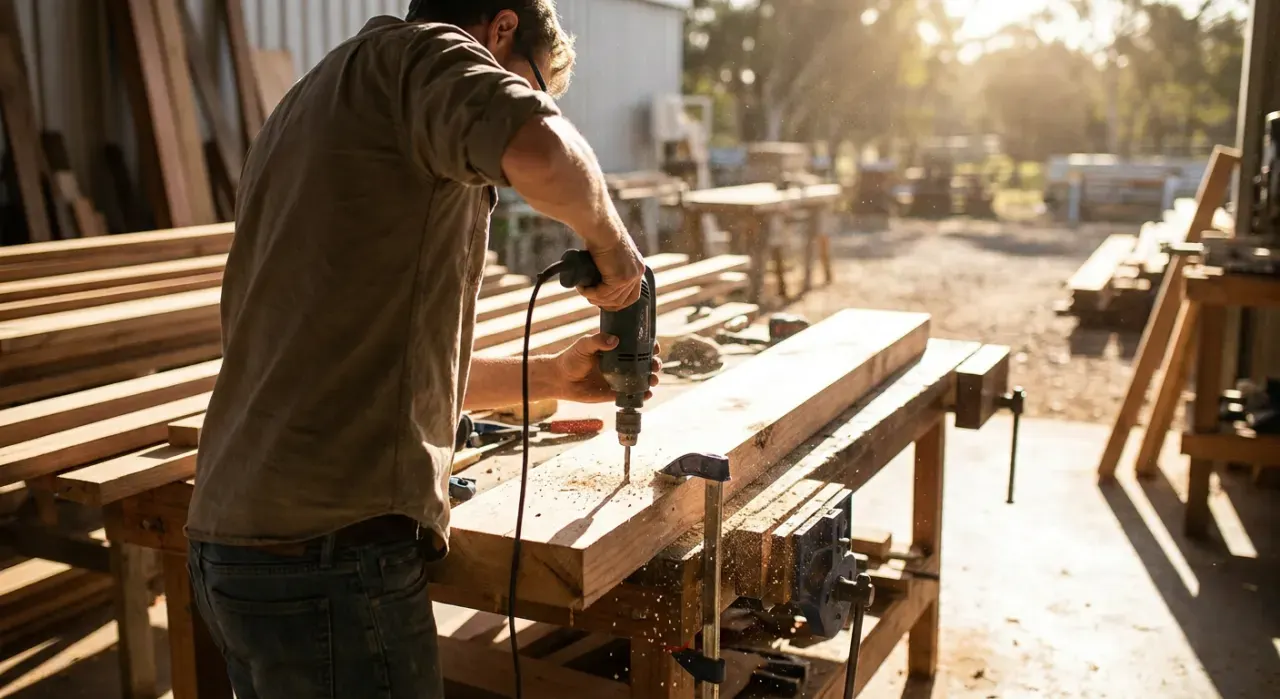
Work to a cut list, not by eye. For a 6-foot bench 24 inches deep and 35 inches tall, cut four legs at 33.25 inches (the doubled top adds 1.5 inches to reach 35), four long rails at 69 inches, and four short rails at 21 inches. Cut every 2x4 with a square edge — a saw that wanders 2 degrees turns a flat bench into a rocking one. Mark with a speed square and cut to the waste side of the line so your pieces stay full length.
Step 2: Build the two end frames
Assemble each end as a rectangle: two legs joined by a short top rail and a short bottom rail. Set the top rail flush with the tops of the legs and the bottom rail about 8 to 10 inches up from the floor to leave room for a lower shelf and to clear your feet. Glue every joint, drill 1/8-inch pilot holes to stop the 2x4s splitting, and drive two 3-inch screws per joint. Check each frame for square with the speed square before the glue sets — measure both diagonals, and when they are equal the frame is square.
Step 3: Connect the frames with the long rails
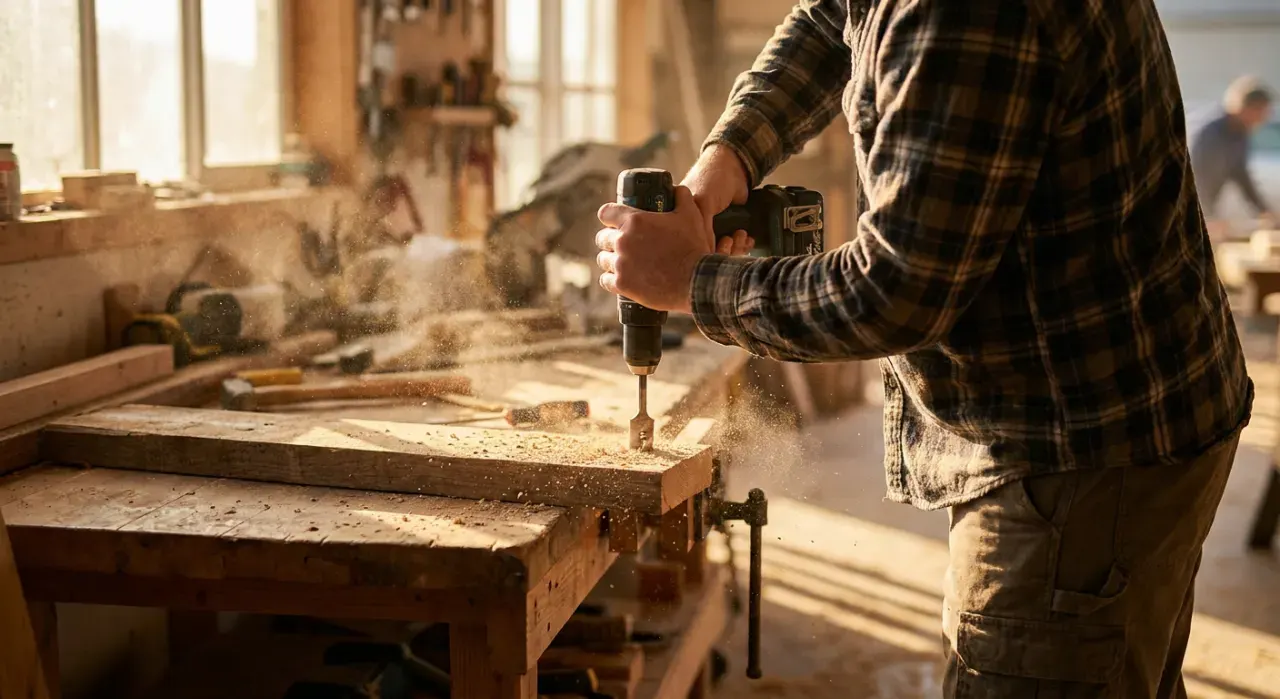
Stand the two end frames up and join them with the four 69-inch long rails — two at the top, two at the bottom, screwed to the inside faces of the legs. This is the step where the bench either becomes rigid or stays wobbly. Keep the top long rails flush with the tops of the legs so the plywood top sits flat. A helper (or a couple of clamps) holding a frame upright makes this far easier than fighting it alone.
Step 4: Stop the racking
An unbraced four-legged frame will lean sideways under a shove — this is called racking, and it is the number-one reason home-built benches feel flimsy. Fix it one of two ways: add a solid plywood back panel screwed to the rear legs and rails, or run diagonal 2x4 braces from a bottom rail up to a leg. Even a single sheet of 1/4-inch plywood screwed across the back triangulates the whole frame and kills the wobble. Do not skip this.
Step 5: Build and attach the top
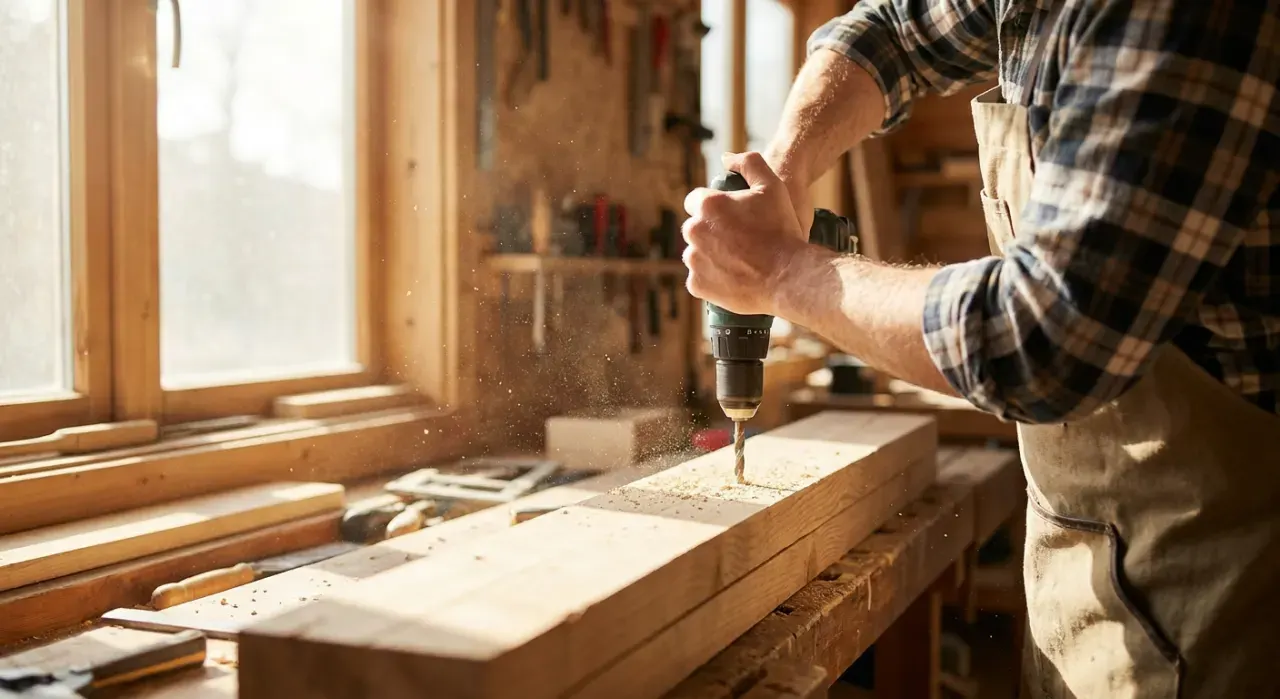
Cut two pieces of 3/4-inch plywood to 72 by 24 inches. Spread glue between them, stack them, and screw them together from below with 1-inch screws so no points poke through the working surface — you end up with a flat, heavy 1.5-inch top. Set it on the frame, overhang the front and ends by about 1 inch so you can clamp workpieces to the edge, and fasten it from underneath through the top rails with 2-inch screws. Fastening from below keeps the surface clean and screw-free.
Step 6: Shelf, and optional finish
Drop a plywood shelf onto the bottom rails for tool and hardware storage — it also adds rigidity. A coat of wipe-on polyurethane or even leftover paint makes the top wipe clean and resist glue and stains, though a shop bench works fine bare. If you know where a vise will go, reinforce that corner now with an extra doubled 2x4 under the top so you have solid material to bolt into later.
Where to go next
Once the bench is up, the natural next builds are the things that go on and around it: a matching pair of sawhorses for breaking down sheet goods, a pegboard tool wall above it, and garage storage shelves to clear the floor. Everything lives under the power tools and workshop hub.
We never buy or physically test the tools we rank — our picks come from aggregated owner reviews and expert consensus, explained on how we rank. Follow each tool’s manual for safe use.