 Garden

Affiliate Disclosure
Some links on this page are affiliate links. As an Amazon Associate, we earn from qualifying purchases — at no extra cost to you. We do not buy, test, or physically handle the products we cover; our rankings come from aggregated owner reviews, ratings and expert consensus. Commissions never change our verdicts. How we rank · full disclosure.
Garage shelves are a great first carpentry project — no permit, nothing structural, and a big payoff. A full-wall 2x4-and-plywood unit takes a half day, costs roughly 100 to 180 dollars in lumber (2026), and needs only a drill and a saw. The design is simple: vertical legs carry the load to the floor, plywood shelves span between them, and the whole thing gets anchored at the top to the wall so it can’t tip. The two mistakes to avoid are spanning too far without a center support (shelves bow) and leaving a tall loaded unit unanchored (it can topple).
Tools and materials
- Drill/driver for pilot holes and screws — see our best cordless drills.
- Circular saw to cut 2x4s and rip the plywood shelves; our circular saw picks cover current models.
- Impact driver (optional) makes fast work of the many screws — our impact driver guide helps.
- Materials: ten to twelve 8-foot 2x4s, two sheets of 3/4-inch plywood or OSB, 2.5-inch and 3-inch construction screws, a level, a stud finder, and lag screws or L-brackets to anchor the top to the wall.

Step 1: Measure the bay and plan shelf spacing
Measure the wall width, the ceiling height, and — critically — your actual storage totes. Plan shelf spacing around them: 16 to 18 inches of clearance suits most totes. A common unit is 8 feet wide, 24 inches deep, and 6 feet tall with four or five shelves. If the wall is wider than 4 feet between legs, plan a center leg so the shelves don’t sag under load.
Step 2: Build the two end frames (ladders)
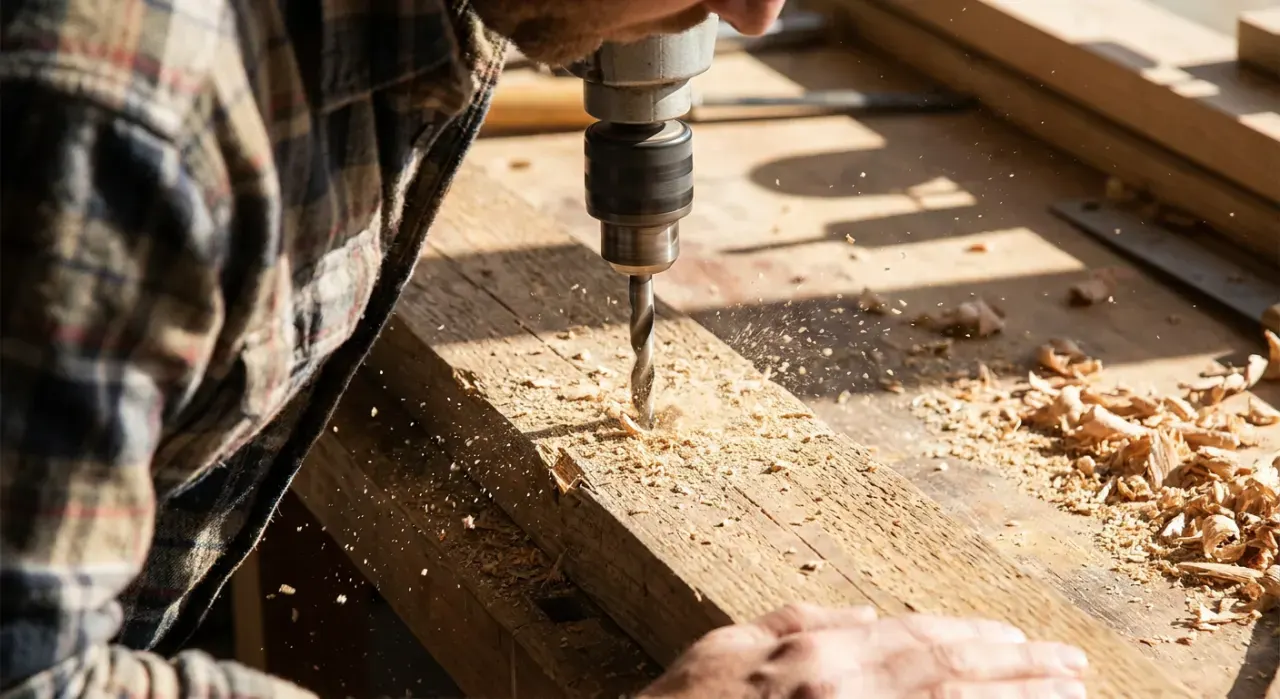
Build each end as a "ladder": two vertical 2x4 legs with horizontal 2x4 shelf supports screwed across them at your planned heights. Keep every support level and the two frames identical — measure the same height on both legs and mark them together so the shelves sit flat. Glue and two 3-inch screws per joint, with 1/8-inch pilot holes to prevent splitting.
Step 3: Connect the frames and add front rails
Stand the two ladder frames up parallel and connect them with front and back horizontal 2x4 rails at each shelf level. The front rail is what carries the load across the open span — for spans over 4 feet, add a center leg down to the floor under the rail. This is the step that determines whether the shelves stay flat or bow under a row of full totes.
Step 4: Cut and drop in the shelf decks
Cut plywood or OSB to fit each shelf opening and set the decks onto the supports. Screw them down at the corners and along the front rail with 1.5-inch screws so they can’t shift or lift. Leave the bottom shelf a few inches off the floor so you can sweep under it and so nothing sits in a wet garage floor.
Step 5: Anchor it to the wall
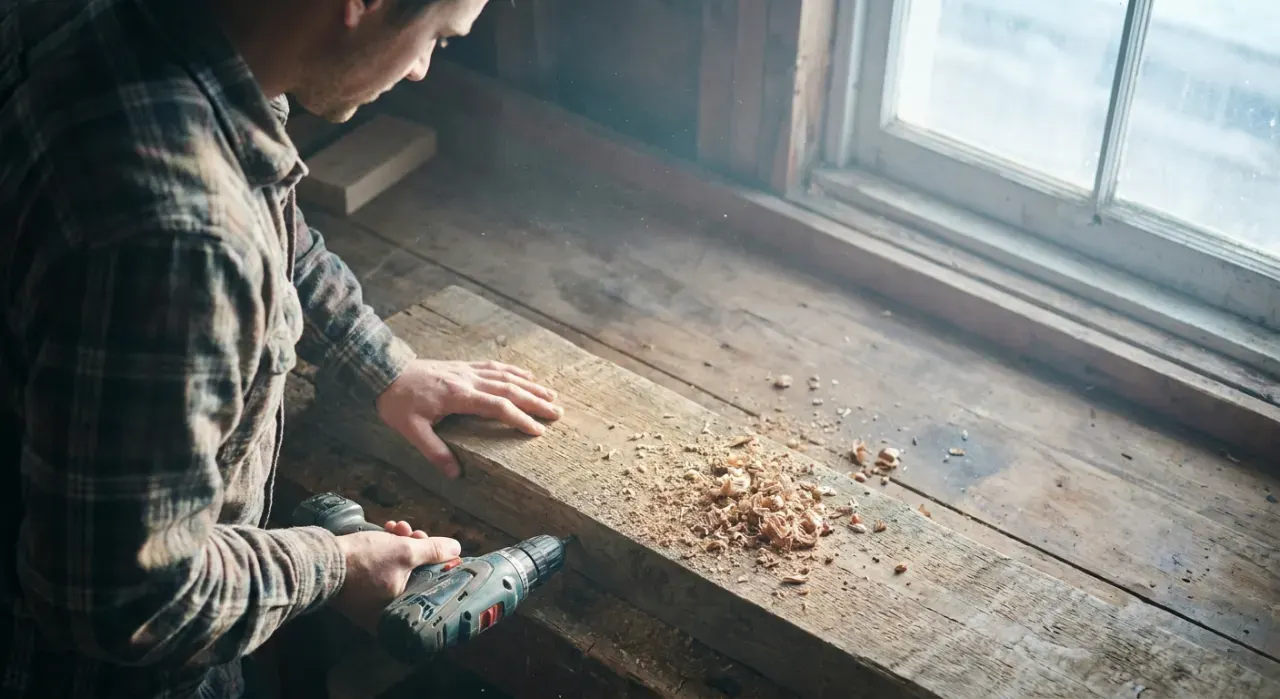
A tall, loaded, top-heavy shelf can tip forward when you pull items from an upper shelf — this is a genuine injury risk. Find the wall studs, and drive a lag screw or an L-bracket from the top rail into a stud. This single step converts a tippy unit into a permanently stable one. Never load the upper shelves of an unanchored freestanding unit.
Where to go next
Shelves handle the bulky bins; pair them with a pegboard tool wall for hand tools and a lumber storage rack for offcuts and boards. A workbench completes the shop. Everything sits under the power tools and workshop hub.
We never buy or physically test the tools we rank — our picks come from aggregated owner reviews and expert consensus, explained on how we rank.