 Garden
Affiliate Disclosure
Some links on this page are affiliate links. As an Amazon Associate, we earn from qualifying purchases — at no extra cost to you. We do not buy, test, or physically handle the products we cover; our rankings come from aggregated owner reviews, ratings and expert consensus. Commissions never change our verdicts. How we rank · full disclosure.
A pair of sawhorses is one of the cheapest, most useful things you can build, and it is a great first project. Two sturdy 2x4 horses cost about 20 to 30 dollars in lumber and take roughly 30 minutes each with a saw and a drill. No permit, nothing structural. The one design feature that makes or breaks them is the outward leg splay — angled legs give a wide, stable stance, while straight vertical legs make a wobbly horse. Glue and screw the joints, keep the pair identical so they stack, and they’ll carry sheet goods, doors, and your own weight for years.
Tools and materials
- A saw for the beam, legs, and angle cuts — a circular saw with a speed square makes the angles easy; a miter saw is faster still.
- A drill/driver for pilot holes and screws — see our best cordless drills. An impact driver speeds up driving.
- Materials per pair: about five 8-foot 2x4s, 3-inch construction screws, wood glue, and a speed square. (Or a set of metal sawhorse brackets plus 2x4s for a no-angle build.)
Step 1: Cut the beams and legs
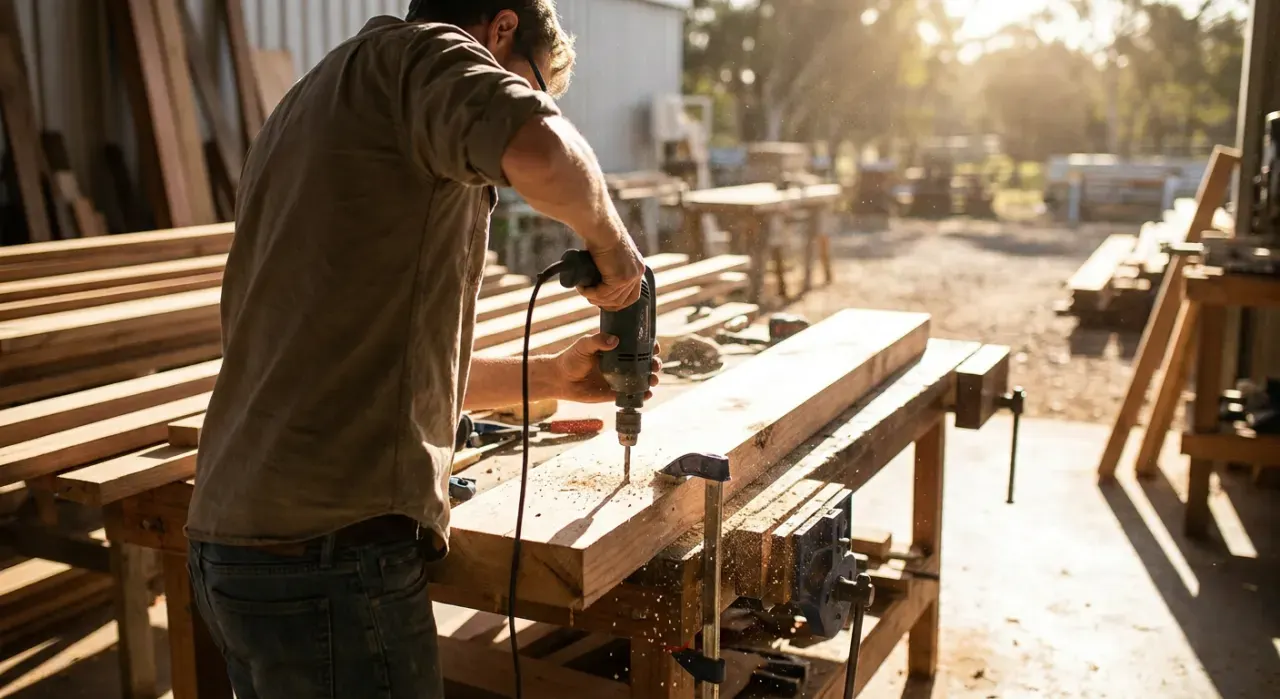
For each horse, cut one beam (the top, about 30 to 36 inches long) and four legs (about 28 to 30 inches, cut with a matching angle on both ends so they splay out and sit flat on the floor). A speed square set to about 10 to 15 degrees gives a clean, repeatable splay angle. Cut all eight legs the same so both horses match and stack.
Step 2: Attach the legs with splay
Fasten a leg to each corner of the beam, angled outward in both directions — spreading toward the ends and out to the sides. Glue each joint and drive three 3-inch screws through the beam into the leg, with pilot holes to prevent splitting. The wide splayed footprint is what makes the horse stable; vertical legs will wobble and tip.
Step 3: Add gussets or a spreader
For extra rigidity, add a plywood gusset at each end (a triangle screwed across the two legs) or a horizontal spreader connecting the legs partway down. This triangulates the legs and stops them from splaying further or working loose under load. It’s optional on a light-duty horse but worth it if you’ll stand on a plank between the pair.
Step 4: Level the feet
Stand the finished horse on a flat floor. If it rocks, one leg is slightly long — trim the high foot a hair, or sand it, until all four feet sit flat. A horse that rocks under load is annoying and less safe. Do the same for the second horse so the pair sits level together.
Step 5: Optional top protection and stacking
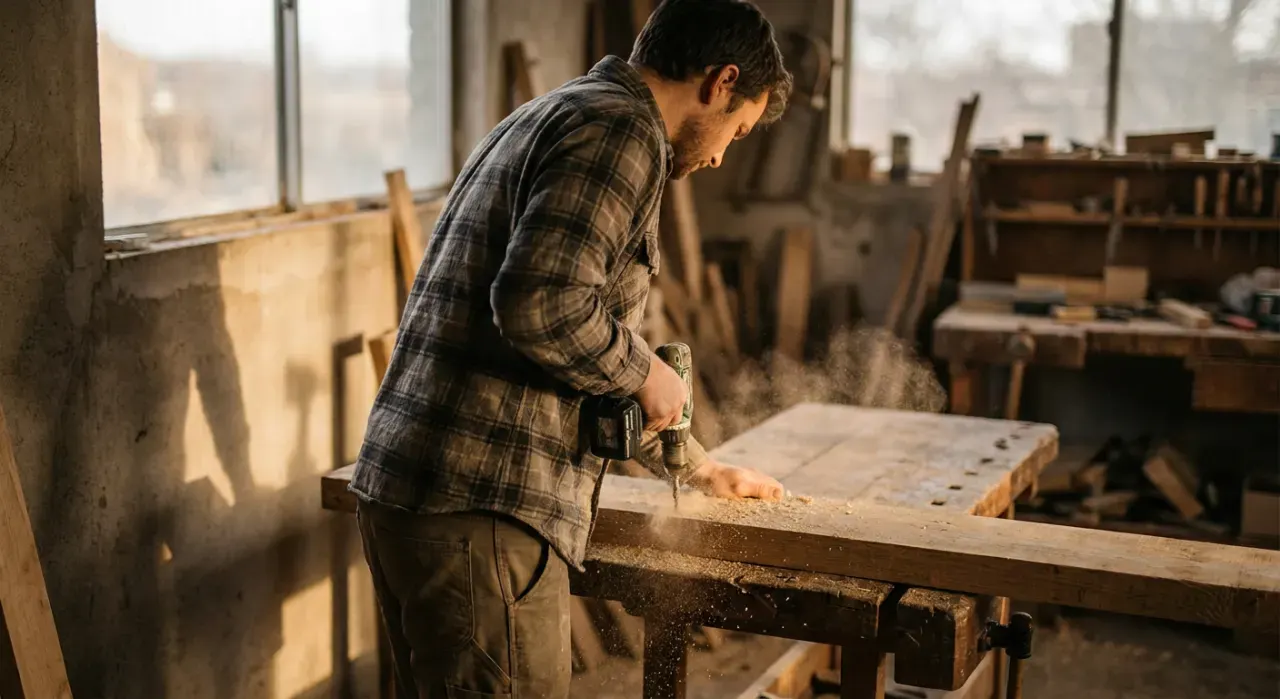
A strip of scrap wood or a kerf sawn across the top beam gives your saw blade somewhere to run when you cut through a workpiece without chewing the beam. Build both horses to identical dimensions so they nest and stack against a wall when not in use — the main payoff of building a matched pair.
Where to go next
Sawhorses and a sheet of plywood make a quick worktable, but a dedicated workbench is the natural upgrade, and they pair well with garage storage shelves. Master the angle cuts with our speed square guide. It all lives under the power tools and workshop hub.
We never buy or physically test the tools we rank — our picks come from aggregated owner reviews and expert consensus, explained on how we rank.