 Garden
Affiliate Disclosure
Some links on this page are affiliate links. As an Amazon Associate, we earn from qualifying purchases — at no extra cost to you. We do not buy, test, or physically handle the products we cover; our rankings come from aggregated owner reviews, ratings and expert consensus. Commissions never change our verdicts. How we rank · full disclosure.
A wall-hung tool cabinet is a satisfying intermediate build that clears your bench and protects your tools. From a sheet or two of 3/4-inch plywood it takes a weekend and costs roughly 80 to 200 dollars in materials (2026), using a saw, a drill, and a few clamps. Nothing structural or permitted is involved. The two things that make it solid are a proper back panel (which keeps the box from racking) and a French cleat to hang it — a 45-degree ripped strip that hooks the cabinet to a wall-mounted mate and carries the load into the studs.
Tools and materials
- Circular saw or table saw to break down the sheet — see the best circular saws and our straight-cut guide.
- Drill/driver and a pocket hole jig for fast carcass joinery — our best cordless drills help.
- Clamps, a level, and a stud finder for the glue-up and for hanging the cleat into studs.
- Materials: one to two 3/4-inch plywood sheets, 1/4-inch plywood for the back and doors, wood glue, screws, hinges, and stock for the French cleat.
Step 1: Cut the carcass parts
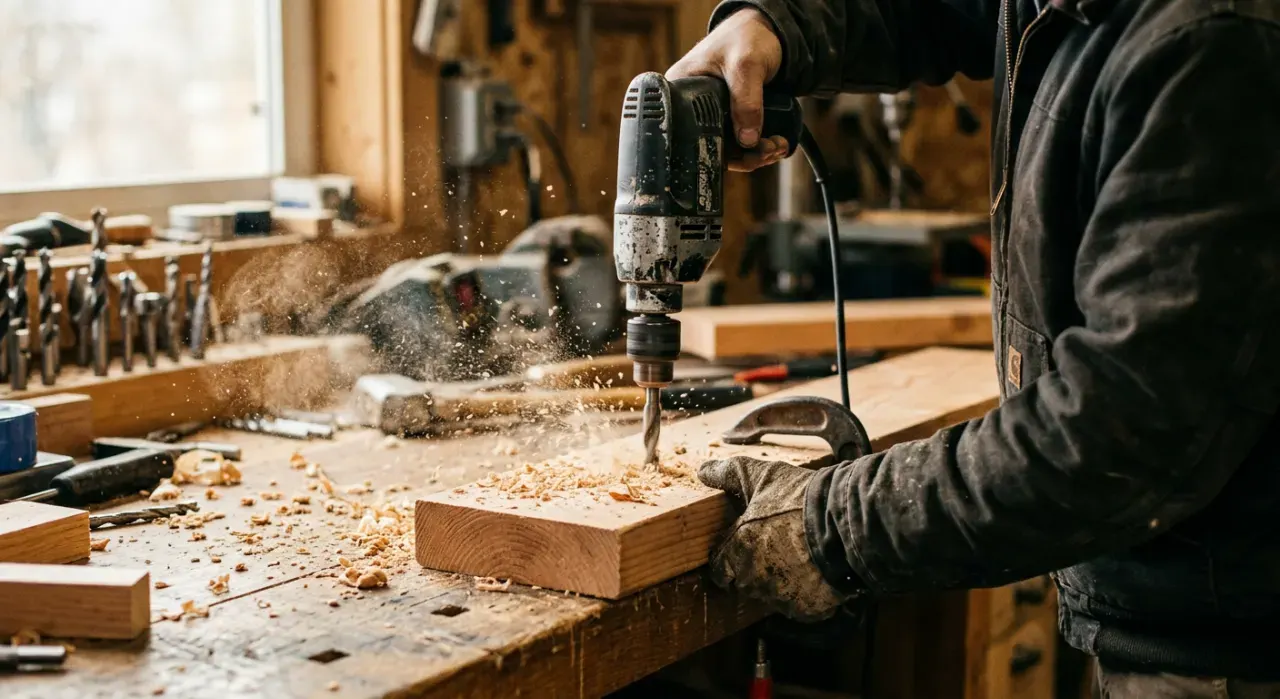
A typical shop cabinet is 30 to 36 inches wide, 24 to 30 inches tall, and 8 to 12 inches deep. Cut two sides, a top, a bottom, and any fixed shelves from 3/4-inch plywood, all to the same depth. Cut straight and square — a cabinet shows every off cut in its corners and doors.
Step 2: Assemble the box square
Glue and fasten the top and bottom between the sides to form a box, using pocket screws or screws through the sides. Before the glue sets, measure both diagonals and adjust until they’re equal — that means the box is square. A carcass that’s even slightly out of square will fight you on the doors and the cleat later.
Step 3: Add the back to lock it square
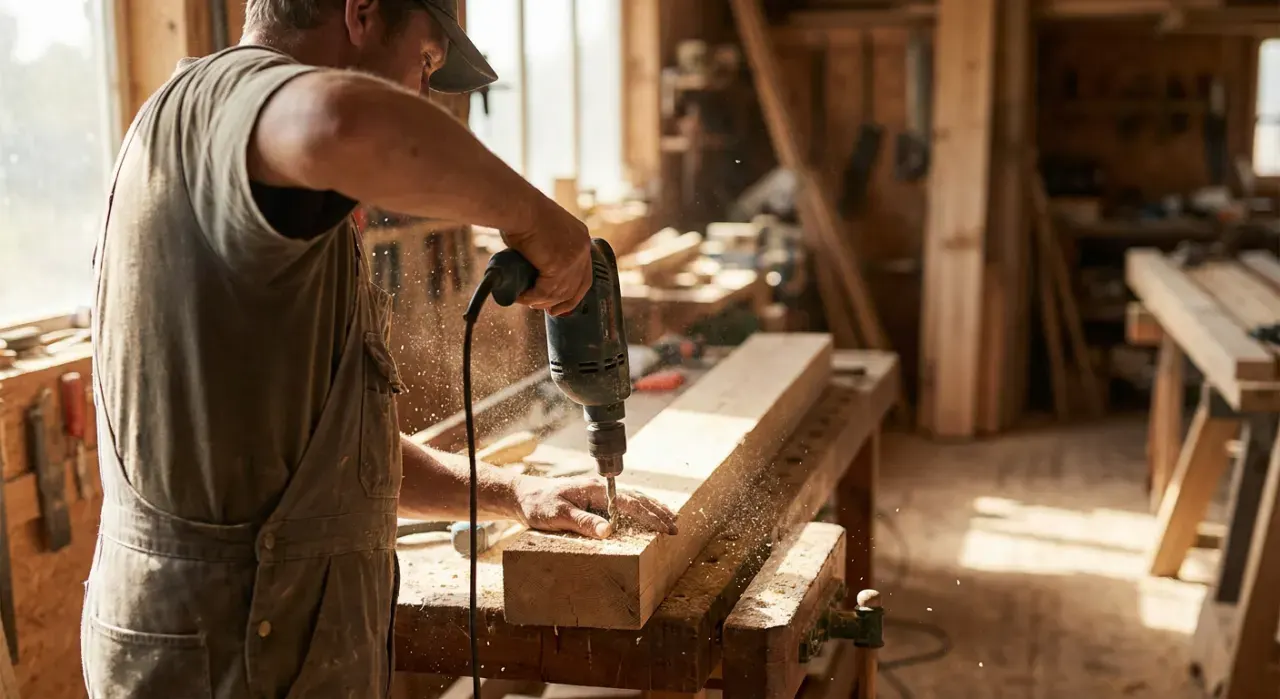
Cut a 1/4-inch plywood back to the full outside dimensions and glue and screw it across the rear, checking square as you fasten. The back panel does real structural work — it stops the loaded cabinet from racking into a parallelogram. Never leave it off a wall-hung cabinet.
Step 4: Make and mount the French cleat
Rip a board at 45 degrees down its length to make two mating cleats. Screw one half to the back of the cabinet near the top, bevel facing up and in. Find the wall studs, level the mating cleat, and screw it into the studs with the bevel facing up and out. Hook the cabinet’s cleat over the wall cleat — it locks itself down and spreads the load. This is what lets one person hang a heavy cabinet.
Step 5: Fit shelves, doors, and tool holders
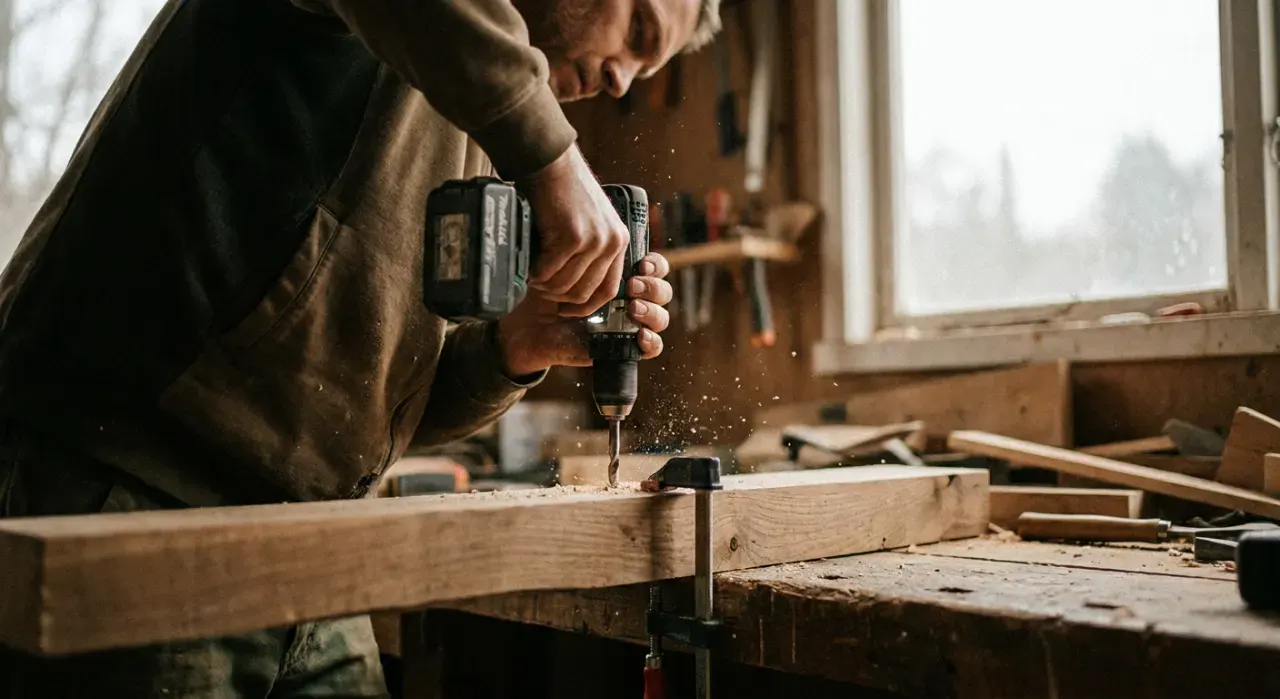
Add shelves, then hang doors on solid hinges if you want them — the inside faces are prime real estate for pegboard or small French cleats that hold hand tools. Customize the interior to your exact tools with dividers and holders. Because it’s your build, every inch can be fitted to what you own, which is the whole advantage over a store cabinet.
Where to go next
An enclosed cabinet complements an open pegboard tool wall and a rolling tool cart for tools you move around. It all sits above your workbench under the power tools and workshop hub.
We never buy or physically test the tools we rank — our picks come from aggregated owner reviews and expert consensus, explained on how we rank.