 Garden
Affiliate Disclosure
Some links on this page are affiliate links. As an Amazon Associate, we earn from qualifying purchases — at no extra cost to you. We do not buy, test, or physically handle the products we cover; our rankings come from aggregated owner reviews, ratings and expert consensus. Commissions never change our verdicts. How we rank · full disclosure.
A planter box is a quick, forgiving build that upgrades any porch, patio, or garden, and it’s ideal for a first outdoor woodworking project. A cedar box costs 30 to 70 dollars in lumber and takes an afternoon with a saw and a drill. No permit, nothing structural. The details that decide whether it thrives or rots are all about water: rot-resistant wood, generous drainage holes, a wall liner, and feet to raise it off the ground. Get the drainage right and even simple screwed corners will hold up for years.
Tools and materials
- A saw to cut the boards — a circular saw or miter saw. Our speed square guide keeps cuts square.
- A drill/driver for pilot holes, drainage holes, and exterior screws — see our best cordless drills.
- Materials: cedar, redwood, or cypress boards; exterior/galvanized or stainless screws; landscape fabric or a perforated liner; a staple gun; and a plant-safe exterior sealer.
Step 1: Size it to the plants
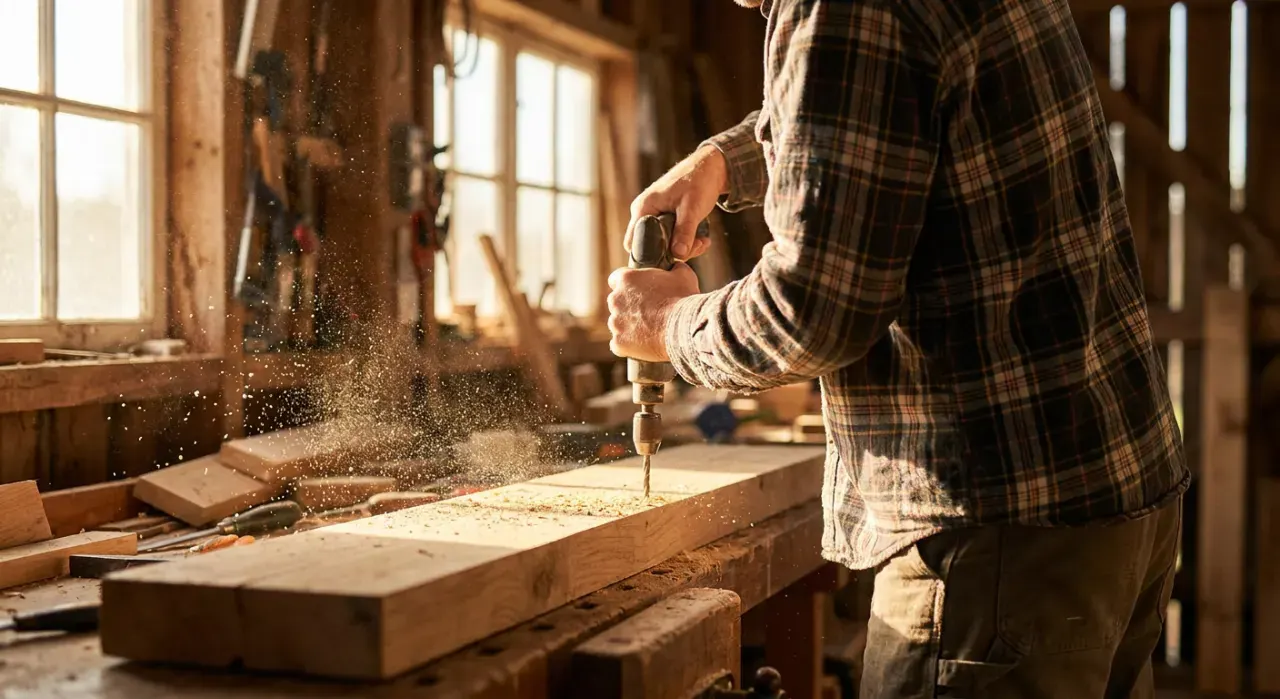
Decide what you’ll grow and set the depth accordingly: 6 to 8 inches for herbs and lettuce, 10 to 12 inches for most vegetables, 12 to 18 inches for deep-rooted crops. Keep the width to about 2 feet if you’ll reach from one side. Cut the four sides, a bottom, and any corner posts to your dimensions from rot-resistant wood.
Step 2: Assemble the box
Screw the four sides together at the corners — either directly, or into 2x2 corner posts for extra strength and a cleaner look. Drill pilot holes so the screws don’t split the wood near the ends. Use exterior-rated screws that won’t rust and streak the wood. Check the box is square as you fasten.
Step 3: Add the bottom and drainage
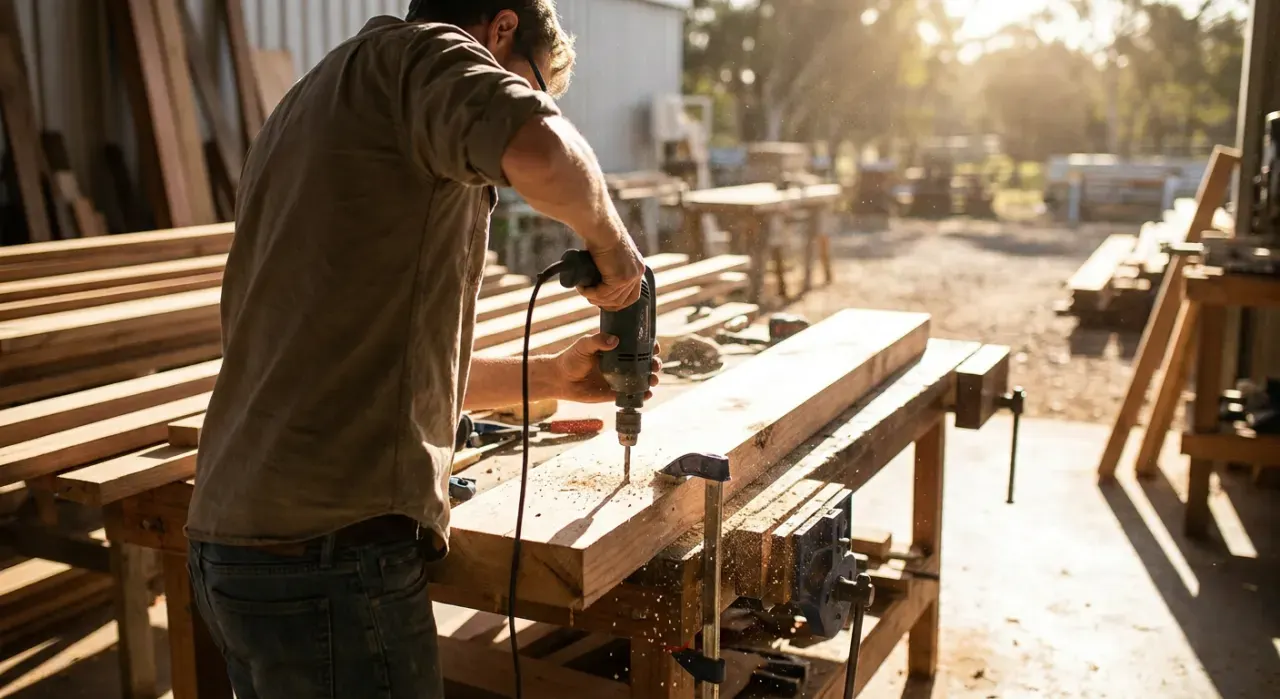
Fit the bottom board(s) and drill several 1/2-inch drainage holes across it. Leave small gaps between multiple bottom boards for extra drainage if you like. This is the make-or-break step: without drainage, water pools, roots rot, and the wood decays. A planter must be able to shed water freely.
Step 4: Line the walls and add feet
Staple landscape fabric or a perforated liner to the inside walls to keep constantly damp soil off the wood — but never seal over the drainage holes. Then attach feet or cleats to the bottom so the box sits raised off the ground, letting water escape and air circulate underneath. Both steps dramatically extend the box’s life.
Step 5: Seal the exterior and plant
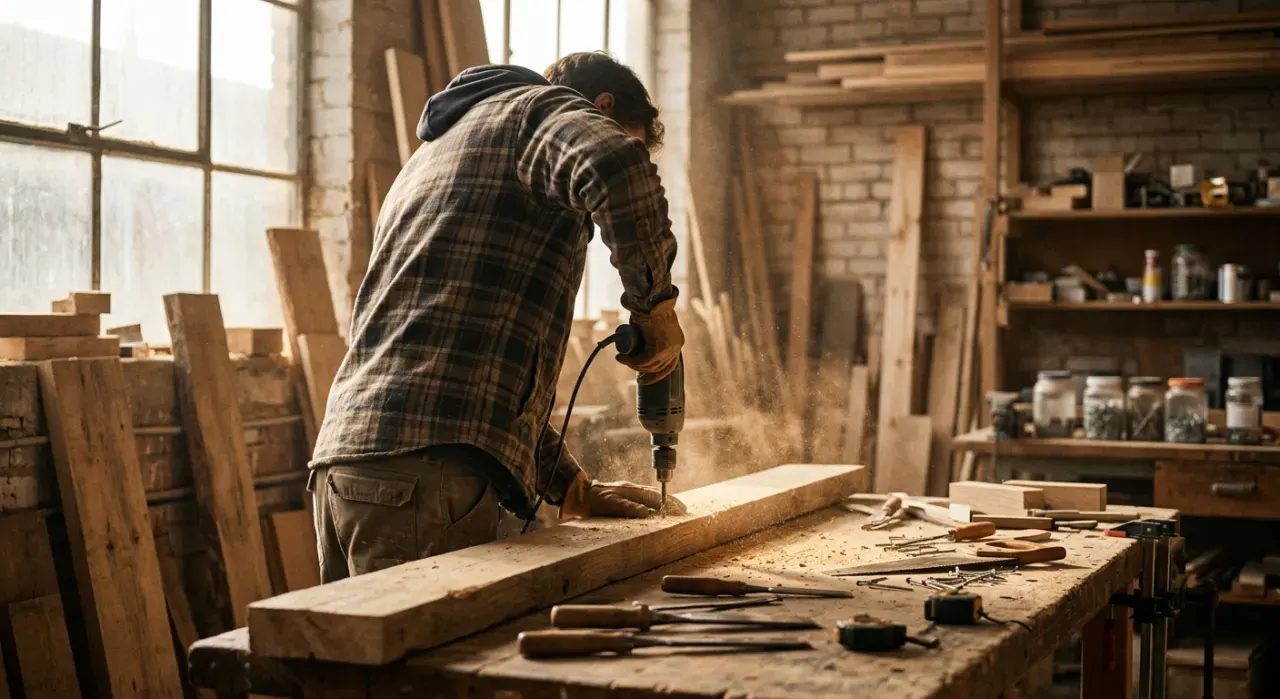
Apply a plant-safe exterior sealer or oil to the outside to slow weathering (leave the interior unsealed or use a safe product). Let it dry, fill with a quality potting mix, and plant. Re-oil the exterior every year or two, and the box will look good and resist rot for many seasons.
Where to go next
Building for the yard? A birdhouse and a wooden bench use the same outdoor-wood skills, and every build is easier on a workbench. It all lives under the power tools and workshop hub.
We never buy or physically test the tools we rank — our picks come from aggregated owner reviews and expert consensus, explained on how we rank.