 Garden
Affiliate Disclosure
Some links on this page are affiliate links. As an Amazon Associate, we earn from qualifying purchases — at no extra cost to you. We do not buy, test, or physically handle the products we cover; our rankings come from aggregated owner reviews, ratings and expert consensus. Commissions never change our verdicts. How we rank · full disclosure.
A birdhouse is the classic first woodworking project — cheap, fast, and forgiving. You can build one from a single 1x6 cedar board in an afternoon for about 10 to 20 dollars, with just a saw, a drill, and a few screws. There is nothing structural or permitted about it. The details that actually matter for the birds are the entry-hole diameter (which selects the species and excludes pests), drainage and ventilation holes, and an easy-open panel for yearly cleaning. Skip the decorative perch — it isn’t needed and it helps predators.
Tools and materials
- A saw to cut the board — a circular saw or a hand saw both work for these short cuts.
- A drill/driver for the entry hole, drainage, ventilation, and screws — see our best cordless drills — plus a spade or Forstner bit sized to your chosen hole.
- Materials: one 1x6 (or 1x8) untreated cedar board about 4 feet long, 1.25-inch exterior/galvanized screws or nails, wood glue rated for exterior use, and a small hinge or one extra screw for the cleanout panel.
Step 1: Cut the parts from one board
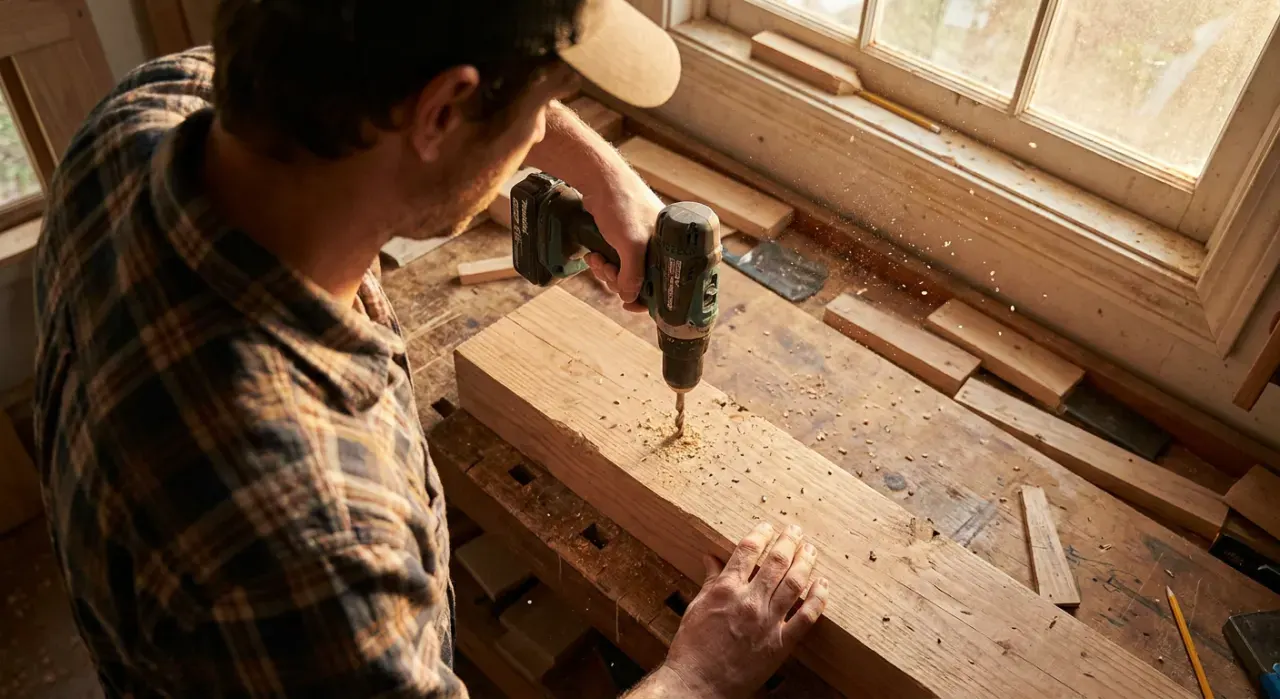
A basic box needs a front, a back (taller, for mounting), two sides, a floor, and a roof. A typical small box is about 5 to 6 inches square inside and 8 to 10 inches tall. Angle the tops of the side pieces so the roof sheds water. Cut the floor slightly smaller than the footprint so it recesses up between the walls, which keeps rain from wicking in.
Step 2: Drill the entry hole to spec
Bore the entry hole in the front piece, centered and set high — about 6 to 7 inches above the floor for most species. Size it to your target bird: 1-1/8 inch for chickadees and wrens, 1-1/2 inch for bluebirds. This single dimension determines who moves in and keeps starlings out. Do not add a perch below it.
Step 3: Add drainage and ventilation
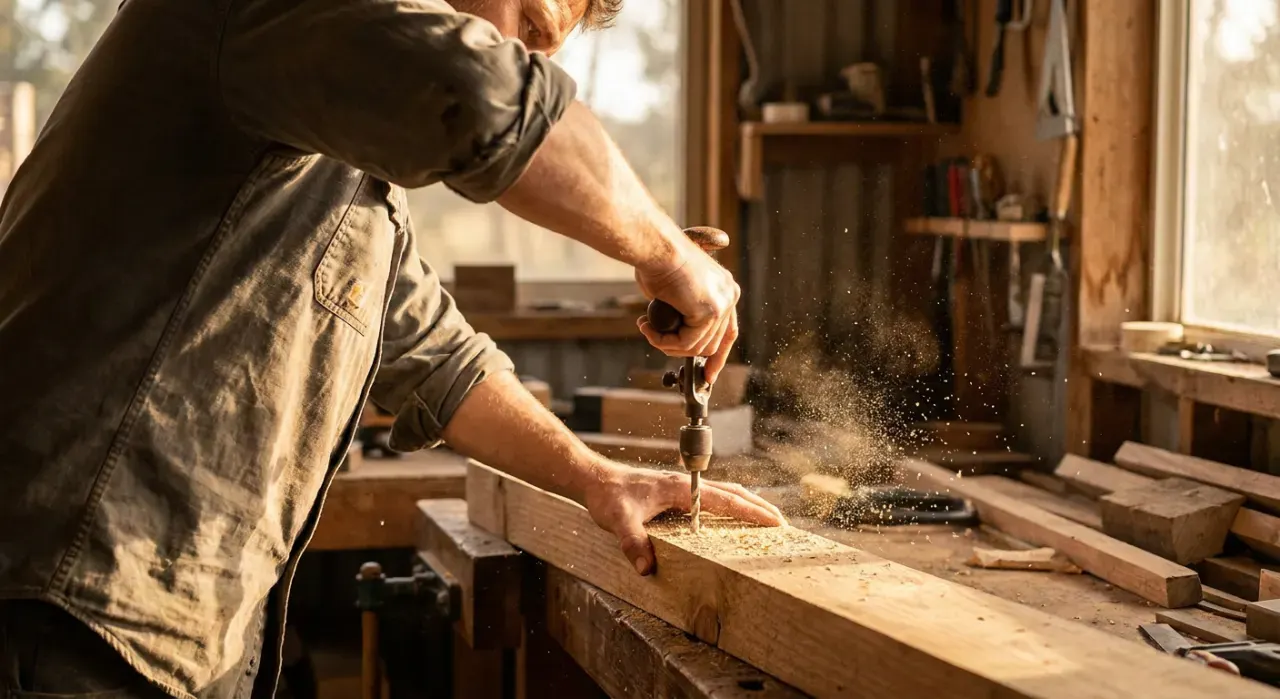
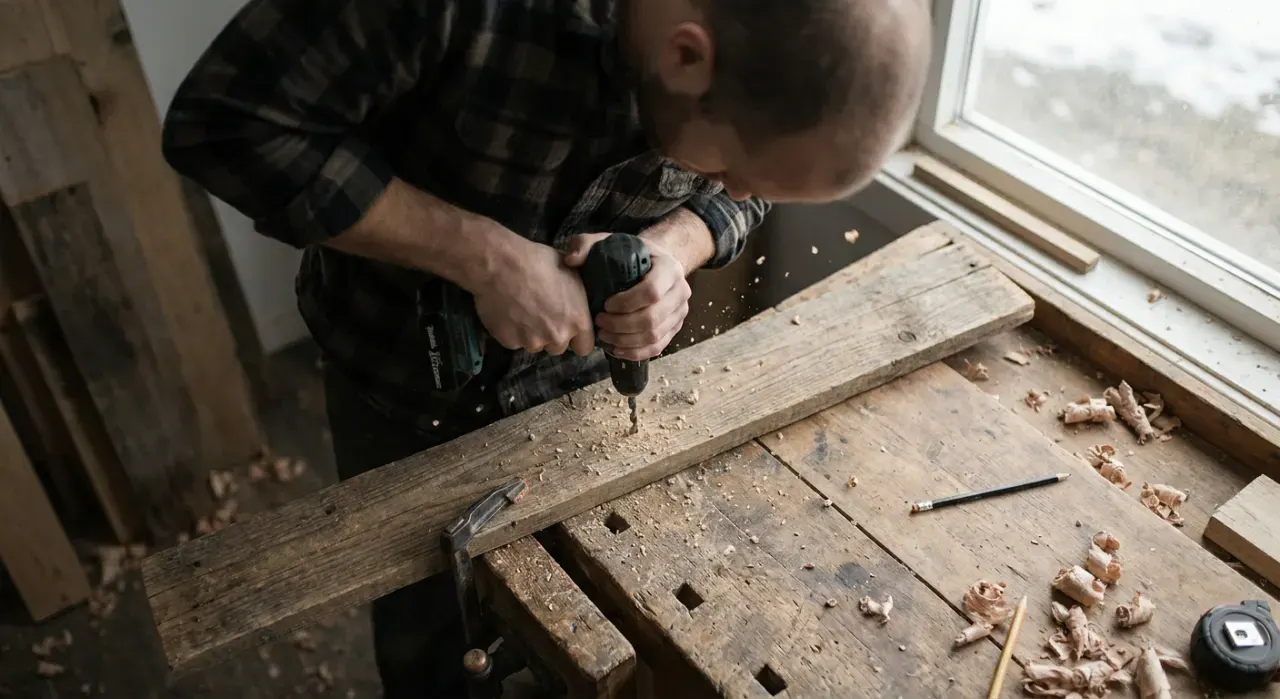
Drill four 1/4-inch holes in the floor for drainage, and a couple of 1/4-inch holes or a small gap near the top of each side wall for ventilation. A sealed box overheats in summer sun; a wet box rots and chills eggs. These holes take one minute and make the box genuinely usable.
Step 4: Assemble with an opening panel
Glue and screw the sides to the back and front, then add the recessed floor. Make one side or the roof openable — hinge it, or fasten it with a single screw you can back out — so you can clean the box each fall. Rough up or score the inside of the front wall below the hole so fledglings can grip it to climb out.
Step 5: Mount it right
Mount the box on a smooth metal pole (easier to protect from cats and raccoons than a tree), at the height your target species prefers — 4 to 6 feet for bluebirds — facing away from prevailing wind and harsh afternoon sun. Add a predator baffle on the pole if you can. Leave the interior unfinished; a light natural exterior color is fine.
Where to go next
If the birdhouse hooked you, a planter box or a cutting board is a great next small build, and a workbench makes every project easier. It all lives under the power tools and workshop hub.
We never buy or physically test the tools we rank — our picks come from aggregated owner reviews and expert consensus, explained on how we rank.