 Garden

Affiliate Disclosure
Some links on this page are affiliate links. As an Amazon Associate, we earn from qualifying purchases — at no extra cost to you. We do not buy, test, or physically handle the products we cover; our rankings come from aggregated owner reviews, ratings and expert consensus. Commissions never change our verdicts. How we rank · full disclosure.
Short answer: after each session, brush off the debris, dissolve the sap with a resin remover or mineral spirits, wipe dry and apply a thin film of light machine oil. Once or twice a season, file each tooth two or three strokes with a flat mill file, following the existing bevel, then deburr the flat back. Grease the gearbox annually. Total time: about ten minutes.
Blade condition affects the finished hedge more than the price of the trimmer does. A sharp, clean blade slices stems; a dull one crushes them, and the torn tissue browns within a week — which is why a hedge can look scorched a few days after a trim that seemed fine at the time.
The Routine, and How Often
| Task | How often | What you need | Time |
|---|---|---|---|
| Brush off clippings and debris | Every session | Stiff nylon brush | 1 min |
| Dissolve sap and resin | Every session, or after any conifer | Resin remover or mineral spirits, rag | 3 min |
| Wipe on light oil | Every session | Light machine oil or blade lube | 1 min |
| Sharpen the teeth | 1–2 times a season, or every ~50 hours | Flat mill file, whetstone, gloves, clamp | 15–25 min |
| Check blade bolt tension | Start of each season | Wrench or hex key | 2 min |
| Grease the gearbox | Annually | Grease specified in the manual | 5 min |
| Clean air filter / check plug (gas) | Annually | Per manual | 10 min |
| Winter storage prep | End of season | Oil, sheath, dry shelf | 5 min |
Before anything else: disconnect the power. Unplug a corded trimmer at the outlet, remove the battery from a cordless, or pull the spark plug boot on a gas tool. Hedge trimmer blades cause serious injuries during maintenance, not just during use. Wear cut-resistant gloves for every step that involves touching the blades.

Cleaning: Sap Is the Enemy
Plant resin builds into a sticky brown film along the blades, and it does three bad things at once. It makes the blades drag against each other, which increases friction and heat and shortens the motor's life. It holds moisture and dirt against the steel, which is where rust starts. And it collects grit that abrades the cutting edges.
Resin does not dissolve in water, which is why rinsing achieves nothing. Use a solvent:
- Brush off loose clippings and dust with a stiff nylon brush. A wooden stick or plastic scraper handles anything packed between the teeth.
- Spray or wipe a resin and pitch remover along both sides of the blade bar. Mineral spirits, denatured alcohol or a citrus degreaser all work if you do not have a dedicated product.
- Let it sit for about a minute, then scrub with the brush and wipe the softened film off with a rag. Repeat on stubborn patches rather than scraping with metal, which scratches the blade.
- Wipe completely dry. Never soak the tool, and keep solvent away from the motor housing, gearbox and any vents.
- Apply a thin film of light machine oil along the cutting bar and run the trimmer for two or three seconds so it works between the blades.
A note on WD-40: it is a fine solvent for dissolving sap and displacing water, but it is not a lubricant in any lasting sense — it evaporates and leaves very little film. Use it to clean if that is what you have, then oil properly afterward. Conversely, do not pack heavy grease onto the blades; it collects dust and clippings and turns into a grinding paste.
If you have been cutting anything diseased, wipe the blades with 70% isopropyl alcohol between plants so you are not carrying the problem down the hedge.
Sharpening: Follow the Bevel That Is Already There
Hedge trimmer teeth are ground with a bevel on one face, typically somewhere between 30 and 45 degrees depending on the manufacturer. You are not choosing an angle — you are restoring the one the factory set, and the existing bevel is the guide. Filing a new angle makes the blade cut worse.
- Disconnect the power. Battery out, plug out, or spark plug boot off. Then clamp the tool in a vise or to a bench so the blades cannot shift.
- Clean first. Filing through sap loads the file and ruins it.
- Inspect the teeth. Look for chips, bends and cracks. A slightly bent tooth can sometimes be straightened with pliers; a cracked or badly bent blade should be replaced, not filed.
- File the bevel face only. Lay a flat mill file flat against the angled face of the first tooth and push it along the bevel in one direction only, away from you. Files cut on the push stroke; dragging back and forth dulls the file and rounds the edge.
- Two or three strokes per tooth, the same on every tooth. Consistency matters more than sharpness on any individual tooth — an uneven blade cuts unevenly and vibrates.
- Work along one side, then reverse the tool and do the teeth on the other blade the same way.
- Deburr the back. Filing raises a small burr on the flat reverse face. Remove it with one light pass of a fine whetstone held flat against that face. Skipping this leaves a burr that snags and breaks off in use.
- Clean, oil, and test on soft growth before committing to the whole hedge.
An angle grinder or a rotary tool with a grinding wheel will do this faster and will also, in most amateur hands, overheat the steel and destroy its temper — a blued patch on the edge means the hardness is gone and that section will never hold an edge again. A hand file is slower and does not have that failure mode.
How to Tell a Blade Is Dull
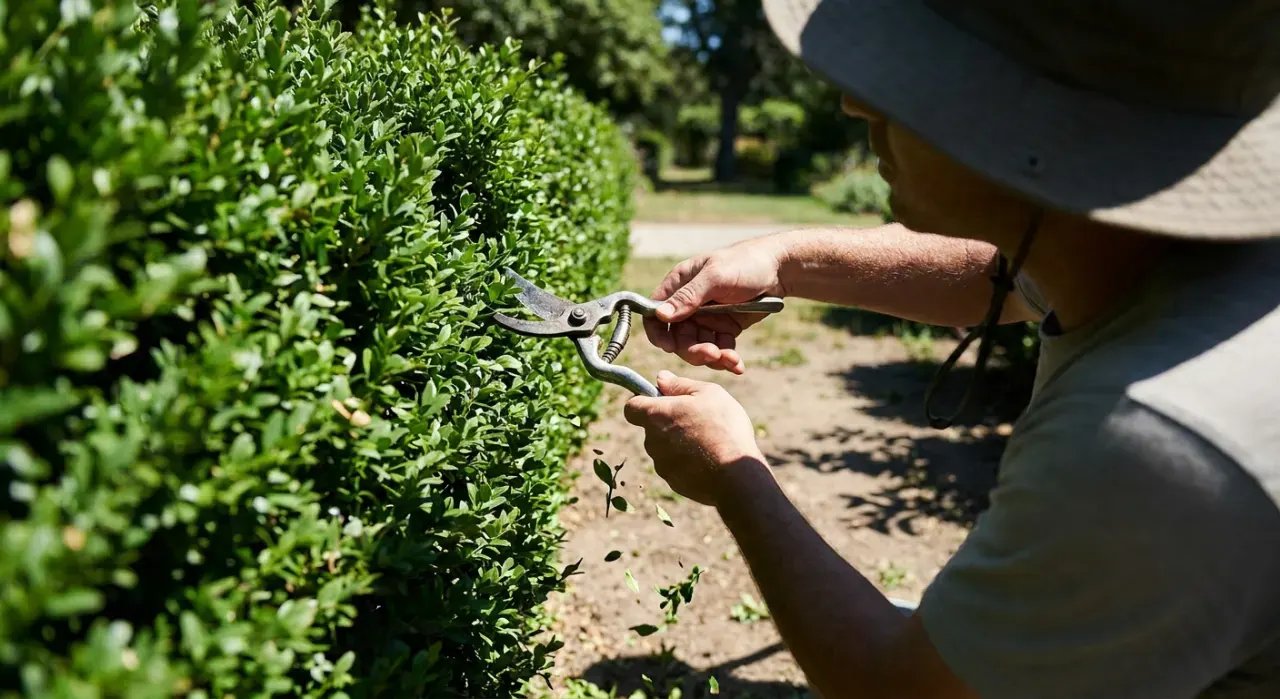
- Torn leaf edges that brown within a week. The clearest sign, and the one your neighbors notice.
- The tool bogs down on growth it used to cut without complaint.
- Stems ride up out of the teeth rather than being drawn in and cut, so you have to press the blade into the hedge.
- Increased vibration and a rougher sound.
- Stems left half-cut and hanging, particularly on the return pass.
Bear in mind that some browning is not the blade's fault. Shearing a large-leaved evergreen such as cherry laurel, rhododendron or large-leaf holly cuts through the middle of every leaf and leaves a brown scar on each one, no matter how sharp the trimmer is. On those species, use loppers or pruners and cut whole stems back to a joint — the technique is in how to trim a hedge straight.
Beyond the Blades
Blade bolts. The bolts holding the two blades together set the running clearance. Too loose and the blades separate under load and stop shearing cleanly; too tight and they bind and overheat. Check them at the start of each season and torque to the manual's spec, or snug plus a small back-off if no figure is given — the blades should slide freely by hand with no visible gap.
Gearbox grease. Most trimmers have a grease port or a removable gearbox cover. An annual top-up with the grease specified in the manual is a five-minute job that prevents the most expensive failure this tool has.
Battery care (cordless). Store lithium packs at roughly half charge in a cool, dry place, not on the charger and not in an unheated shed through a hard winter. Let a hot pack cool before recharging. Batteries left flat for months are the ones that will not take a charge in spring.
Cord care (corded). Check the tool cord and extension cord for nicks and cuts before each use. A cut through the insulation is exactly the risk a hedge trimmer is well placed to create. Always use a GFCI outlet.
Gas engines. Either run the tank dry or add fuel stabilizer before storage; stale fuel gumming a carburetor is the leading cause of a gas trimmer that will not start in spring. Change the plug and clean the air filter annually.
End-of-Season Storage
- Clean the blades thoroughly with solvent and dry them completely.
- Apply a slightly heavier film of oil than usual — this one is for corrosion protection rather than cutting.
- Fit the blade sheath. If it was lost years ago, a length of split foam pipe insulation and two zip ties does the job and protects the edges and your hands.
- Hang the tool rather than laying it on a concrete floor, where condensation collects underneath.
- Store the battery indoors at about half charge; store gas tools with stabilized fuel or an empty tank.
- Make a note to sharpen in early spring, before the first cut rather than after the hedge already looks torn.
When to Replace the Blades
Sharpening restores an edge; it does not fix damage. Replace the blade set if teeth are cracked or missing, if the bar is visibly bent so the blades no longer sit flat against each other, if there is deep pitting rust along the cutting edges, or if a section has been overheated to a blue color and no longer holds an edge. Replacement blade sets are available for most quality trimmers at a fraction of a new tool, and fitting them is usually a matter of a few bolts.
The same discipline applies to hand tools: bypass pruners, loppers and pruning saws all cut better and damage plants less when sharp, and a crushed cut takes far longer to close than a sliced one — the reasons are set out in pruning mistakes that kill plants. If your current trimmer is beyond saving, the ranked field is in best hedge trimmers, and the power-source decision is covered in corded vs cordless. More at pruning, trimming and hedges; our research method is on how we rank.