 Garden

Affiliate Disclosure
Some links on this page are affiliate links. As an Amazon Associate, we earn from qualifying purchases — at no extra cost to you. We do not buy, test, or physically handle the products we cover; our rankings come from aggregated owner reviews, ratings and expert consensus. Commissions never change our verdicts. How we rank · full disclosure.
Before anything else, check whether your saw can be sharpened at all: most modern pruning saws have impulse-hardened teeth — a dark band along the tooth tips against bright steel behind — and those cannot be filed, because the hardening is harder than a file and a grinder destroys it. For those, the blade is a consumable and a replacement costs about $15 to $30. If your blade is uniform bright carbon steel, you can sharpen it with a tapered triangular feather-edge file, two or three strokes per gullet, working alternate teeth in two passes. Budget 30 to 45 minutes.
Step 1: hardened or not?
| Sign | Impulse-hardened | Conventional carbon steel |
|---|---|---|
| Appearance of tooth tips | Dark gray or blue band on the tips only | Same bright finish as the rest of the blade |
| File test | File skates and squeals, no bright scratch | File bites, leaves a bright scratch |
| Typical products | Modern folding saws, most pole saw blades | Bow saw blades, older hand saws, some bushcraft saws |
| Sharpenable | No — replace the blade | Yes |
| Cost to renew | $15–$30 for a blade | A few dollars of file wear |
The file test is the one that settles it. One light stroke tells you more than any amount of staring at the steel. If it skates, stop — continuing will only round the tooth tips and make a saw that still cuts reasonably well into one that does not cut at all.
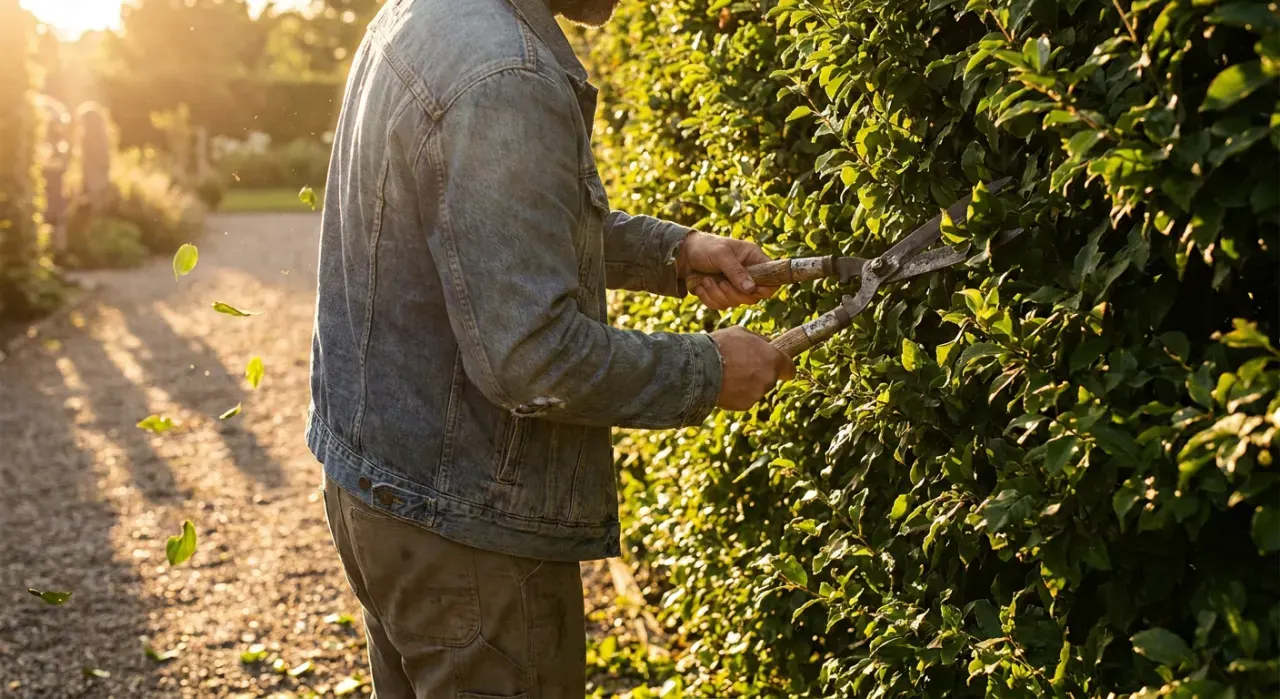
Tools for a sharpenable blade
- A tapered triangular file (feather-edge or slim taper) sized to the tooth — a 6 inch slim taper for around 5 to 7 points per inch, a 4 inch extra slim for finer teeth
- A saw vise, or two boards clamped either side of the blade leaving only the teeth proud
- A saw set, if the teeth need their set restored
- A flat mill file for jointing
- Good light — a work lamp raked across the teeth so you can see the shiny flats
- Gloves and eye protection
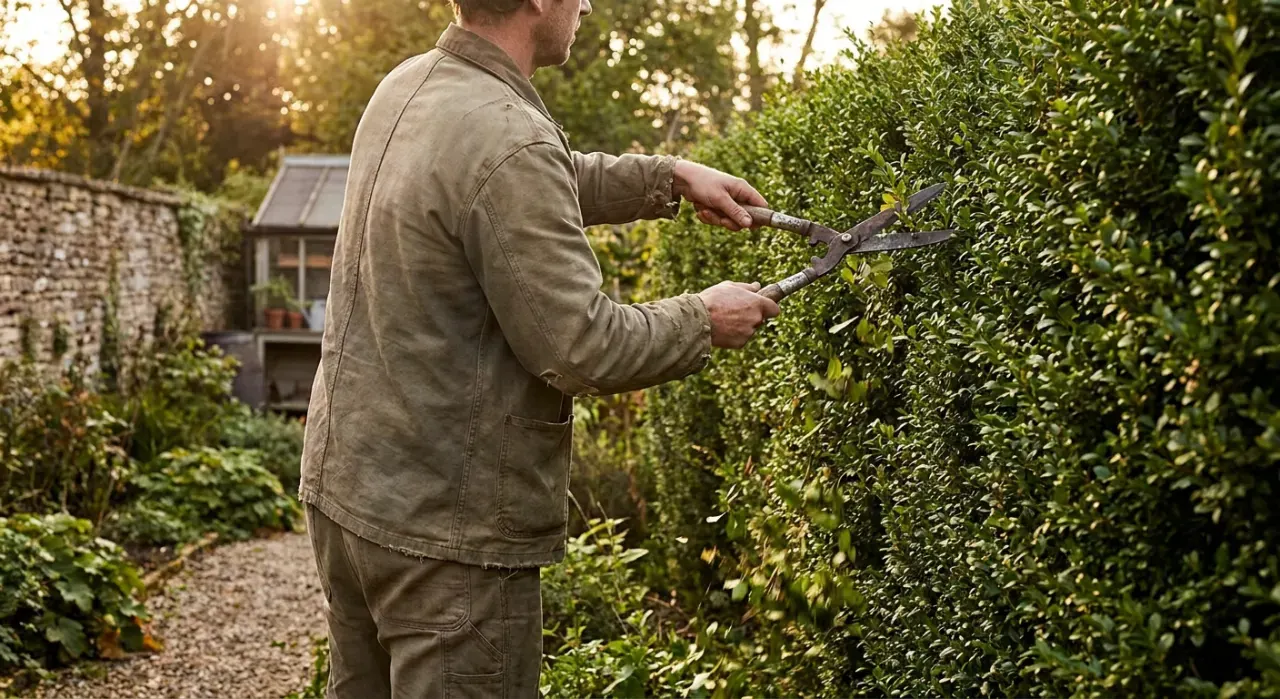
Sharpening a traditional pruning saw
- Clean the blade. Remove sap with mineral spirits, and surface rust with steel wool and oil. Filing through resin achieves nothing.
- Clamp it low and tight. Sandwich the blade between two boards in a vise so only the teeth and about a quarter inch of blade project. An unsupported blade chatters, and a chattering blade cannot be filed accurately.
- Joint the teeth, if they are uneven. Run a flat mill file lightly along the tops of the teeth, one or two passes, until every tooth shows a small flat on its tip. Those flats are your progress markers: file each tooth until its flat just disappears and every tooth ends up the same height. Skip this if the teeth are already even.
- Study the tooth geometry before you start. Pruning saw teeth are usually raked and often have a bevel on the face. Photograph a few teeth close up. Your job is to restore the shape that is there, not to impose a new one.
- Work alternate teeth in two passes. Start at the heel and file every second gullet, all the way to the toe. Then flip the saw around in the vise, work from the other side, and do the teeth you skipped. This keeps the file angle consistent for each set of teeth, which is the whole reason for the two-pass method.
- File on the push stroke only. Seat the file in the gullet against the face of the tooth, hold the angle you photographed, and push. Two or three strokes per tooth. Lift on the return.
- Keep the count identical. Same number of strokes on every tooth, or the blade ends up with high and low teeth that grab and chatter.
- Watch the jointing flats. Stop filing a tooth the moment its flat disappears. That is the finish line for that tooth, and going further makes it short.
- Reset the set if the saw binds. Use a saw set tool to bend alternate teeth very slightly outward, alternating direction. Modest and even is the goal — too much set makes a rough, wide, hard-pulling cut.
- Deburr and oil. A light pass with a fine stone flat along each side of the blade knocks off filing burrs. Wipe with a light machine oil.
- Test on a piece of green branch. A properly sharpened saw pulls itself into the cut on the first few strokes without you leaning on it.
Mistakes to avoid
- Trying to file hardened teeth. The file skates, the tips round, and the saw ends up worse than before.
- Using an oversized file. It rounds the gullets and changes the tooth profile permanently.
- Inconsistent stroke counts. Produces uneven tooth heights, which is the main cause of a saw that grabs.
- Changing the rake angle. Pruning saws are raked for green wood; regrinding to a crosscut geometry makes them slow and grabby in living branches.
- Adding too much set. The cut gets wide, rough and much harder work.
- Filing on the pull stroke. Dulls the file and rounds the edges.
- Clamping the blade poorly. Chatter makes accurate filing impossible.
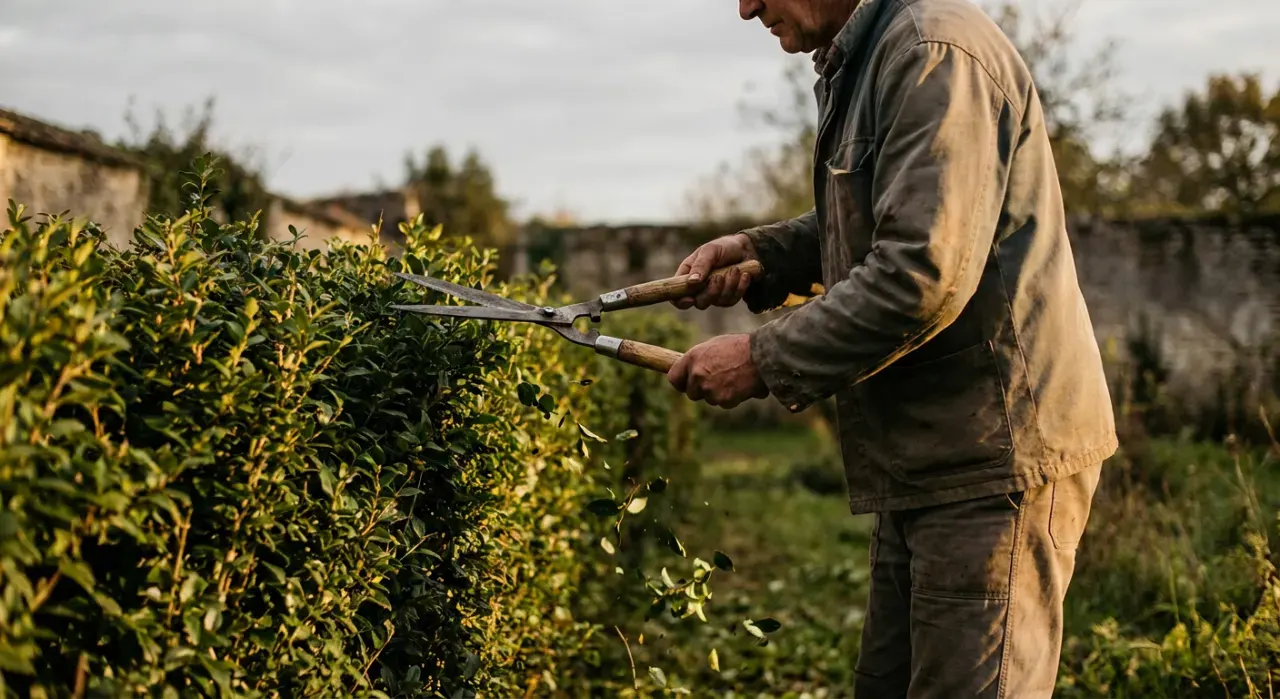
What maintenance actually looks like on a modern saw
For the folding and fixed-blade saws most gardeners own, useful maintenance is not sharpening at all:
- Wipe sap off after every session with mineral spirits or a citrus solvent. Sap is the main cause of a saw that seems dull but is not.
- Dry the blade and wipe it with a light oil before storage. Rust in the gullets kills cutting speed.
- Check and tighten the pivot bolt on a folding saw, and check that the lock engages positively. A folding saw that closes on your hand mid-stroke is a serious injury.
- Replace the blade when it stops pulling itself into the cut, when teeth are broken, or when the blade is bent or kinked. Most quality saws take manufacturer replacement blades.
Technique saves more blade life than anything. Undercut a limb an inch or two on the underside before cutting from the top, so the branch does not tear and pinch the blade as it falls, and make the final cut just outside the branch collar. Cutting into the ground, into a wire fence or into an old nail is what actually ruins blades. Where a saw is the wrong tool — anything under about an inch and a half — loppers are cleaner and faster, and sharpening those is covered in how to sharpen loppers. If your blade has reached the end, our pruning saw picks and the fruit-tree focused pruning saws for fruit trees cover which blades owners rate for staying sharp longest.
Safety
Wear cut-resistant gloves and eye protection — filings fly, and saw teeth cut skin at the lightest contact. Clamp the blade properly rather than holding it. Keep the blade sheathed when not in use and never carry an open folding saw. Disinfect the blade with 70 percent isopropyl alcohol between plants when pruning anything diseased, which is standard extension guidance for preventing pathogen spread. And know where the job stops being yours: anything requiring a ladder, anything overhead near power lines, and any limb large enough to fall unpredictably is work for a certified arborist. Chainsaw and pole saw work carries its own set of rules — see sharpening a pole saw chain.
We never buy, test or physically handle the products we rank. Recommendations come from aggregated owner reviews, star ratings, review volume and expert consensus — see how we rank.
More from this hub: Pruning, Trimming & Hedges · Sharpening loppers · Sharpening a pole saw chain · Common pruning mistakes · Best pruning saws · How we rank