 Garden

Affiliate Disclosure
Some links on this page are affiliate links. As an Amazon Associate, we earn from qualifying purchases — at no extra cost to you. We do not buy, test, or physically handle the products we cover; our rankings come from aggregated owner reviews, ratings and expert consensus. Commissions never change our verdicts. How we rank · full disclosure.
Label the face of the bin that you will actually be looking at, in text large enough to read from where you stand, on a vinyl or polyester label applied to clean, alcohol-wiped plastic. Paper labels and household tape fall off polypropylene bins within months because that plastic resists most adhesives. Write the category, the destination room, and a date or a number — not just a pretty single word. Budget about 15 seconds a bin, and roughly $10 to $60 for materials depending on whether you buy a label maker.
We never buy, test or physically handle the products we rank; recommendations come from aggregated owner reviews and expert consensus, described in how we rank. More at the storage and organization hub.
Which method for which bin
| Method | Cost | Survives | Best for |
|---|---|---|---|
| Permanent marker on vinyl label | $8–$15 / 100 | Garage, basement, wipe-downs | Most bins, most people |
| Label maker with laminated tape | $25–$60 + tape | Everything including freezer | 20+ bins, shared households |
| Adhesive label pocket + index card | $10–$20 / 20 | Indoor, changes often | Pantry and seasonal rotation |
| Clip-on wire label holder | $8–$15 / 20 | Indoor | Wire shelving and baskets |
| Chalk marker on painted label plate | $10–$20 | Indoor, wipes clean | Contents that change seasonally |
| Painters tape and marker | Under $5 | Weeks, not years | Moving boxes, temporary sorting |
Do not use paper labels, masking tape, or standard office adhesive labels on plastic bins for anything long term. Polypropylene and polyethylene — what almost every storage bin is made from — have low surface energy, which is a physical property that stops most consumer adhesives forming a bond. That is why the label that looked fine in March is on the garage floor in September.
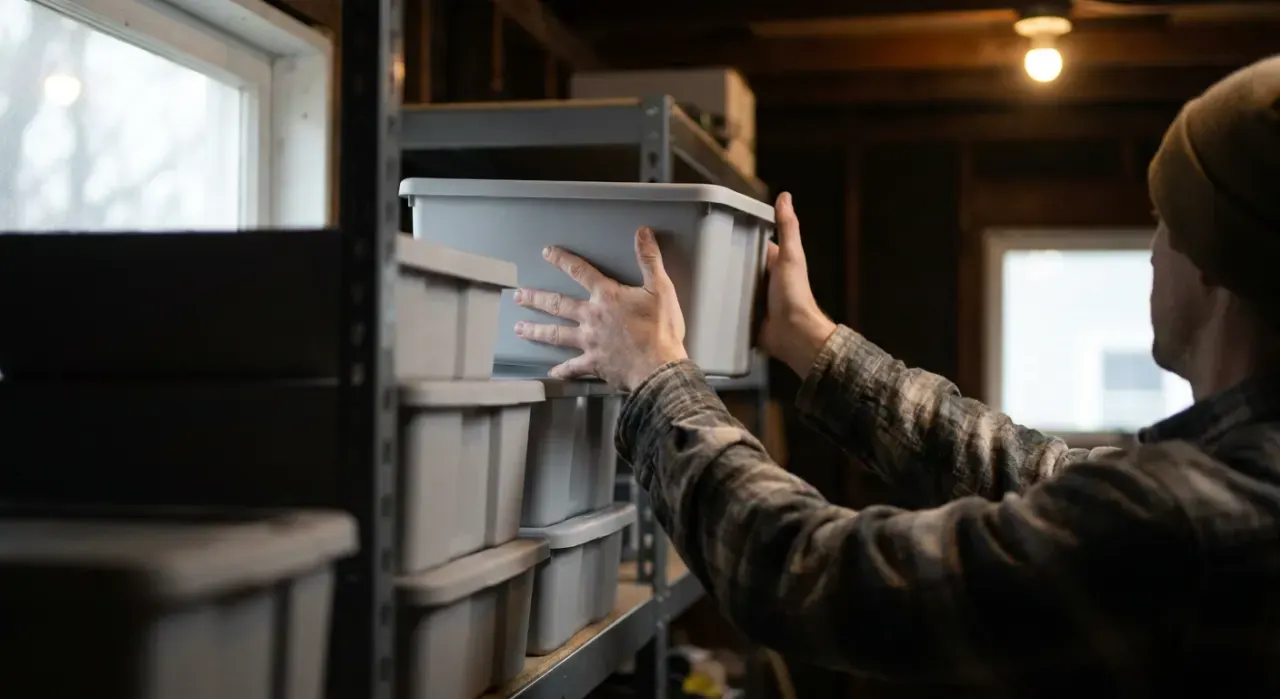
Step 1: Prepare the surface (10 seconds a bin)
This single step does more for label longevity than the label choice does:
- Wipe with isopropyl alcohol on a paper towel. Storage bins carry mold-release residue from manufacturing and dust from storage, and both prevent adhesion.
- Let it dry completely — about 30 seconds.
- Apply at room temperature. Most acrylic adhesives need roughly 50°F or above to key properly. Labeling bins in a cold garage in January is why they fail.
- Press firmly for 30 seconds across the whole label, especially the corners, and give it 24 hours before stacking or moving.
Textured bins are the hard case. Many storage bins have a fine pebble texture that gives the adhesive very little contact area. On those, use a larger label than you think you need, or fit a smooth adhesive label pocket, or run a strip of clear packing tape over the finished label to seal its edges.
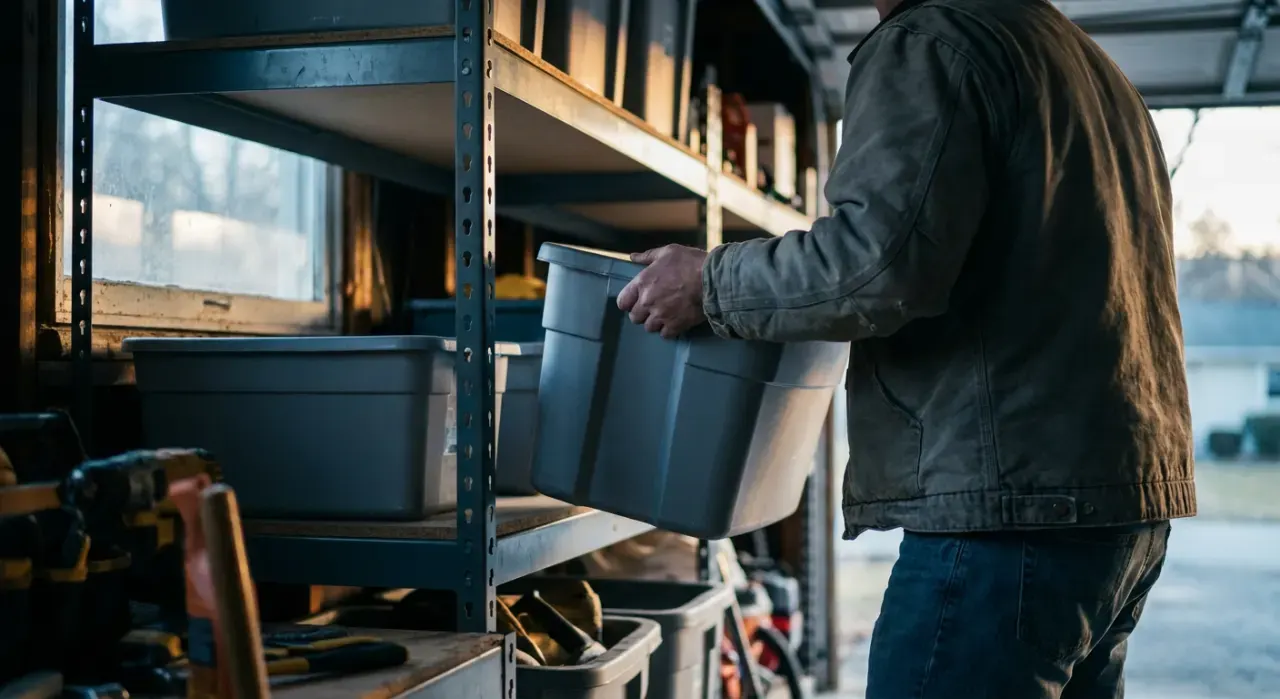
Step 2: Put it where you will look
Placement is the part people get wrong, and it costs more than the adhesive choice.
- Stacked bins: front face, near the top edge, so the label stays visible under the bin stacked above it. A label centered on the front face disappears in a stack of three.
- Bins on shelves at or above eye level: front face, low on the bin, angled toward the viewer if the bin is high.
- Pull-out bins and basket drawers: the handle end. That is the only face you see.
- Bins on the floor in a single layer: the lid is fine, and is actually the best option here.
- Bins that get rotated: label two adjacent faces. Cheap insurance against a bin going back the wrong way round.
The test that settles every argument: put the bin where it will live, stand where you will stand, and see whether you can read it without moving.
Step 3: Write the right four things
A label that says HOLIDAY is a label you will open the bin to check. Include:
- Category, in the words your household uses. WINTER COATS, not OUTERWEAR.
- Destination room if the bin lives away from where its contents are used. This is what makes a garage or attic system work.
- A number, if you keep a master list. Numbering means the label carries the pointer and the list carries the detail, so you never run out of label space.
- A date for anything that ages — seasonal clothing, documents, kids items you are saving. A date is what lets you decide in three years whether the bin is still worth its floor space.
Sizing: aim for text at least 3/4 inch tall for garage and basement bins, readable from about ten feet in poor light. Black on white is the highest contrast combination and beats anything decorative in a dim space. Save the small elegant labels for a pantry you look at from two feet away.
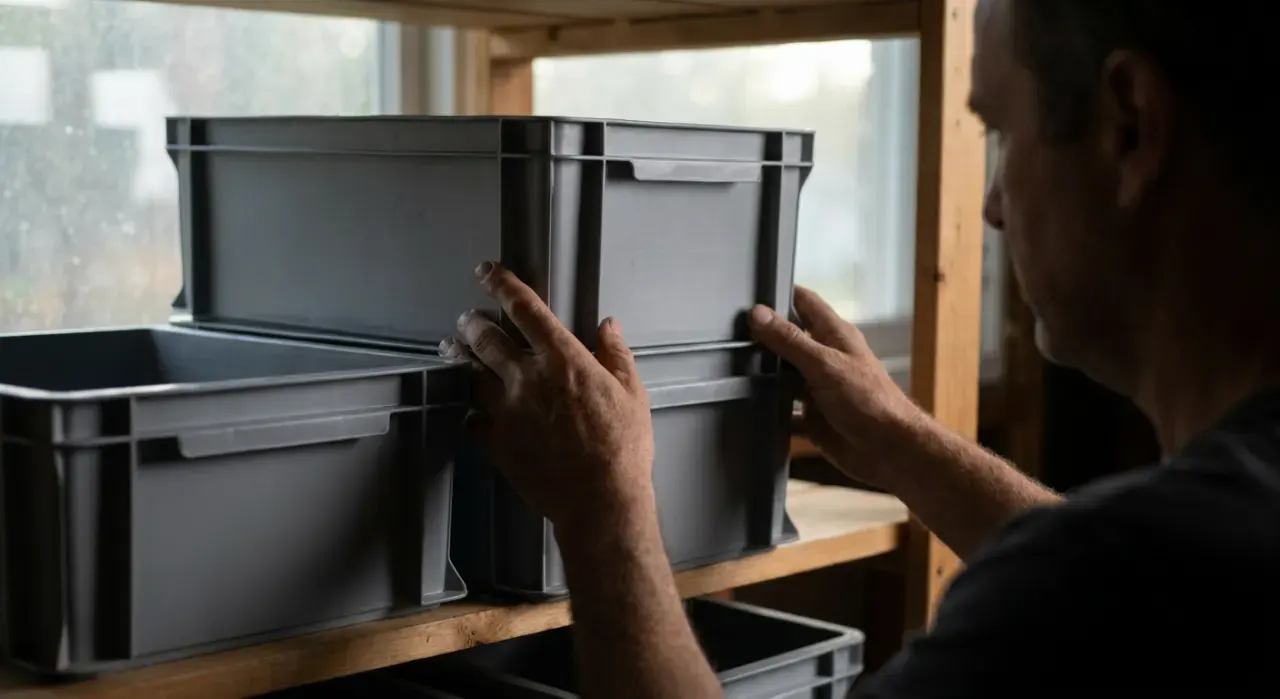
Step 4: Back it with a list, not more labels
For 30 or more bins, stop trying to make each label complete. Number every bin, keep a simple list — phone note, spreadsheet, or a whiteboard by the garage door — and let the list hold the detail. Searching a text file for one specific item takes three seconds; walking a garage reading labels takes ten minutes.
Keep the list coarse enough that it survives. Eight to ten items per bin in plain words is maintainable. A full itemized inventory is not, and a list nobody updates is worse than no list at all.
Special cases
- Freezer bins: apply and cure the label indoors at room temperature, then move the bin to the freezer. Adhesive applied at freezing temperature will not bond. See how to organize a chest freezer.
- Wire shelving and baskets: adhesive labels have nothing to stick to. Use clip-on wire label holders that slide along the front lip — see organizing a pantry with wire shelves.
- Fabric and canvas bins: use the sewn-in card pocket most of them have, or a luggage-style tag on the handle. Adhesive does not work on fabric.
- Bins in a hot garage: heat softens adhesive and can make a label creep or ooze. Use a polyester label rated for higher temperature, and note that heat affects contents too — see can you store batteries in a hot garage.
- Clear bins: you can see inside, so the label only needs to say the category, not the contents. Keep it short.
Related reading: best storage bins, best pantry organizers, how to organize a small pantry, how to install drawer organizers.