 Garden

Affiliate Disclosure
Some links on this page are affiliate links. As an Amazon Associate, we earn from qualifying purchases — at no extra cost to you. We do not buy, test, or physically handle the products we cover; our rankings come from aggregated owner reviews, ratings and expert consensus. Commissions never change our verdicts. How we rank · full disclosure.
Organize a small pantry by fixing the vertical waste first: adjust shelf spacing to the actual heights of what you store, then zone by how often you reach for things. Most small pantries have four to six inches of dead air above every shelf, and recovering it adds the equivalent of a whole extra shelf. Put daily items between 30 and 60 inches, backstock up high, heavy and bulk down low. Then bound every category in a labeled bin so items have one obvious home. A full reset takes about three hours and costs $40 to $150.
We never buy, test or physically handle the products we rank; recommendations come from aggregated owner reviews and expert consensus, described in how we rank. More at the storage and organization hub.
Step 1: Empty it completely and cull (45 minutes)
Take everything out onto the counter or a folding table. This is not a productivity ritual — you cannot plan shelf heights without seeing what you own, and you cannot judge duplicates while they are hidden behind each other.
Sort into four piles: keep, expired, donate, and belongs elsewhere. On dates, the USDA is clear that except for infant formula, dates on packaged food are quality indicators set by manufacturers rather than federal safety deadlines, so use judgment on shelf-stable goods rather than discarding everything past a printed date. Wipe the shelves while they are bare.
Note what you found two or three of. Those duplicates are the visible evidence of the storage problem you are about to fix.

Step 2: Reset shelf heights to real dimensions (45 minutes)
This is the step that creates space, and it is the one people skip. Measure the tallest item in each category and set spacing accordingly.
| What goes there | Clear height needed |
|---|---|
| Cans, jars, spice bottles | 8–10 in |
| Boxed pasta, crackers, baking goods | 12–14 in |
| Cereal boxes, tall bottles, oil | 14–16 in |
| Small appliances, stand mixer | 16–18 in |
| Bulk bins, pet food, cases of water | 18–24 in (floor) |
In a typical 72-inch pantry that gives you two short shelves, three medium and one tall bay at the bottom — roughly six usable levels where fixed spacing gave you four. If your shelves are fixed wood or wire and cannot move, buy shelf risers or under-shelf baskets to subdivide the tall gaps instead. Standard depth guidance is in standard pantry shelf depth.

Step 3: Zone by frequency, not by category
The instinct is to group by food type. The better rule in a small space is to group by how often you reach for it, then by category within that.
- 30 to 60 inches (the prime zone): everything you touch daily or weekly. Breakfast, snacks, cooking staples, coffee and tea. This band is eye to hip height for most adults and it is the only real estate that matters.
- 60 to 72 inches: weekly-to-monthly items and backstock. Light things only.
- Above 72 inches: paper goods, party supplies, seasonal bakeware. Nothing heavy — overhead lifting of a heavy container is a common household injury.
- Below 30 inches: heavy and bulky. Bulk bags, cases of drinks, pet food, small appliances. Weight belongs low.
Within the prime zone, put a small basket for the two or three things that specific household members grab constantly. A child-height snack bin removes an entire category of disruption from the rest of the shelf.
Step 4: Contain, but selectively
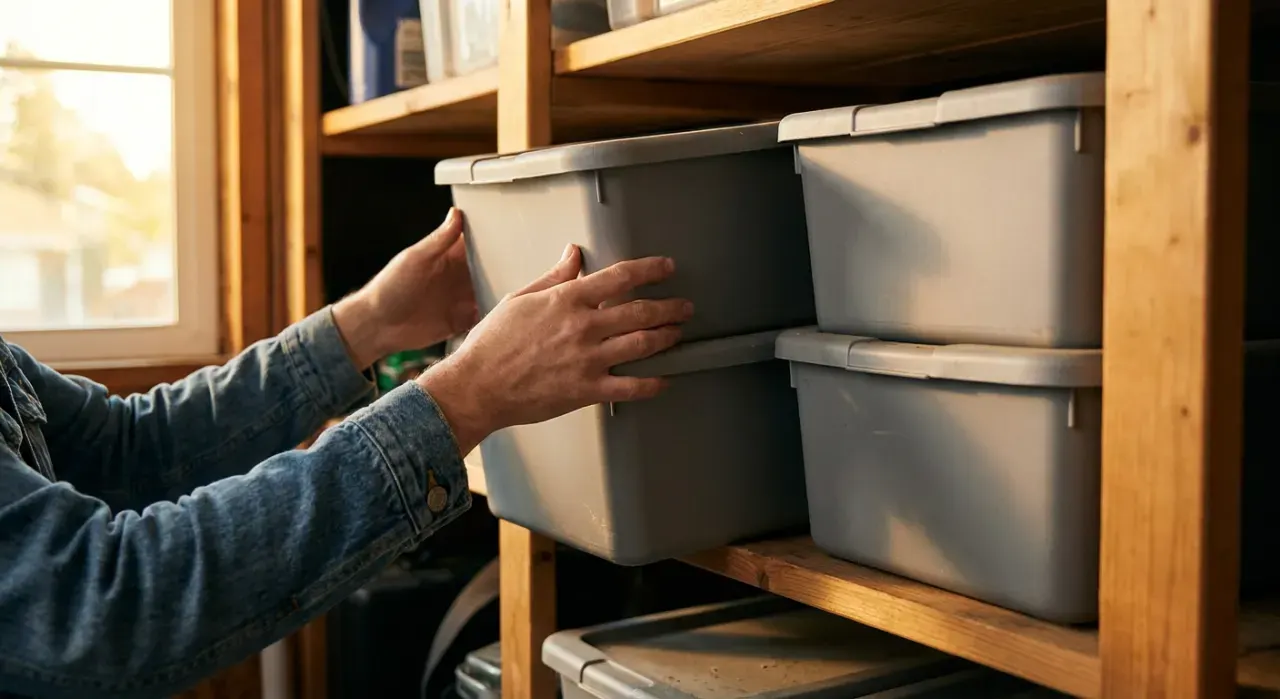
Containers do two useful things: they turn floppy bags into stackable rectangles, and they draw a boundary that stops a category spreading. They are not free — they cost money, take up their own wall thickness, and add washing-up.
Decant when the item is high volume and comes in an awkward bag — flour, sugar, rice, pasta, cereal, dog food. Do not decant boxed goods that already stack, or anything you buy once a year. Whatever you decant, transfer the date and any cooking instructions; cut the panel off the bag and tape it inside the lid if that is easier than writing it.
The four container types that consistently earn their place in a small pantry:
- Clear rectangular canisters for staples. Rectangles beat rounds by roughly 20 percent in usable shelf area because circles waste the corners.
- Open-front bins for categories you rummage in — snacks, baking, packet mixes. Pull the bin, take what you need, push it back.
- A tiered can riser so the back row is visible. Cans two deep on a flat shelf are invisible cans.
- A lazy susan for oils, vinegars and sauces, especially in a corner or a deep shelf.
Ranked options by owner consensus are in best pantry organizers and best storage bins.
Step 5: Use the door and the back wall
An unused pantry door is typically 20 by 60 inches of vertical storage doing nothing. An over-door rack holds spices, wraps, foil and small packets and adds real capacity to a tiny pantry — with two constraints. Check that the door has clearance to close over the loaded rack (most need 3.5 to 4 inches), and check the door construction: a hollow-core door will not carry a loaded rack on screws alone, so use an over-the-top hanging rack rather than fasteners. Weight-holding limits for wall fasteners are covered in how much weight a drywall anchor holds.
Wire shelving has its own quirks — small items tip through the gaps and containers rock. If that is what you have, organizing a pantry with wire shelves covers the shelf liner and bin choices that fix it.
Step 6: Label, and leave slack
Label every bin and canister on the face you actually see. The point is not neatness; it is that a named container gets refilled and put back by people other than you. Methods and adhesive choices are in how to label storage bins.
Then leave roughly 20 percent of each shelf empty. A pantry packed to capacity has nowhere to put a big grocery run, and that overflow — bags on the floor, boxes on the counter — is how the system collapses two weeks after you built it.
Related reading: how to organize a pantry, how to organize a deep pantry, how to organize kitchen cabinets, and how to add shelves to a closet.