 Garden
Affiliate Disclosure
Some links on this page are affiliate links. As an Amazon Associate, we earn from qualifying purchases — at no extra cost to you. We do not buy, test, or physically handle the products we cover; our rankings come from aggregated owner reviews, ratings and expert consensus. Commissions never change our verdicts. How we rank · full disclosure.
Yes, you can build an effective air purifier yourself — the Corsi-Rosenthal box is a researcher-validated design that anyone can assemble in 20 minutes with no tools. It costs about 60 to 90 dollars (2026) for a box fan, four or five MERV-13 furnace filters, and tape, and there’s no permit or wiring involved. The whole idea is to surround a box fan with filters so it pulls room air through a large filter surface, cleaning far more air per dollar than most store units. The keys are using MERV-13 filters and taping every seam airtight so air can’t bypass the filters.
Tools and materials
- One 20-inch box fan — ideally a newer US model (post-2012) with a fused safety plug.
- Four or five 20-inch by 20-inch MERV-13 furnace filters — the rating that balances filtration against the airflow a box fan can push.
- Strong tape (packing or duct tape) and cardboard (the fan’s own box works) for the base and top.
- Prefer a certified unit for a bedroom? Compare our best air purifier picks. This build is the budget, high-output complement.
Step 1: Understand the shape
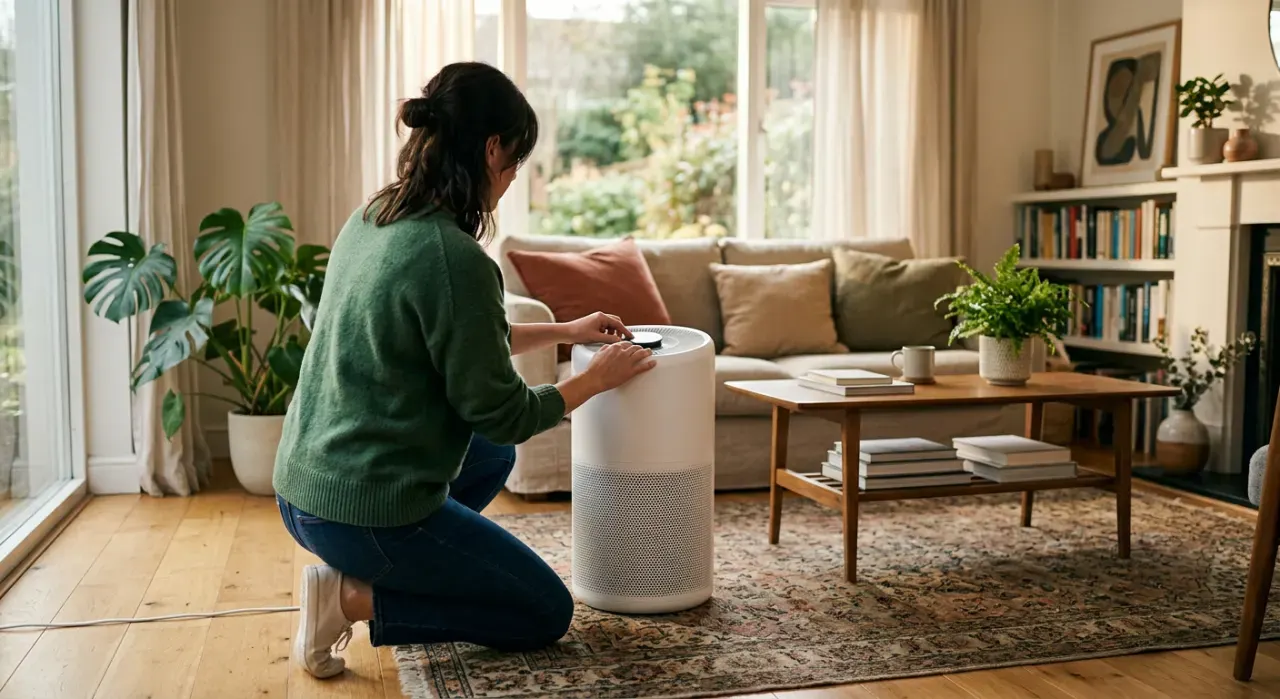
The classic design is a cube: four filters form the four vertical walls, a cardboard square forms the base, and the box fan sits on top pulling air up and out. A four- or five-filter cube gives far more filter area — and clean-air output — than a single filter taped to a fan. Lay your filters out and check the airflow arrows.
Step 2: Orient the filters correctly
Every furnace filter has an airflow-direction arrow printed on its frame. Because the fan pulls air into the cube and blows it out the top, all four filter arrows must point inward, toward the center of the box. Installing a filter backward reduces its effectiveness — this is the most common build mistake. Double-check all arrows point in before taping.
Step 3: Tape the cube together
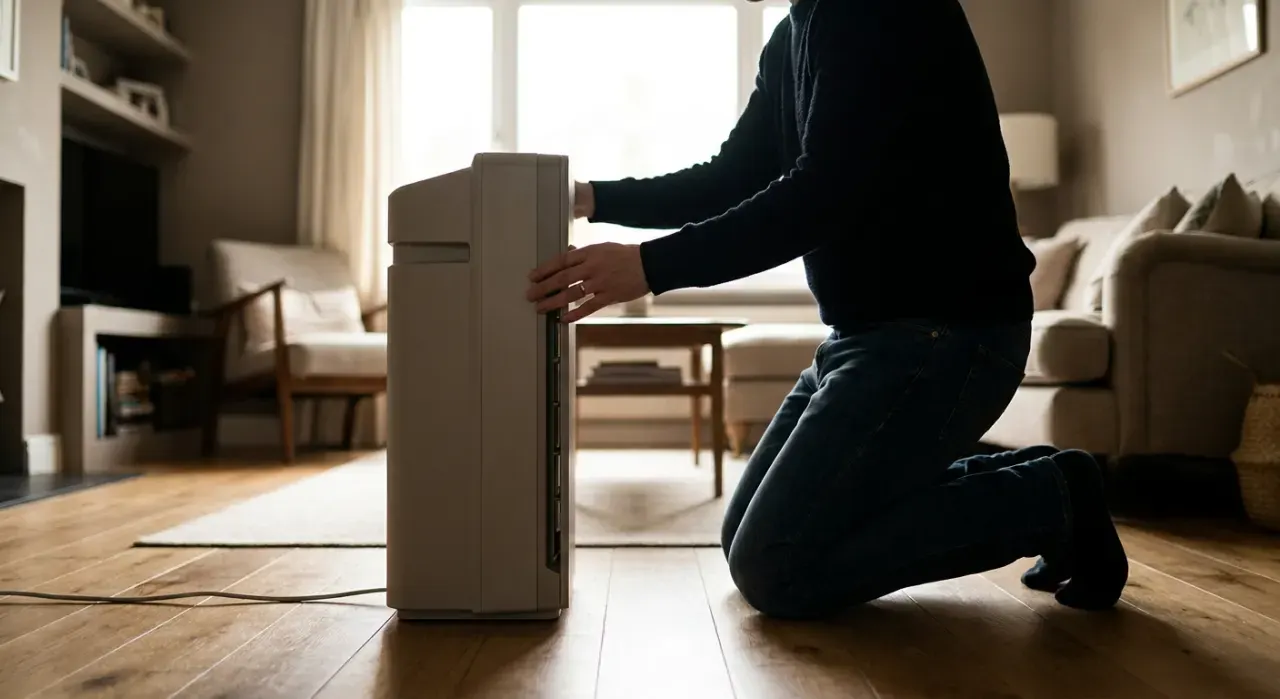
Stand the four filters on edge to form the walls and tape the vertical seams where they meet at the corners, arrows pointing inward. Tape a cardboard square to the bottom to seal the base. The goal is airtight — any gap or unsealed seam lets air bypass the filters instead of going through them, which is exactly what kills a leaky build’s performance. Seal every edge.
Step 4: Mount the fan and seal it
Set the box fan on top, blowing upward and out. Cut a cardboard shroud or gasket to cover the corners of the fan where it doesn’t meet the filter opening, and tape it down so air is forced through the filters rather than sneaking around the fan’s edges. Sealing the fan-to-filter gap noticeably boosts output. Some builders add a cardboard shroud on top to further focus the airflow.
Step 5: Run it safely and maintain it
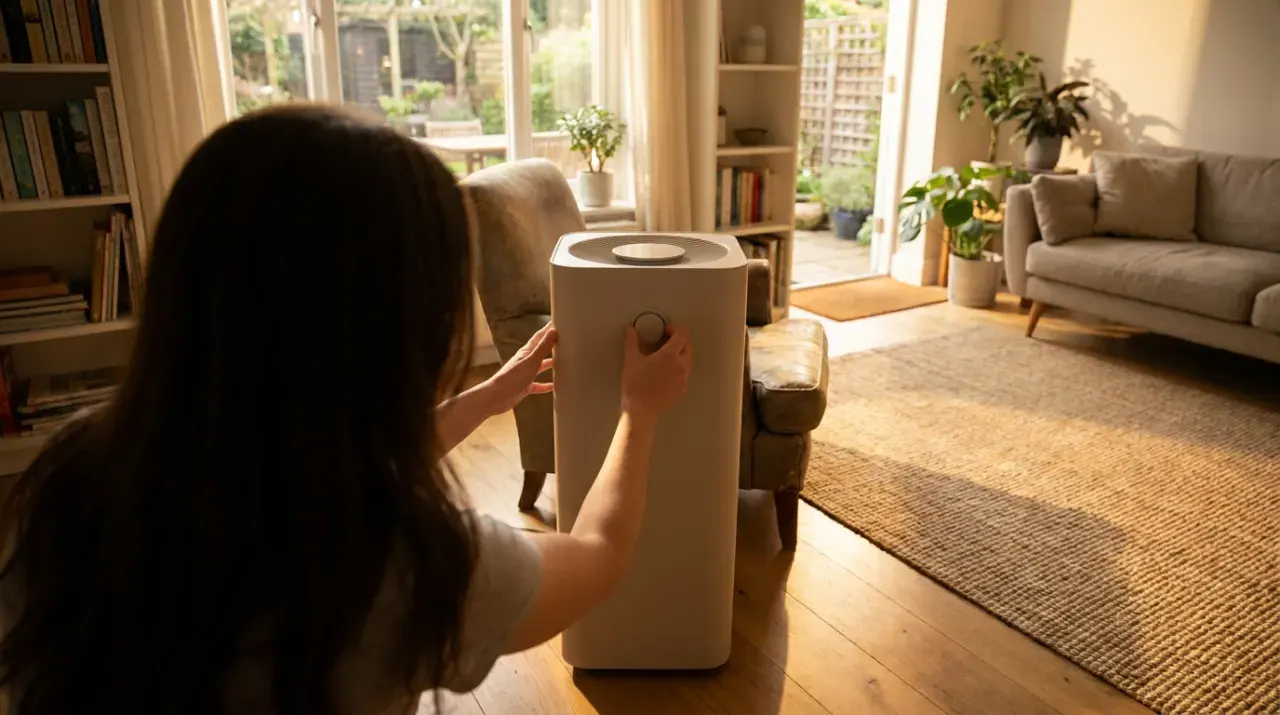
Place the box on a hard surface away from anything flammable, don’t block the airflow or cover the motor, and use a newer fan with a fused plug for fire safety. Run it on a normal speed. Replace the filters when they turn gray or airflow drops — every few months depending on your air. During wildfire smoke, it clears a room fast for a fraction of a commercial unit’s cost.
Where to go next
A DIY box complements store-bought units — see our best air purifier roundup for bedrooms, and keep any purifier working with our guide to replacing an air purifier filter. Fighting mold or damp? Pair it with a clean dehumidifier. It all lives under the air quality hub.
We never buy or physically test the products we rank — our picks come from aggregated owner reviews and expert consensus, explained on how we rank. Follow your box fan’s safety instructions when running it continuously.