 Garden
Affiliate Disclosure
Some links on this page are affiliate links. As an Amazon Associate, we earn from qualifying purchases — at no extra cost to you. We do not buy, test, or physically handle the products we cover; our rankings come from aggregated owner reviews, ratings and expert consensus. Commissions never change our verdicts. How we rank · full disclosure.
Replacing an air purifier filter is a two-minute job anyone can do, no tools required. Replacement filters cost 15 to 80 dollars depending on the model, and there’s nothing hazardous about the swap. But it’s worth doing right, because the common mistakes silently defeat the whole machine: installing the filter still in its plastic wrap, putting it in backward, or washing a true-HEPA filter (which destroys it). Get the orientation right, remove the wrap, reset the indicator, and your purifier goes back to actually cleaning the air.
Tools and materials
- The correct replacement filter for your exact model — HEPA, carbon, or a combination, matched by part number.
- A vacuum to clean the washable pre-filter and the intake grille while you’re in there.
- Nothing else — no tools needed for most units. If you’re shopping for a better machine, see our best air purifier picks.
Step 1: Confirm it’s time
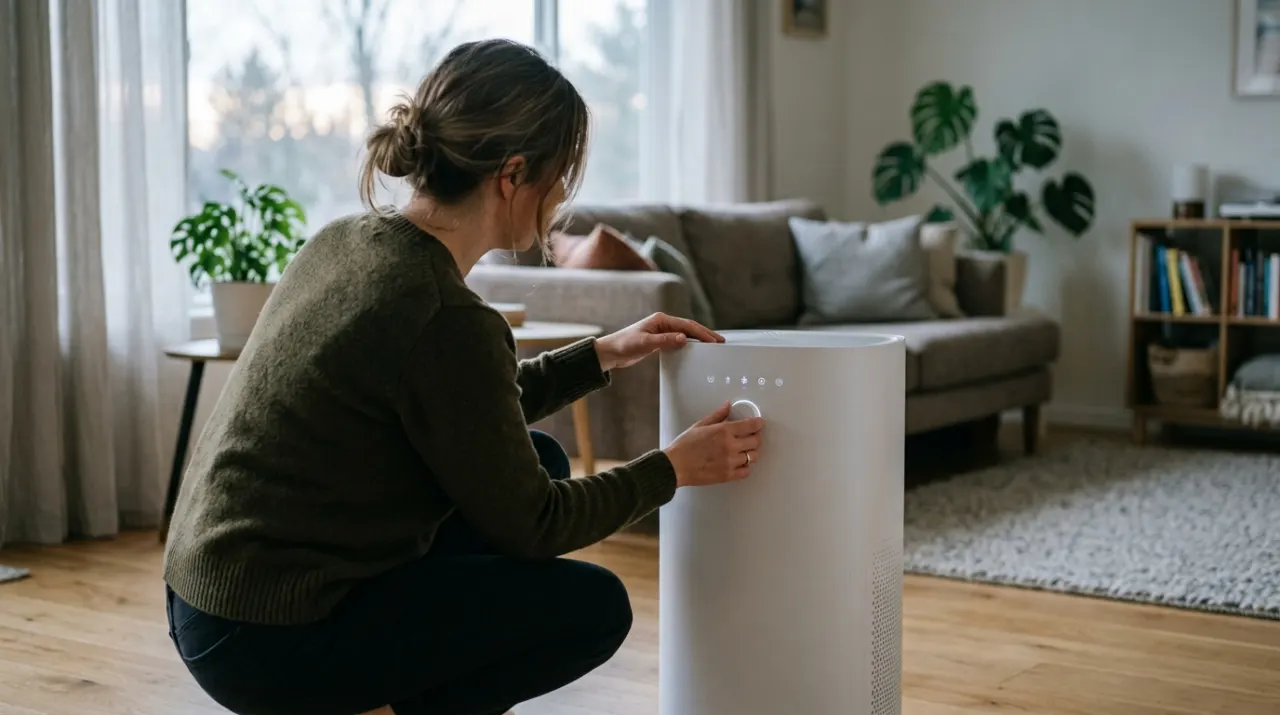
Check the filter indicator light if your unit has one, and look at the filter itself — a true-HEPA filter that’s turned gray or a carbon filter that no longer controls odors is due. Typical intervals are 6 to 12 months for HEPA and 3 to 6 months for carbon, but pets, smoke, and dust shorten them. Reduced airflow from the unit is another sign the filter is clogged.
Step 2: Power off and open the unit
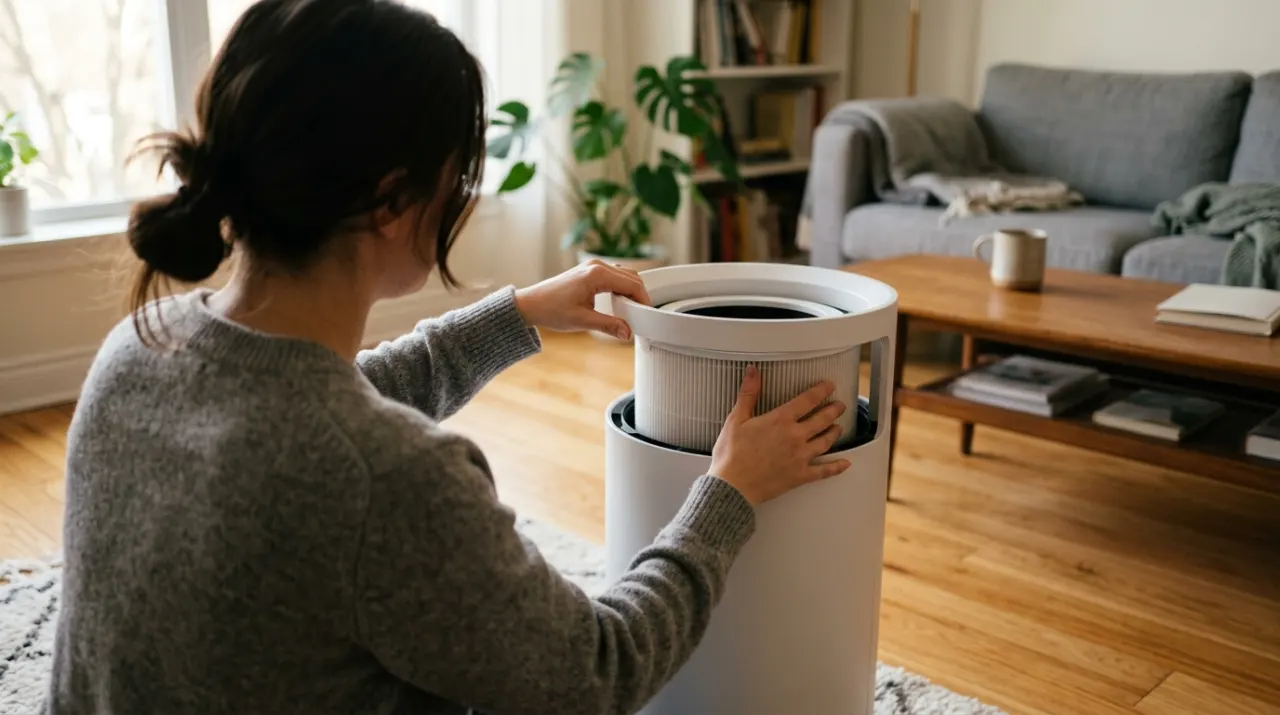
Turn off and unplug the purifier. Open the filter compartment — usually a clip, latch, or twist-off panel on the back or bottom. Note how the old filter sits (which way it faces) before you pull it out, so you can match the orientation of the new one. Slide the old filter out and dispose of it.
Step 3: Clean the pre-filter and housing
If your unit has a washable pre-filter, vacuum or rinse it and let it dry fully before reinstalling — a clean pre-filter extends the life of the pricier HEPA filter behind it. Vacuum dust out of the intake grille and the empty housing while you have access. Don’t wash the HEPA filter itself; water ruins the media.
Step 4: Unwrap and install the new filter
Remove all plastic wrap from the new filter — installing one still bagged blocks airflow completely and is the number-one mistake. Find the airflow-direction arrow or the labeled side on the frame and slide the filter in the correct orientation (carbon side toward the intake on combination filters). Seat it fully and close the compartment.
Step 5: Reset the indicator and run it
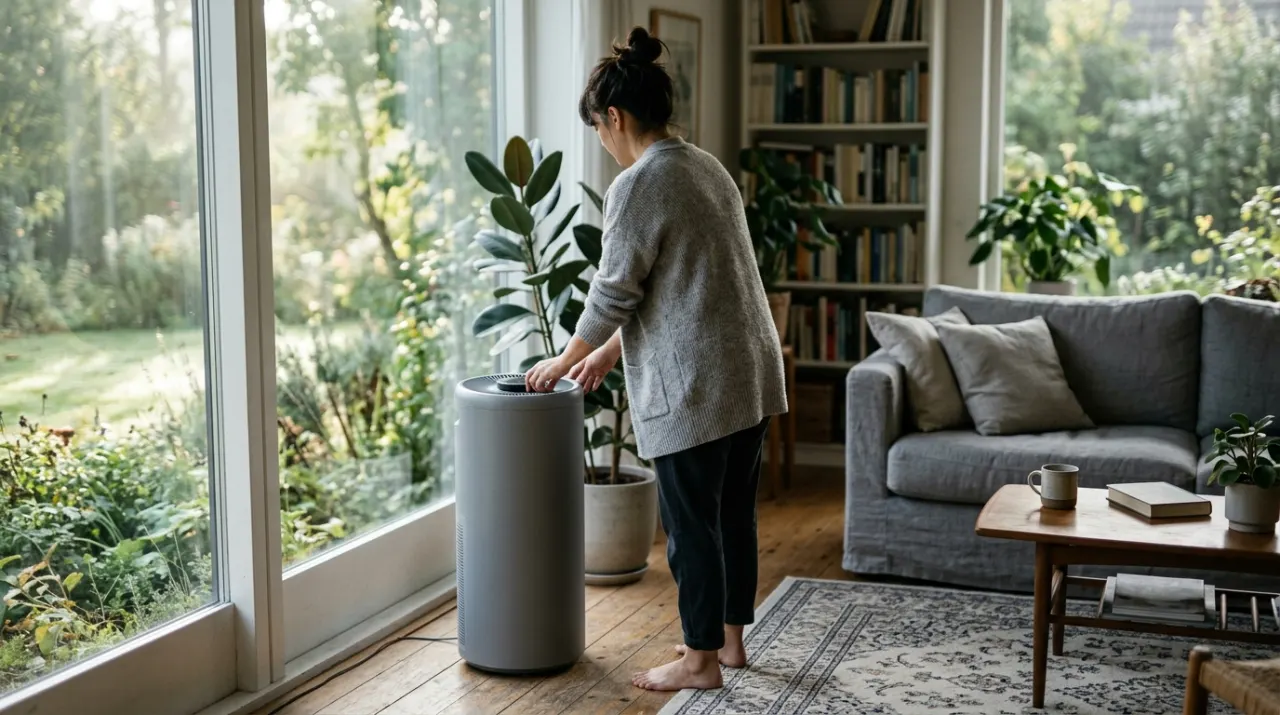
Plug in and power on. Press and hold the filter-reset button until the indicator light clears (the button and hold time are in your manual) so the change-timer starts fresh. Run the purifier and confirm normal airflow. A proper reset keeps the reminder accurate for the next cycle.
Where to go next
Filter changes are core air-quality upkeep alongside cleaning a humidifier and cleaning a dehumidifier. On a budget, a DIY box-fan air purifier uses replaceable furnace filters instead. It all lives under the air quality hub.
We never buy or physically test the products we rank — our picks come from aggregated owner reviews and expert consensus, explained on how we rank. Follow your purifier’s manual for the correct filter and reset.