 Garden

Affiliate Disclosure
Some links on this page are affiliate links. As an Amazon Associate, we earn from qualifying purchases — at no extra cost to you. We do not buy, test, or physically handle the products we cover; our rankings come from aggregated owner reviews, ratings and expert consensus. Commissions never change our verdicts. How we rank · full disclosure.
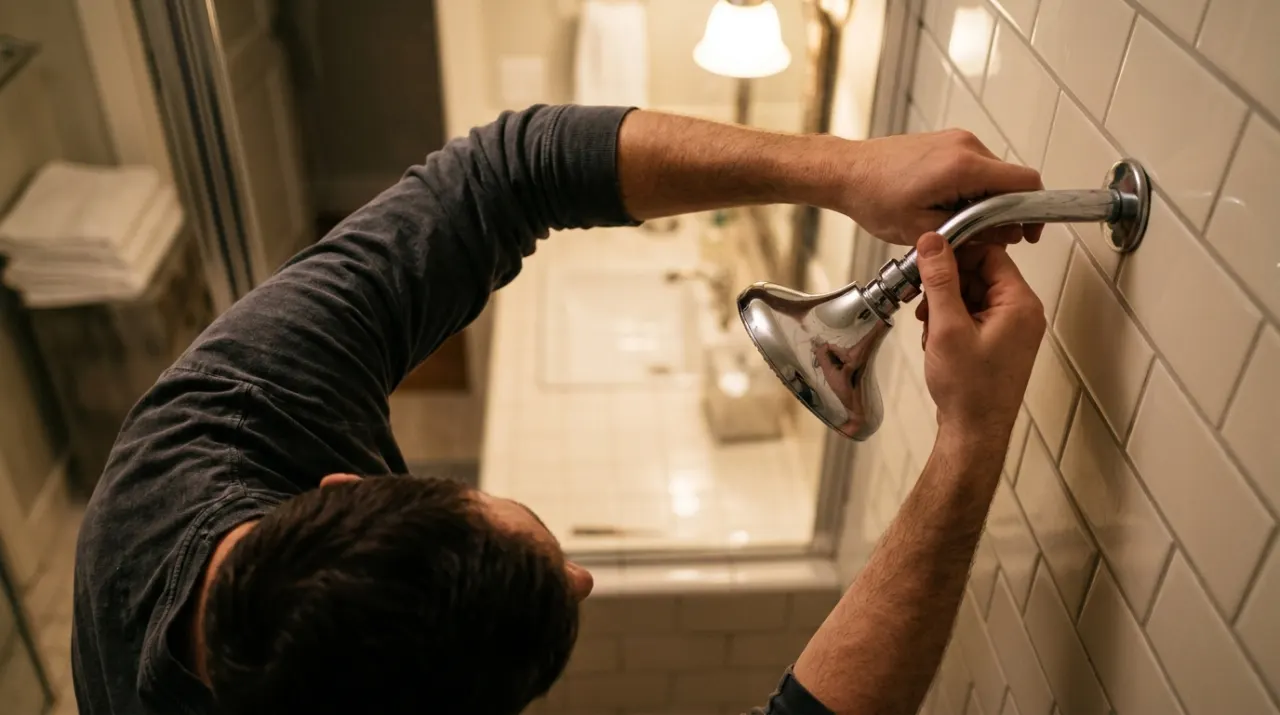
Unscrew the head from the arm, submerge it face-down in a bowl of warm distilled white vinegar for 2 to 8 hours depending on buildup, brush the nozzles and clear the inlet screen, then reseal the arm threads with 2 to 3 wraps of PTFE tape and hand-tighten plus a quarter turn. Removing the head is the more thorough version of the bag method, and it is worth the extra ten minutes when scale is heavy, when flow has dropped noticeably, or when you want to get at the inlet screen and flow restrictor — the two parts a bag soak cannot reach.
We never buy or physically handle the products we rank; recommendations come from aggregated owner reviews and manufacturer care guidance, described in how we rank. More at the bathroom hub.
When to Remove Rather Than Bag
The in-place bag method is easier and fixes most cases — it is covered step by step at how to clean a shower head without removing it. Take the head off when:
- Flow is down substantially and a bag soak did not restore it.
- You want to clean the inlet screen and flow restrictor, which sit inside the inlet and are the second most common blockage after the nozzles.
- The head is a shape a bag cannot hold — although cling film usually solves that.
- Scale is heavy enough to need agitation and a long full-immersion soak.
- The head leaks at the arm connection and needs resealing anyway.
Removing It Without Damage
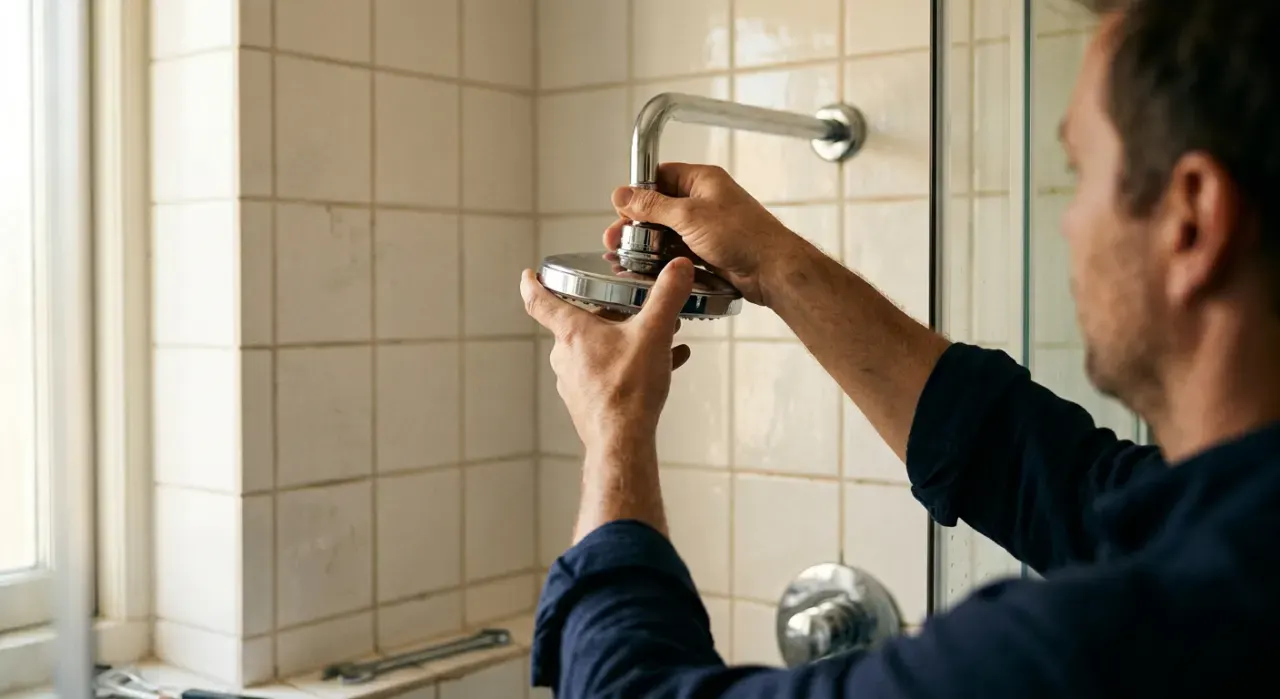
The risk in this job is not the head, it is the elbow fitting inside the wall. Torque applied to the head twists the shower arm, and a cracked elbow means opening the wall.
- Protect the finish. Wrap a cloth or several layers of masking tape around the head collar and the arm where wrench jaws will sit.
- Use two wrenches. One adjustable wrench or pipe wrench holding the shower arm steady close to the wall, and a second turning the head counterclockwise (looking at the head from below).
- Steady pressure, not a jerk. If it will not move, apply penetrating oil at the joint and wait an hour. Heat is not appropriate near plastic components.
- If the arm turns with the head, stop. Reset your grip on the arm and try again. An arm that keeps turning may already be loose in the elbow.
- Cover the drain before you start. Dropping a rubber washer down an open drain is a small disaster.
The Soak
- Disassemble what comes apart. Many heads have a removable filter screen or washer at the inlet, and some have a face plate that unclips. Take out any rubber washer — it does not need soaking and vinegar hardens rubber over time.
- Rinse loose debris under a running tap, inlet first, to flush grit out the way it came in.
- Submerge face-down in a bowl or bucket with enough warm vinegar to cover the nozzle face and ideally the whole head. Warming to about 100 to 120 degrees F speeds the reaction considerably.
- Soak by finish: chrome and stainless, 2 to 8 hours undiluted; brushed nickel, matte black and coated finishes, 30 minutes at 1:1 dilution; oil-rubbed bronze and unlacquered brass, 15 to 30 minutes at 1:1 or skip vinegar entirely per the manual.
- Agitate once or twice. Swirl it, and pump water through the inlet with a turkey baster if you have one — moving fluid through the internal channels clears them far better than a static soak.
Scrubbing and the Inlet Screen
After the soak, rinse thoroughly under hot water — inlet end first, so debris flushes out through the nozzles rather than deeper in.
Nozzles: old toothbrush across the face, then a thumb rubbed firmly over rubber nozzles to pop remaining deposits. For individual blocked holes, a toothpick or a straightened paperclip, used gently. Metal picks gouge rubber nozzles permanently and ruin the spray pattern.
Inlet screen: this is the part worth removing the head for. A fine mesh screen or filter washer sits inside the inlet and catches sediment, pipe scale and post-plumbing-work debris. Brush both sides, rinse, and hold it up to a light — you should see through the whole mesh. Replacement screens cost a few dollars if damaged.
Flow restrictor: a small plastic disc, usually just behind the screen. Clean it and put it back. Removing it voids the warranty on essentially every head, and federal law caps new shower heads at 2.5 gpm at 80 psi under the Energy Policy Act, with California, Colorado and several other states requiring 1.8 to 2.0 gpm. On modern heads the spray pattern is engineered around that flow, so removing the restrictor usually produces a scattered, cooler spray rather than a stronger one.
Reinstalling and Sealing
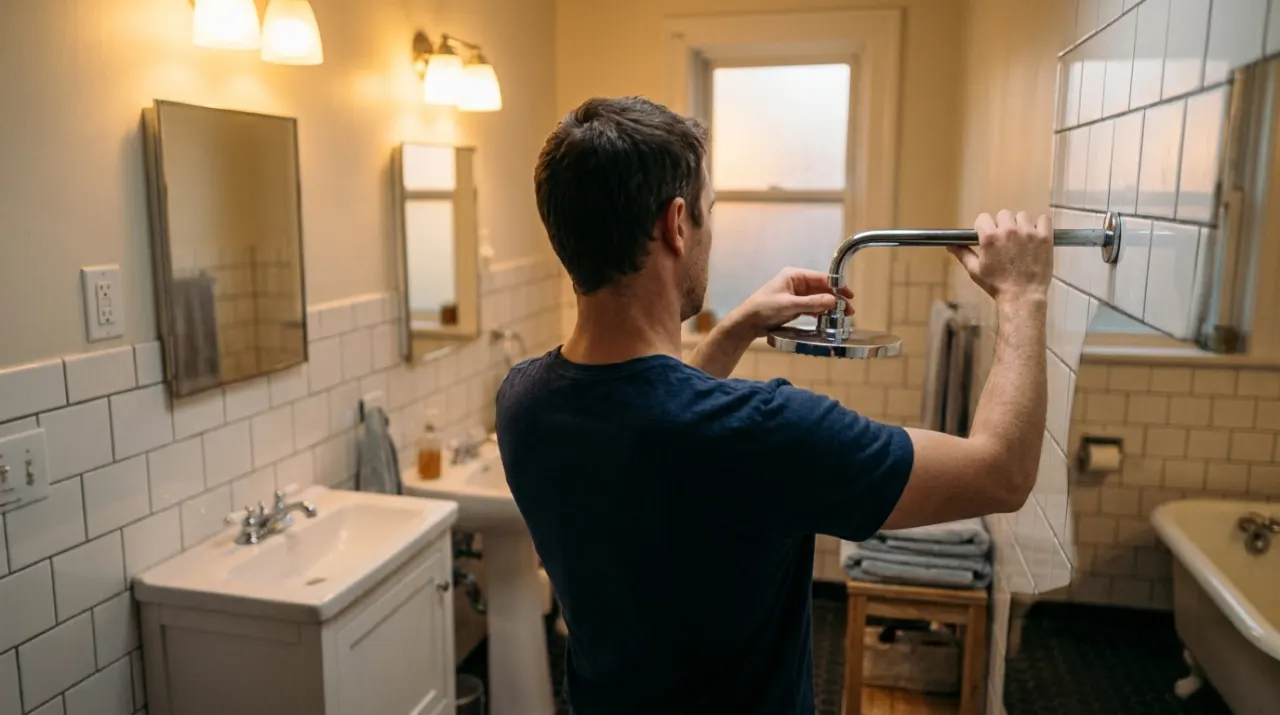
- Clean the arm threads — strip old PTFE tape or pipe dope with a fingernail or a stiff brush. Old tape left in place is the usual cause of a leak after reinstalling.
- Wrap 2 to 3 turns of PTFE thread seal tape clockwise as you look at the end of the arm, so screwing the head on tightens the wrap rather than unwinding it. Keep the tape off the very end of the threads so shreds do not enter the waterway.
- Refit the rubber washer inside the head if there was one. Missing washers are the second most common leak cause.
- Hand-tighten, then a quarter turn with a cloth-protected wrench. No more. Overtightening cracks plastic collars and distorts washers.
- Run the shower for 2 minutes and check for drips at the joint. A small weep usually means one more wrap of tape; a steady drip means the washer or the tape wrap is wrong.

Which Vinegar to Use
| Type | Acidity | Verdict |
|---|---|---|
| Distilled white vinegar | 5 percent acetic acid | The standard choice — cheap, colorless, effective |
| Cleaning vinegar | 6 percent | Faster, harsher on finishes; dilute for anything but chrome |
| Apple cider vinegar | 5 percent | Works, but the color and sugars can stain and leave residue |
| Balsamic or wine vinegar | Varies | No — pigments and sugars stain grout and finishes |
| Citric acid powder | Mix 1 tbsp per cup of warm water | Excellent alternative, no smell, gentler on finishes |
Citric acid is worth knowing about as a substitute: it dissolves calcium carbonate just as effectively, costs a few dollars for a bag that lasts years, and leaves none of the smell that makes an overnight vinegar soak unpopular with the rest of the household. It is also the acid used in most manufacturer-branded descaling powders, which is a reasonable signal that it is safe on plumbing components.
Whatever you use, never combine it with bleach or with another cleaning product. Acid plus bleach releases chlorine gas, and a bathroom is exactly the small enclosed space where that becomes dangerous rather than merely unpleasant. Ventilate while soaking.
Descaling Schedule and Alternatives
| Water hardness | Full descale | Quick wipe |
|---|---|---|
| Soft (under 60 mg/L) | Annually | Monthly |
| Moderately hard (61 to 120 mg/L) | Every 6 months | Weekly |
| Hard (121 to 180 mg/L) | Every 3 to 4 months | Weekly |
| Very hard (over 180 mg/L) | Every 2 to 3 months | Weekly, plus consider a filter |
The USGS hardness classification above is the standard reference, and your water utility publishes an annual quality report with your local figure. Commercial descalers based on sulfamic, lactic or citric acid work in 15 to 30 minutes where vinegar takes hours — check the label against your finish, ventilate, wear gloves and eye protection, and never mix cleaning products.
If flow is still poor after a full descale, the restriction is upstream. Work through how to increase shower head water pressure and how to fix low water pressure in a shower. Anything involving supply piping, the pressure-reducing valve or the main is licensed plumber work, and permit rules for altering supply piping vary by jurisdiction.
Related: why a new shower head has low pressure, do shower filters help with hard water, best shower filter, and our current rankings at best shower head.