 Garden

Affiliate Disclosure
Some links on this page are affiliate links. As an Amazon Associate, we earn from qualifying purchases — at no extra cost to you. We do not buy, test, or physically handle the products we cover; our rankings come from aggregated owner reviews, ratings and expert consensus. Commissions never change our verdicts. How we rank · full disclosure.
A wobbling kitchen faucet is nearly always a loose mounting nut under the sink, and tightening it takes 15 minutes with a basin wrench. Clear the cabinet, shut off the supply stops, look up at the underside of the faucet shank and find the large nut or bracket clamping it to the deck, then tighten it firmly by hand plus about a quarter turn. If the base is solid but the handle wobbles, that is a different fault — a backed-out set screw under the handle cap. No permit, no plumber, roughly $0 if you own the tool.
We never buy, test or physically handle the products we rank; recommendations come from aggregated owner reviews and expert consensus, described in how we rank. More at the DIY plumbing hub.
Step 1: Work out which part is loose
Grip the faucet in three places and see what moves. The fix is different for each:
| What moves | Cause | Fix time |
|---|---|---|
| Whole faucet rocks on the deck | Mounting nut or bracket loose | 15 min |
| Handle wobbles, base solid | Handle set screw backed out | 5 min |
| Spout swivels too freely or lifts | Spout retaining nut or clip | 15 min |
| Pull-down sprayer head loose on hose | Quick-connect not latched | 2 min |
| Everything solid but base leaks | Deck gasket or plumbers putty failed | 30–45 min |
Tools and materials
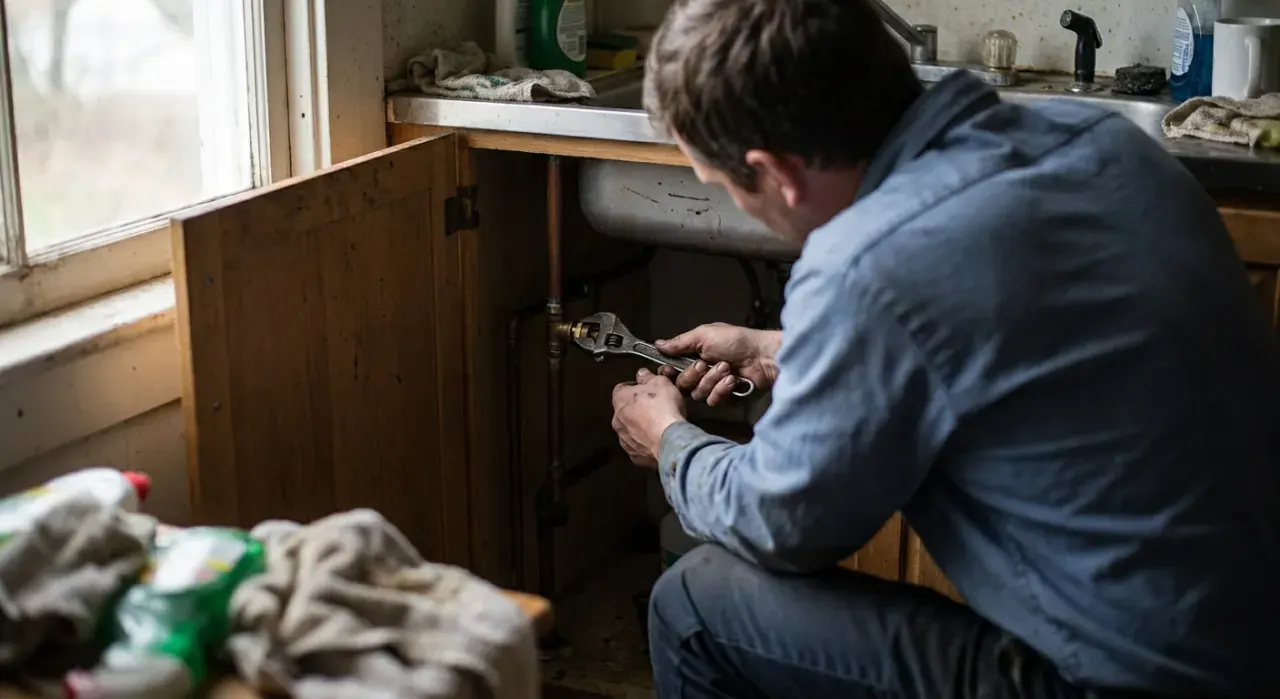
- Basin wrench, 10 to 17 inch, $12 to $25 — or a 1/4-inch nut driver and hex keys if your faucet uses a bracket. Kits are covered in best plumbing tools.
- Headlamp or a flashlight you can prop. Under-sink work is a lighting problem before it is a plumbing problem.
- A folded towel to lie on, and a small bucket.
- Optional: a large fender washer or a supplemental mounting plate if the nut will not hold.
Step 2: Get access (5 minutes)
Empty the cabinet completely — the sprays, the trash bag, the disposal cord. Put the towel down and lie on your back with your head under the basin, headlamp on. Turn both angle stops clockwise to shut the supply, then open the faucet to relieve pressure. You are not disconnecting anything, but a bumped supply line with the water on turns a 15-minute job into a mopping session.
Now look directly up at the underside of the sink deck behind the bowl. You will see the faucet shank coming through and one of three mounting arrangements:
- A large brass or plastic hex nut threaded on the shank — the traditional design, and the one that needs a basin wrench.
- A plastic nut with molded wings — hand-turn it, no tool needed.
- A horseshoe bracket with one or two screws or nuts pulled down against the deck — a 1/4-inch nut driver or a hex key. This is the common modern arrangement on pull-down faucets.
Step 3: Tighten it (5 minutes)
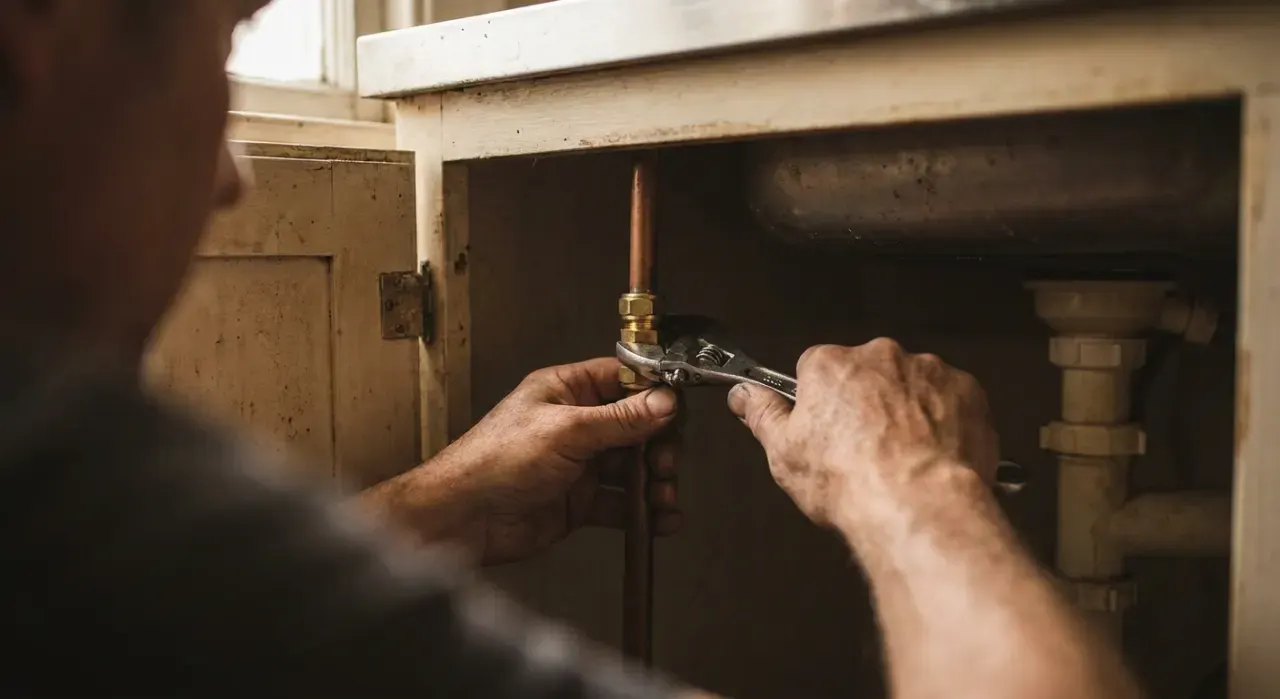
Have someone hold the faucet straight and centered on the deck from above while you tighten. Doing this alone usually ends with a faucet clamped down slightly crooked, and the only fix for that is to loosen and redo it.
Set the basin wrench jaw on the nut and turn counter-clockwise as seen from below, which is clockwise from above — remember you are looking at the nut upside down, and turning it the wrong way is the single most common error here. Snug it up hand-firm, then add about a quarter to a half turn with the wrench. Stop there. You are clamping a fixture, not sealing pressure, and a plastic nut will crack if you keep going.
For a bracket type, tighten the two screws alternately in small increments so the bracket pulls down evenly rather than cocking to one side.
Test from above: grab the spout base and try to rock it. No movement means done.
Step 4: When it will not stay tight
If the nut is already tight but the faucet still rocks, the problem is not the nut — it is what the nut is bearing on. Three fixes, in order of effort:
- Add a large fender washer between the nut and the deck. A 1/4-inch ID washer with a 1.5-inch outer diameter spreads the clamping load across far more surface. Costs under $2 and solves a surprising share of cases.
- Fit a mounting plate or horseshoe washer if the mounting hole is oversized or the deck is thin stainless that flexes. Many faucets shipped with one and it was left out at installation.
- Reseal the base. If the deck gasket has hardened or the plumbers putty has crumbled, the faucet is riding on nothing at the top. This means removing the faucet, cleaning the deck, and refitting with a new gasket or fresh putty — closer to a 45-minute job. The sequence is essentially the front half of how to replace a kitchen faucet.
One warning specific to stainless sinks: do not attempt to fix a rocking faucet by cranking the nut down until the deck stops flexing. You will dish the stainless permanently and the faucet will still move.
Fixing a loose handle instead
Single-lever kitchen faucets almost universally hang the handle on a stem with one small set screw. Look for a round decorative cap on the front or the top of the lever, marked with a red-blue indicator or plain chrome. Pry it off with a fingernail or a small flat screwdriver wrapped in tape so you do not scratch the finish. Underneath is a hex socket screw, usually 3/32 or 7/64 inch. Tighten it snug — not hard, it threads into soft brass — and refit the cap.
If the screw turns forever without gripping, the handle broach or the screw threads are stripped and the handle needs replacing. Manufacturer parts for major US brands are usually available and often free under a lifetime finish-and-function warranty, so check the brand support page before buying anything.
When to stop and call a plumber
Tightening a faucet is homeowner maintenance and needs no permit anywhere in the US. Call a licensed plumber if you find standing water or soft, swollen particleboard in the cabinet base, if a supply stop will not shut off or weeps when you turn it, if the faucet shank itself is cracked or the deck around the hole is corroded through, or if the sink is a heavy cast iron or stone unit that would need lifting. Anything past the fixture — the branch drain, the water supply piping in the wall — is permitted work in most jurisdictions and the rules are set locally, so check with your building department rather than assuming.
Related reading: how to fix a leaky faucet, why does my kitchen faucet drip, how to replace a sink sprayer hose, and if it is time to give up on the faucet, best kitchen faucet.