 Garden

Affiliate Disclosure
Some links on this page are affiliate links. As an Amazon Associate, we earn from qualifying purchases — at no extra cost to you. We do not buy, test, or physically handle the products we cover; our rankings come from aggregated owner reviews, ratings and expert consensus. Commissions never change our verdicts. How we rank · full disclosure.
Six tools cover a straightforward faucet replacement: a basin wrench, an adjustable wrench, channel-lock pliers, a hex key set, plumbers putty or 100 percent silicone, and a bucket with rags. On any sink over about ten years old, add penetrating oil, a headlamp and a small hacksaw for the mounting nut that will not move. Total tool cost is roughly 40 to 80 dollars if you own none of it, against a plumber charging typically 150 to 350 dollars for the labor on a faucet swap, so the kit pays for itself on the first job.
What does each tool actually do?
| Tool | Job | Skippable? |
|---|---|---|
| Basin wrench | Reaches the mounting nuts behind the sink bowl | Only if yours are hand-turn plastic |
| Adjustable wrench | Supply line nuts at the faucet and the stop | No |
| Channel-lock pliers | Stubborn compression nuts, drain parts | No |
| Hex key set (metric and SAE) | Handle setscrews on the old faucet | No |
| Plumbers putty or silicone | Seals the base to the deck | Yes if a rubber gasket is supplied |
| Bucket, rags, flashlight | Residual water, visibility in the cabinet | No |
| Penetrating oil | Frees corroded nuts | Only on newer installs |
| Mini hacksaw or rotary tool | Cutting a seized nut or shank | Yes, until you need it |
Why is the basin wrench the one that matters?
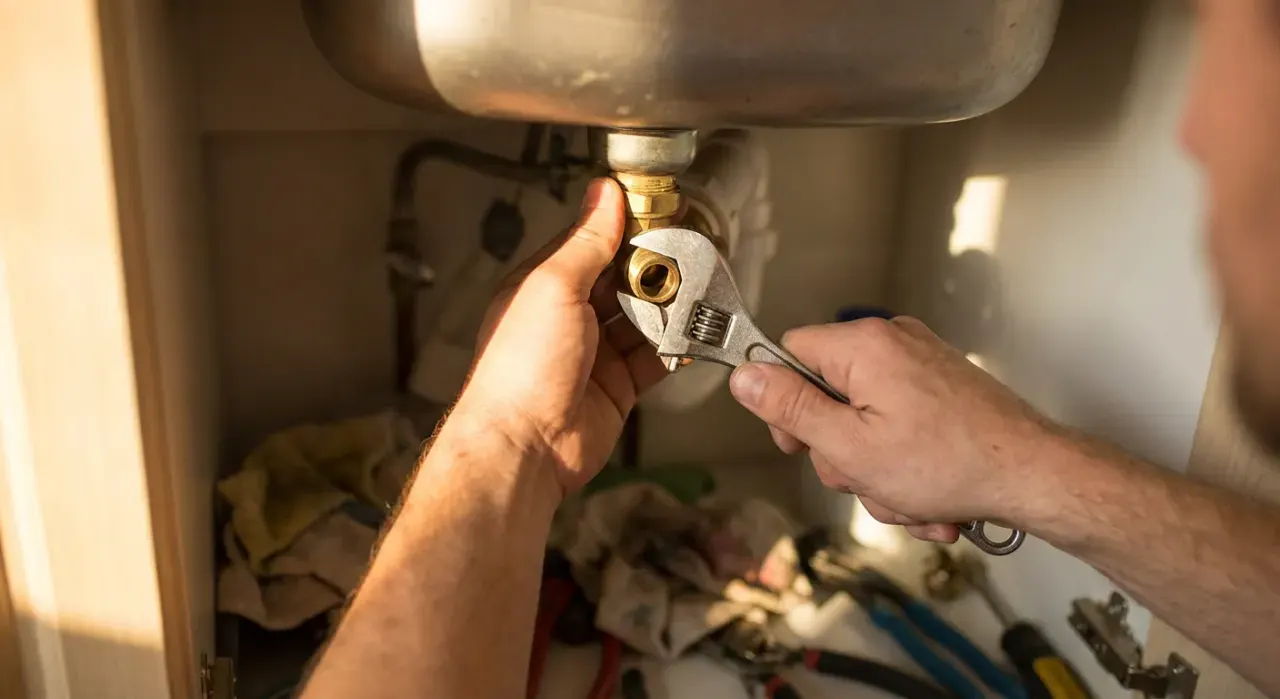
Because of geometry. The nuts that clamp a faucet to the sink deck sit directly above your face, 12 to 16 inches back inside a cabinet you can barely get your shoulders into, with the sink bowl and the drain tailpiece in the way. A basin wrench solves this with a long shaft and a spring-loaded jaw on a pivot, so it grips a nut you cannot see from a position where no ordinary wrench fits. It is a single-purpose tool that is close to useless the rest of the year and indispensable for the twenty minutes you need it.
A telescoping model is worth the couple of extra dollars for deep cabinets and farmhouse sinks. Note that many faucets made in the last decade use large plastic mounting nuts with molded wings, designed to be turned by hand — check yours before buying anything.
What parts should you have on hand before starting?
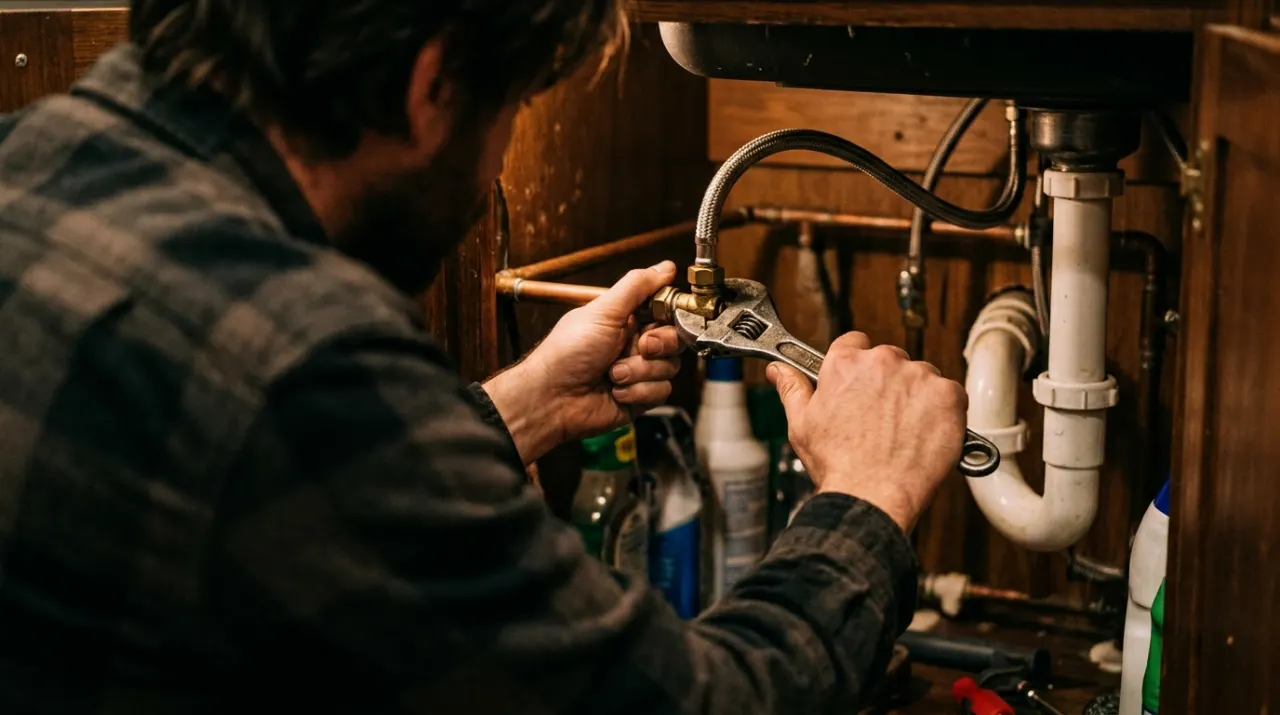
- Two braided stainless supply lines in the right length and connection size. The old ones are ten years old and will be disturbed; replacing them costs a few dollars and prevents the leak that shows up two weeks later.
- Quarter-turn angle stops, if the existing ones are multi-turn, seeping, or will not close.
- Thread seal tape for threaded pipe connections, though not for compression fittings, which seal on the ferrule and do not want tape.
- A deck plate if you are moving from a three-hole faucet to a single-hole one. Hole sizing and spacing is covered in what size hole for a kitchen faucet.
- Silicone plumbers grease for O-rings, if you are also servicing rather than replacing.
What makes an old faucet hard to remove?
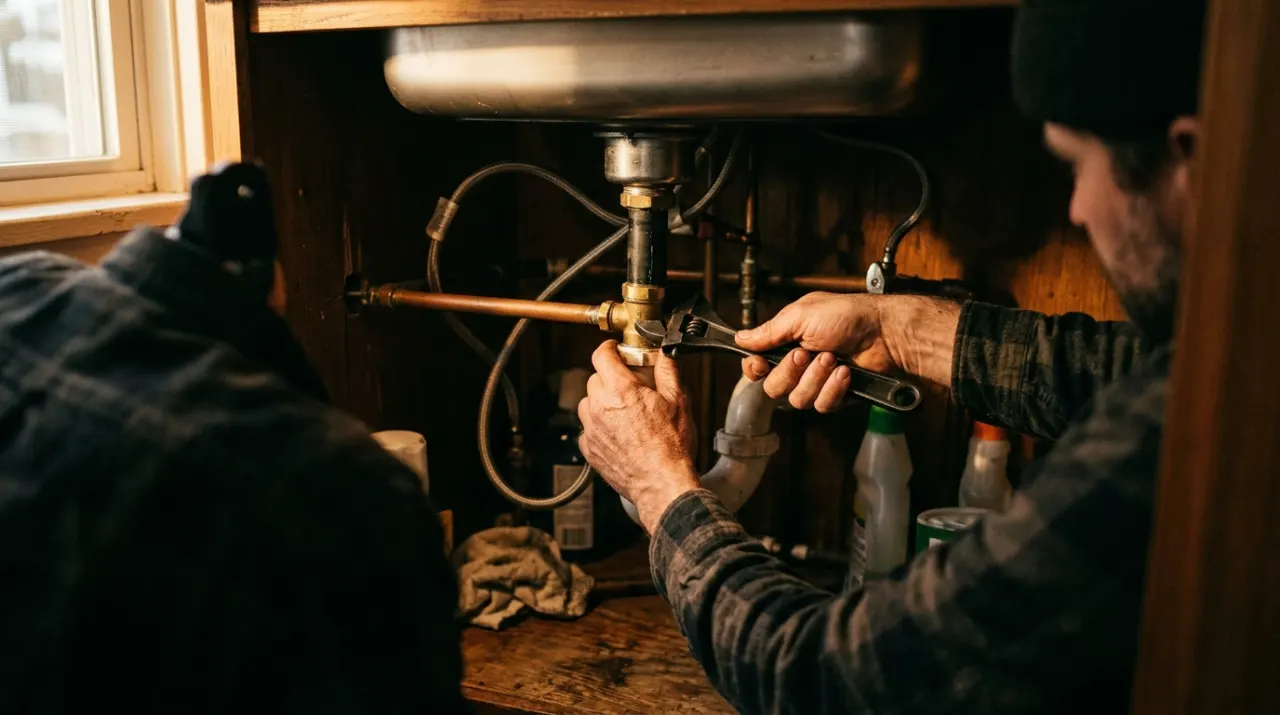
Galvanic corrosion between the brass shank and a steel mounting nut, plus fifteen years of water that has evaporated and left mineral deposits welding the two together. The sequence that works: spray penetrating oil on every nut, wait 20 minutes, and try again with steady pressure rather than sharp force. If it still will not move, extend the basin wrench handle with a length of pipe for leverage. If it still will not move, cut it — a mini hacksaw blade wrapped in tape at one end, or a rotary tool with a cutoff wheel and eye protection, working carefully so the blade does not skate across the underside of the sink.
The full installation sequence is in how to replace a kitchen faucet, and the bathroom version, which is usually easier, is in how to replace a bathroom faucet. If the faucet is only dripping rather than failing, check why does my kitchen faucet drip first — a cartridge is often a free warranty part. Our best plumbing tools roundup covers the wider kit, and best kitchen faucet covers the fixture itself.
We never buy, test or physically handle the products we rank. Recommendations come from aggregated owner reviews, star ratings, review volume and expert consensus — see how we rank.
More from this hub: DIY Plumbing · Best plumbing tools · Replace a kitchen faucet · Replace a shut-off valve · How we rank