 Garden


Affiliate Disclosure
Some links on this page are affiliate links. As an Amazon Associate, we earn from qualifying purchases — at no extra cost to you. We do not buy, test, or physically handle the products we cover; our rankings come from aggregated owner reviews, ratings and expert consensus. Commissions never change our verdicts. How we rank · full disclosure.
The short answer: four fixes account for nearly all recoverable brightness. Clean and polish the solar panel — UV haze and grime commonly cut charging by 30 to 50 percent. Replace the rechargeable battery, which degrades after one to two years and is a $2 to $6 part. Relocate the light so the panel gets six or more hours of direct, unshaded sun. Clean the lens or diffuser, inside and out. Together these routinely double or triple the output of a two-year-old light, and none of it takes more than 20 minutes.
What none of it does is exceed the original design output — the LED and its driver set a hard ceiling. We do not physically handle the lights we rank; our picks come from aggregated owner reviews and expert consensus, described in how we rank, with the ranked field in best solar landscape lights.
Fix 1: the panel — the biggest single gain
Every watt-hour the light produces at night came through that panel during the day, and it is the part most degraded by weather.
- Wash it with warm water, a drop of dish soap and a soft cloth. Pollen, dust and hard-water spotting alone can cost 10 to 25 percent.
- Polish the haze out. Use a fine automotive polish, plastic polish or a headlight restoration compound on a microfiber cloth, working in small circles. The cloudy layer is oxidized plastic and it comes off.
- Seal it. Finish with a UV-protectant plastic sealant or a thin wipe of car wax to slow the haze coming back. Repeat annually.
- Check the angle. A panel lying flat collects less than one tilted toward the midday sun. Where the fixture allows, tilt it roughly toward your latitude angle facing south.
- Never use an abrasive scrubber or acetone. Both etch the plastic permanently and make the problem worse.
Fix 2: the battery
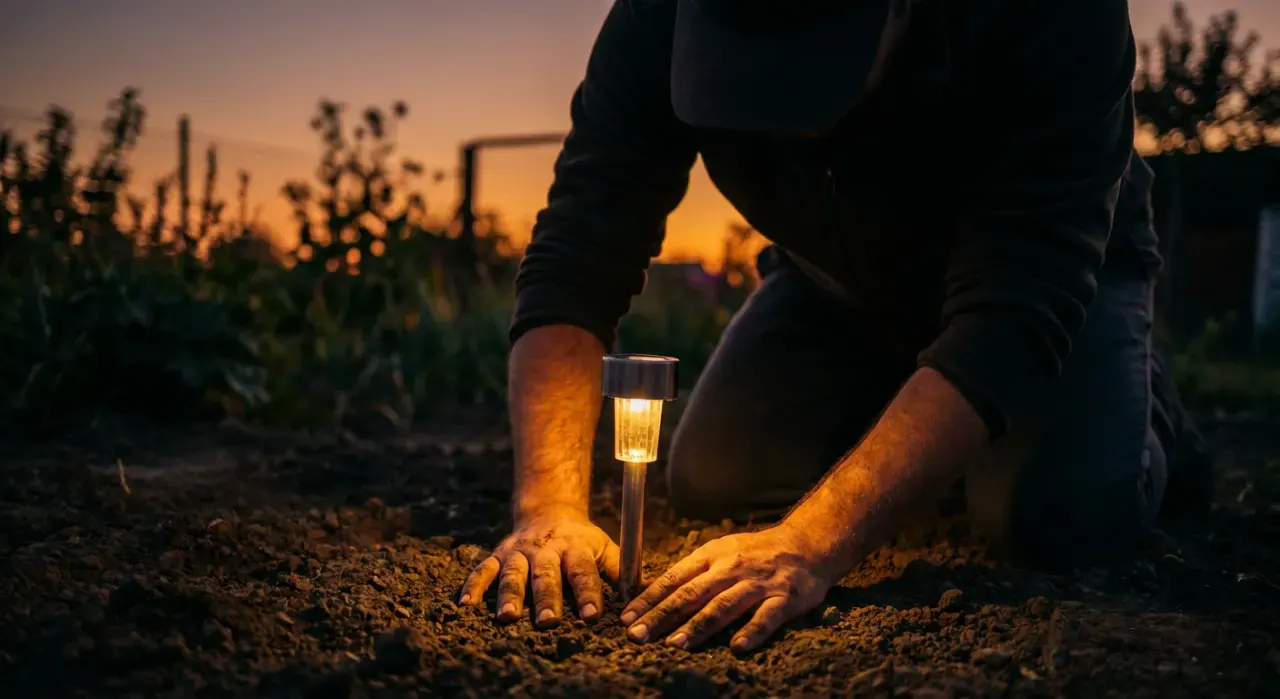
Most solar garden lights use a single AA or AAA NiMH cell, occasionally a small lithium pack. These are consumable parts, not permanent ones — expect 400 to 800 charge cycles, which is one to two years of nightly use.
| Symptom | Diagnosis |
|---|---|
| Bright at dusk, dead by 10 or 11 pm | Battery capacity has faded. Replace it |
| Dim all evening but lasts until dawn | Panel or LED problem, not the battery |
| Does not come on at all | Battery fully dead, corroded contacts, or a failed sensor |
| Works after a sunny day, not after a cloudy one | Marginal battery capacity or an underperforming panel |
| White crust or green corrosion at the terminals | Moisture ingress. Clean with vinegar on a cotton bud, dry, reseal the housing |
- Match the chemistry and voltage exactly. A NiMH light needs a NiMH cell at 1.2 V. Putting a 1.5 V alkaline in a solar light is a common mistake — alkalines are not rechargeable, they leak, and they can damage the circuit.
- You can go up in capacity. Replacing a 300 mAh cell with a 600 to 800 mAh one extends runtime through the night. Beyond roughly double, the panel cannot recharge it fully in a single day and you are back where you started.
- Cells cost $2 to $6 each in multipacks, which is far less than replacing a fixture.

Fix 3: where the light actually sits
A solar light needs six or more hours of direct sun on the panel to charge fully. The number of installations that fail this test is remarkable — a path light placed in June under a tree that leafed out in May, a fixture in the shadow of a fence for the whole afternoon, a light under the eave line.
- Watch the spot across a full day, not just at noon. Shade patterns move a long way between 9 am and 4 pm.
- Account for the season. A location that works in April may be fully shaded once the canopy fills in, and winter sun angles are much lower.
- Consider a remote-panel fixture if the light itself must sit in shade. These have a panel on a few feet of cable, so the panel goes in the sun and the fixture goes where you want the light.
- Keep them away from other light sources. The dusk-to-dawn sensor reads ambient light, and a porch light or a street lamp shining on the sensor keeps the fixture switched off or cycling.
Fix 4: the lens, and small extras
Clean the diffuser inside and out. Condensation inside a housing leaves a mineral film, and insects get in through drainage holes. If the housing has fogged internally, open it, dry it thoroughly, and reseal the seam with clear silicone — the moisture is also what corrodes the battery contacts.
Two extras worth knowing. Placing a light against a pale wall, fence or a light-colored mulch bed makes it appear noticeably brighter through reflected light, which costs nothing. And a strip of white paint or reflective tape inside the housing behind the LED lifts perceived output on some fixtures. Neither changes the lumens; both change what you see.
Upgrades that go beyond maintenance
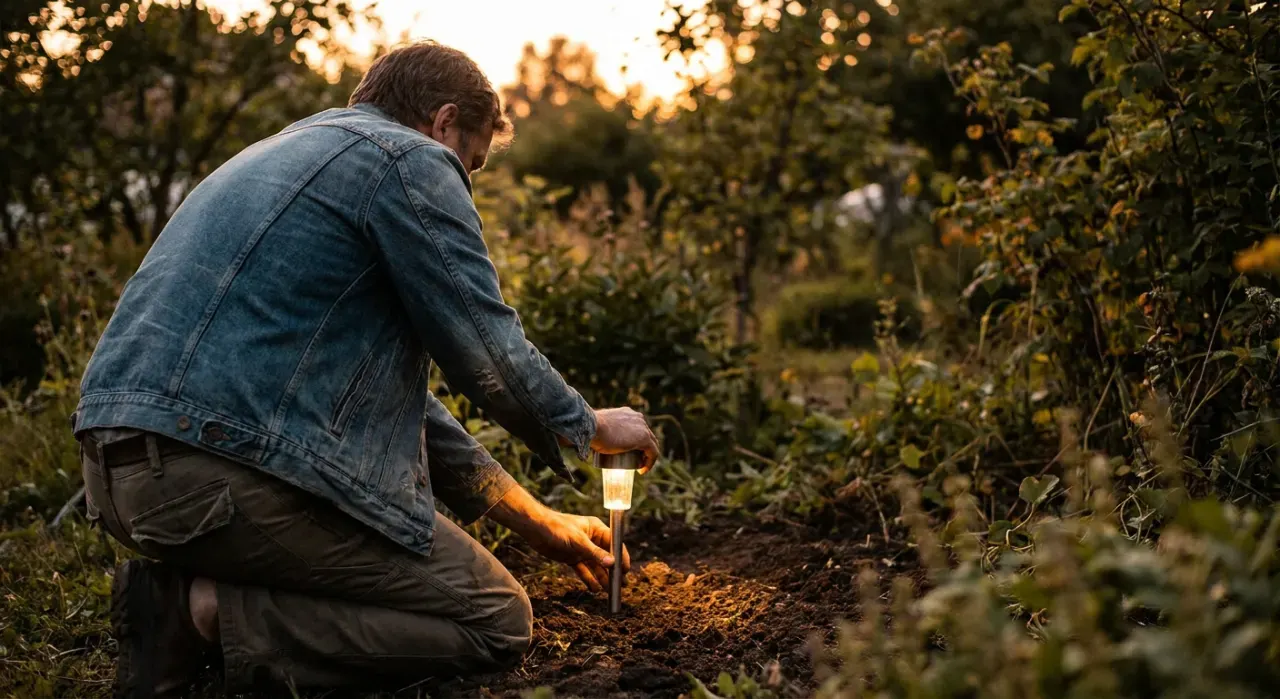
If cleaning and a fresh battery have not got you where you want to be, there are a few genuine modifications worth considering — with honest expectations about each.
- A larger external solar panel. Some fixtures accept a bigger remote panel, and on models where the light is charge-limited rather than driver-limited this produces a real improvement in how long the light stays at full brightness. It does not raise peak lumens.
- A higher-capacity cell, within reason. Doubling the mAh at the same voltage extends runtime through the whole night. Beyond about double, the panel cannot replace the charge in a single day and the light gradually falls behind across a run of dull weather.
- Replacing the LED. Technically possible on fixtures with a socketed or through-hole LED, and rarely worth it — the driver limits current, so a brighter LED at the same current is only marginally brighter, and a mismatch can shorten the driver's life. Skip this unless you enjoy the tinkering for its own sake.
- Switching to a warmer color temperature. Not a brightness change, but a perception one. Warm white at 2700K reads as softer and more pleasant in a garden, while cool white at 5000K looks brighter for the same lumens and harsher against planting. Choose deliberately rather than by accident.
- Adding a second fixture. Frequently the honest answer. Two 20-lumen path lights spaced 6 to 8 ft apart light a path far better than one struggling 40-lumen unit, and cost less than the effort of chasing brightness from a single fixture.
Whatever you do, keep expectations calibrated. Solar path lights are marker lights — their job is to show you where the path edge is, not to illuminate the ground you are walking on. A fixture that does the marking job reliably every night is more useful than a brighter one that dies at 10 pm.
What solar lights can and cannot do
| Fixture | Typical output | Suits |
|---|---|---|
| Budget solar path light | 2 – 15 lumens | Marking a path edge, not lighting it |
| Quality solar path light | 15 – 50 lumens | Path edges, borders, gentle accents |
| Solar spotlight | 50 – 300 lumens | Uplighting a tree or a wall feature |
| Solar security floodlight (motion) | 400 – 2,000 lumens | Short bursts only — battery cannot sustain it |
| Low-voltage path light | 50 – 300 lumens, constant | Genuinely lighting steps, paths, driveways |
If maintenance has not delivered what you need, the honest answer is usually that the fixture class is wrong rather than that the fixture is broken. The comparison is in solar vs low voltage, and the output figures you should be designing to are in lumens and color temperature.
For the diagnostic version of this problem see why solar lights stop working, and for charging in poor weather, do solar lights charge on cloudy days. Weather sealing is covered in outdoor lighting IP ratings, the ranked field is in best solar spotlights, and everything else is at the garden lighting hub.