 Garden

Affiliate Disclosure
Some links on this page are affiliate links. As an Amazon Associate, we earn from qualifying purchases — at no extra cost to you. We do not buy, test, or physically handle the products we cover; our rankings come from aggregated owner reviews, ratings and expert consensus. Commissions never change our verdicts. How we rank · full disclosure.
The short answer: yes, on a standard 24V low-voltage system — the wiring behind a typical US thermostat carries under 30 volts, needs no permit, and a swap takes 30 to 60 minutes with a screwdriver, a phone camera and a drill for the anchors. Kill the furnace breaker first. Call a licensed pro if you have line-voltage electric baseboard (120 or 240V), a millivolt wall or floor furnace, proprietary communicating equipment, or no C wire and no adapter that fits your system.
We do not physically handle the products we rank; picks come from aggregated owner reviews and expert consensus — see how we rank. Model shortlists are in best smart thermostat.
How do I know my system is DIY-friendly?
Pull the faceplate off the existing thermostat and read the terminal block. If you see lettered screw terminals — R, Rh, Rc, W, Y, G, C — with thin 18-gauge solid wires, you have a 24V low-voltage system and you are in DIY territory. If you see two thick stranded conductors and a label mentioning 120V or 240V, that is a line-voltage baseboard thermostat and a smart replacement must be a line-voltage model, wired by someone comfortable working at mains voltage. Two thin wires with no C and a very old gravity furnace suggests millivolt: leave it.
| What you see behind the plate | System type | DIY? |
|---|---|---|
| R, W, Y, G, C terminals, thin wires | 24V forced air with common | Yes — straightforward |
| R, W, Y, G but no C wire | 24V, no common | Yes, with a power extender kit |
| Rh and Rc with a jumper | Separate heat and cool transformers | Yes — remove jumper per manual |
| O/B terminal in use | Heat pump with reversing valve | Yes, but configure O vs B correctly |
| Two thick wires, 120/240V label | Line-voltage baseboard | No — licensed electrician |
| Two thin wires, old floor furnace | Millivolt | No — HVAC tech |
| Proprietary bus, brand-locked panel | Communicating system | No — use the brand thermostat |
What does the install actually involve?
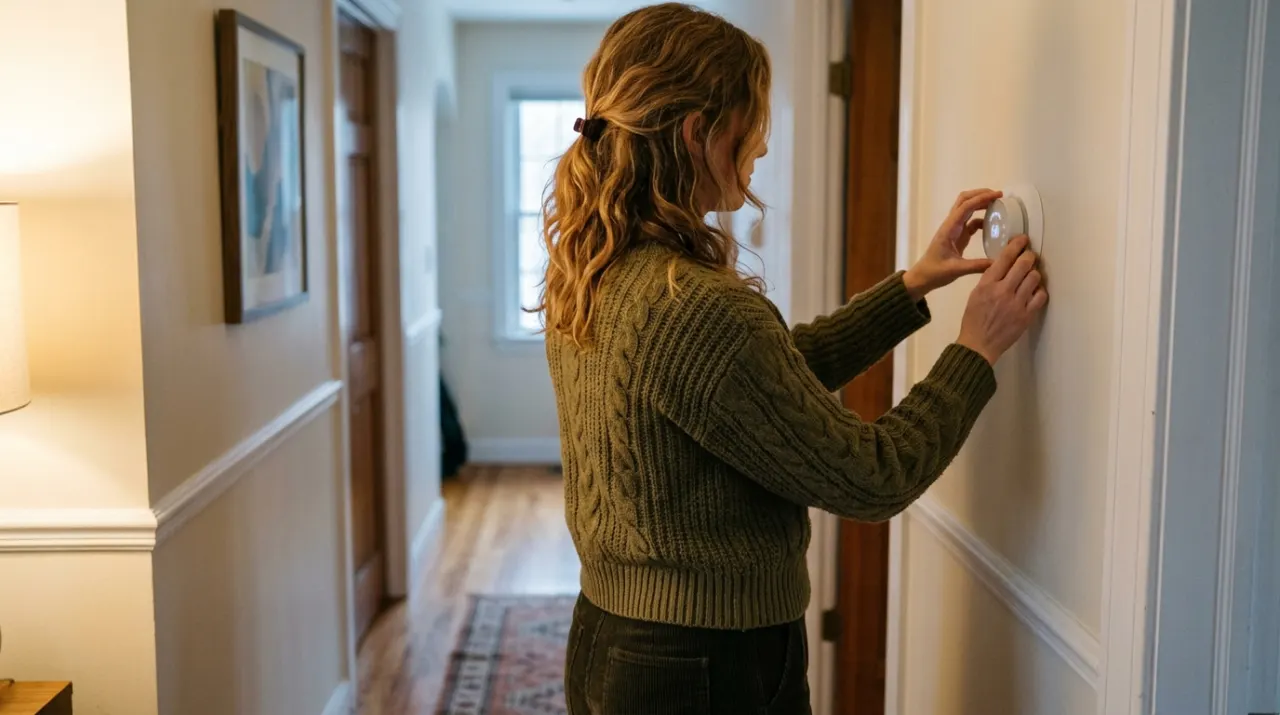
The sequence is the same across every major brand, and skipping the first step is what turns a simple job into a service call. Work methodically: photograph, label, mount, land the wires, configure. Nothing about the physical work is difficult — the risk is entirely in getting the wires back on the right letters and in shorting the low-voltage circuit while it is live. Ecobee, Nest and Honeywell Home all include labeling stickers and a trim plate in the box for exactly this reason.
- Kill power at the furnace or air handler breaker and the unit service switch.
- Photograph the terminal block, then label every wire with the letter it came off.
- Free the wires and tape the bundle to the wall so it cannot fall into the cavity.
- Mount the new base with a torpedo level, using the trim plate if the old unit left marks.
- Land each wire on the matching letter, remove the Rh/Rc jumper only if the manual says to.
- Restore power, pair to Wi-Fi, then test heat, cool and fan individually before you walk away.
The full step-by-step with wiring detail is in how to replace a thermostat.
When is it worth paying someone?
Pro installation runs roughly 100 to 250 dollars for a straight swap, and many utilities and retailers bundle it free with a rebate — worth checking before you commit an afternoon. Pay for it when there is no C wire and no obvious adapter path, when the system is a multi-stage heat pump with auxiliary and emergency heat you would rather someone else configure, or when the furnace is old enough that you would rather a tech be present the first time it fires. Anything at 120V or above is not a judgement call: hire an electrician.
If you are still weighing the purchase, are smart thermostats worth it covers the payback math and do smart thermostats work without wifi answers the question most people ask second. More in the heating and cooling hub.