 Garden
Affiliate Disclosure
Some links on this page are affiliate links. As an Amazon Associate, we earn from qualifying purchases — at no extra cost to you. We do not buy, test, or physically handle the products we cover; our rankings come from aggregated owner reviews, ratings and expert consensus. Commissions never change our verdicts. How we rank · full disclosure.
Replacing a thermostat is a beginner-friendly job — plan on 20 to 45 minutes, $25 to $250 for the thermostat, and no permit. It runs on low-voltage control wiring, so the shock risk is minimal, but switch off the HVAC power first to protect the equipment. The entire job is labeling each wire, transferring it to the matching lettered terminal on the new base, and setting it up. The one thing to check before buying a smart model is whether you have a C-wire. Line-voltage systems and new wiring are a pro's job.
We never buy, test or physically handle the products we rank; recommendations come from aggregated owner reviews and expert consensus, described in how we rank. More at the heating and cooling hub.
Tools and materials
- A small screwdriver (usually all the tools you need) and a phone for photos.
- The wire labels included with the new thermostat, plus a pencil and level.
- The thermostat. Our best smart thermostat guide ranks models by owner-reported ease of setup, C-wire needs, and scheduling.
- Wall anchors if the new base does not line up with existing holes, and a drill.
Step 1: Turn off the HVAC power
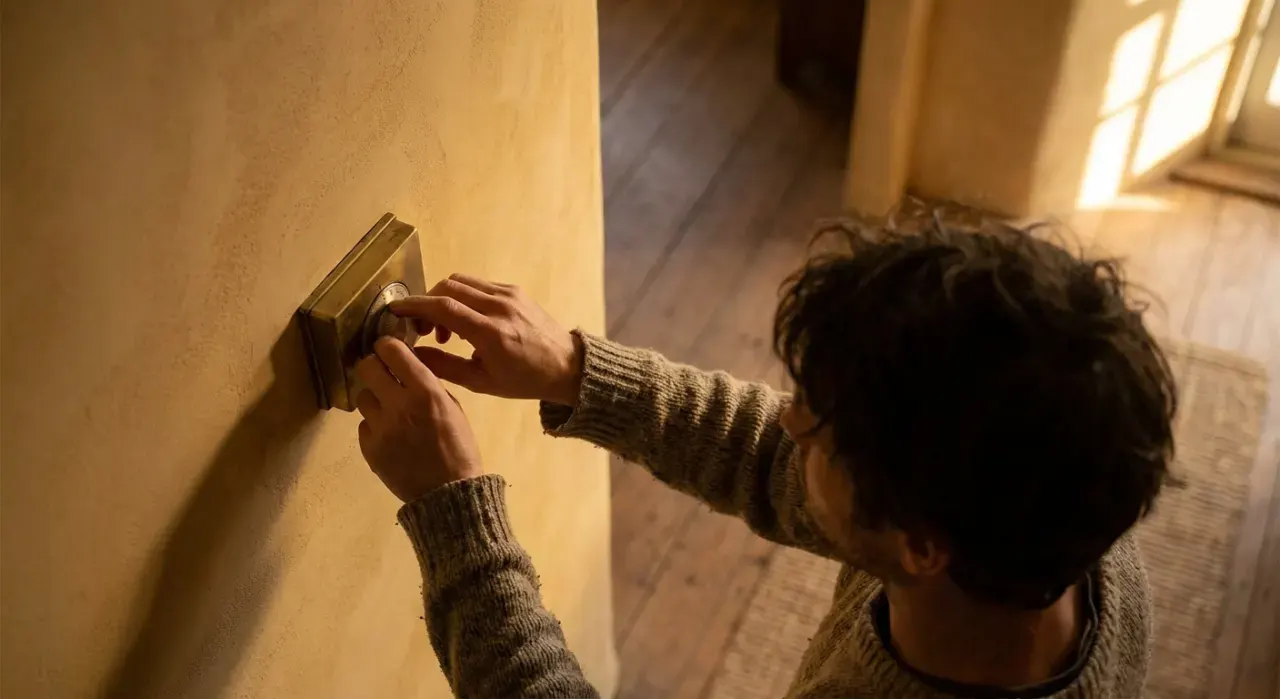
Switch off the furnace/air-handler breaker or its service switch. Low voltage is not a shock hazard, but killing power prevents a momentary short from blowing the control board's fuse while you work. If your thermostat controls line-voltage electric heat (thick wires, 120/240V), stop — that is a different, higher-risk job better left to a pro.
Step 2: Photograph and label the wires
Remove the old thermostat's cover and faceplate to expose the wiring. Photograph it clearly. Then label each wire with the sticker matching the terminal letter it is connected to — R, W, Y, G, C, and any others. Do this before loosening anything. The labels, not the wire colors, are your source of truth.
Step 3: Remove the old base
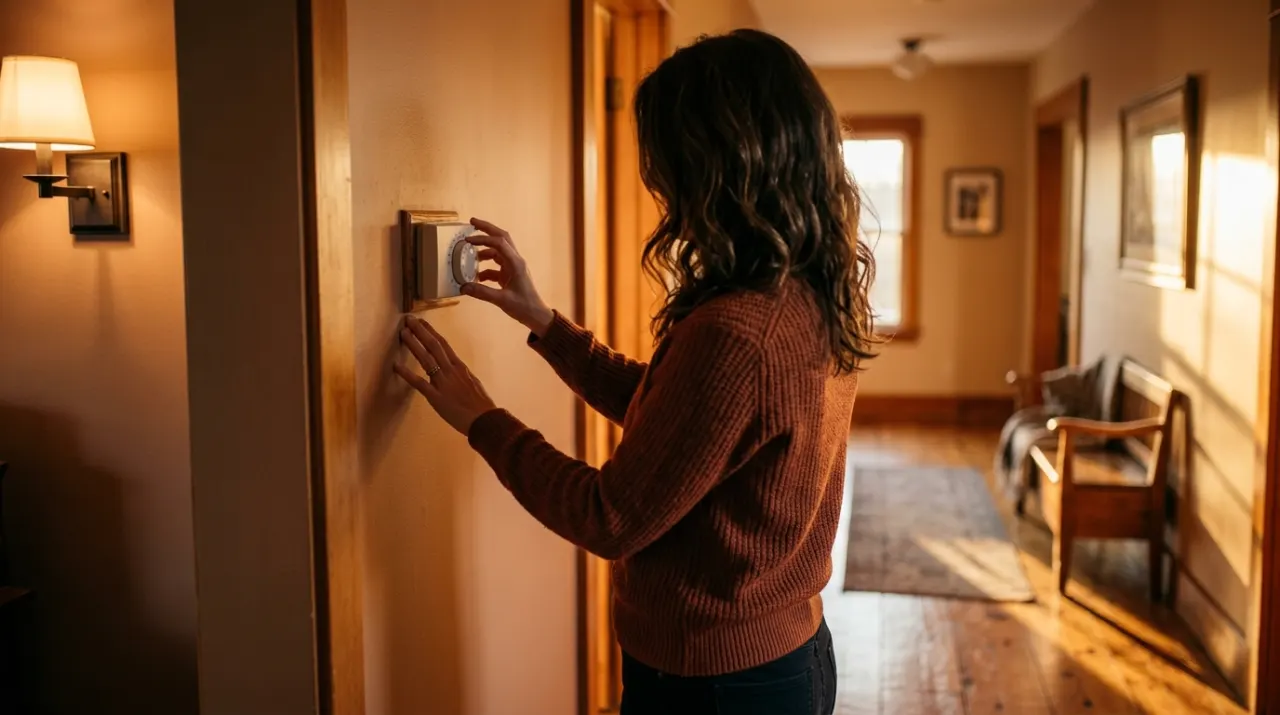
Loosen each terminal and free the wires, taking care they do not slip back into the wall — a clothespin or a bend over a pencil keeps them from disappearing into the hole. Unscrew the old base from the wall and set it aside.
Step 4: Mount the new base and connect wires
Level the new base on the wall, mark and drill for anchors if needed, and screw it up. Feed the wires through the opening. Connect each labeled wire to the same lettered terminal on the new base, seating it fully and clamping the terminal. If the new thermostat needs a C-wire you lack, install the add-a-wire adapter now per its instructions. Tuck the wires back and push any excess into the wall gently.
Step 5: Restore power and set it up
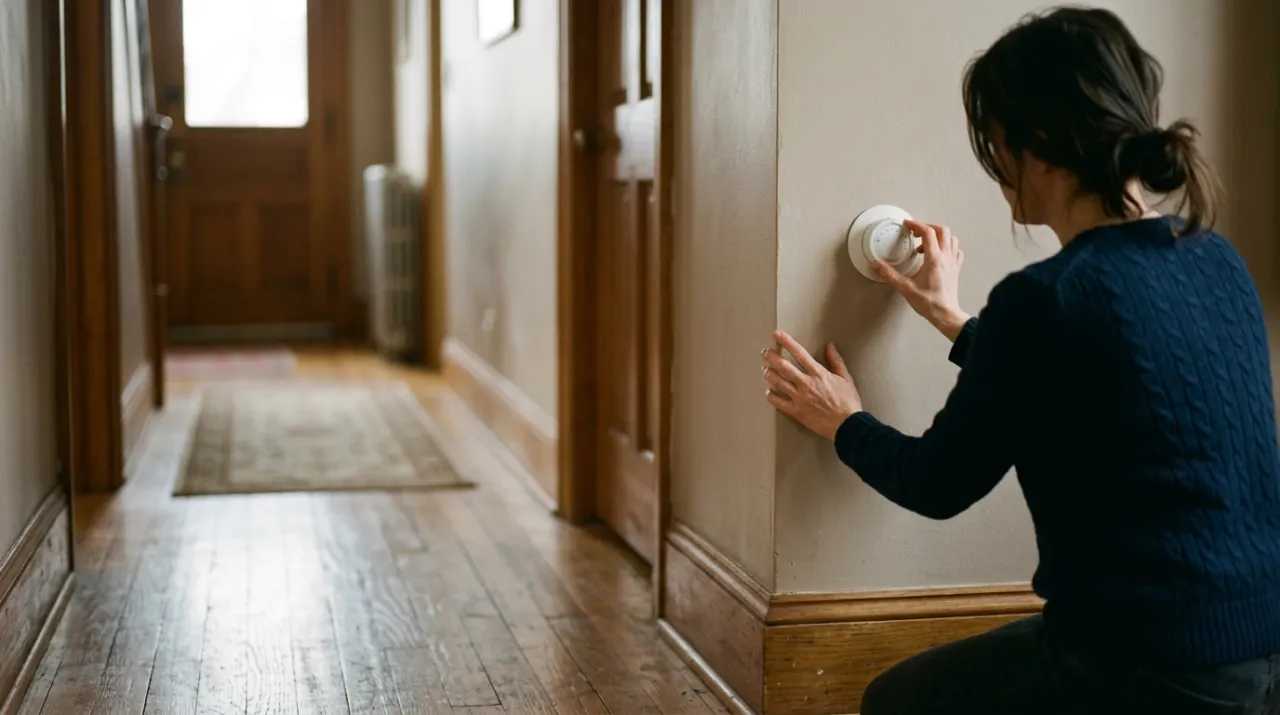
Snap on the new thermostat, restore the HVAC power, and follow the on-screen or app setup — system type (gas/electric, heat pump), fan settings, and schedule. Test heat and cool: call for heat and confirm the furnace fires, then call for cool and confirm the compressor runs (respect any compressor delay). If nothing responds, recheck the wires against your photo and confirm power is on.
Common mistakes
- Not labeling before disconnecting. Wire colors are unreliable. Label by terminal letter.
- Letting a wire slip into the wall. Clip or bend each one as you free it.
- Buying a smart model without a C-wire. Check first; use an adapter if needed.
- A wire on the wrong terminal. The top reason the system stays dead. Match letters exactly.
- Mistaking line-voltage heat for low-voltage. Thick wires and 120/240V is a pro job.
When to call an HVAC tech
Bring in a pro if your thermostat switches line-voltage electric heat, if you need a C-wire run and cannot use an adapter, if the wiring does not match standard terminal letters, or if the system does not respond after careful rewiring. Anything at the HVAC control board beyond the thermostat connection, or line-voltage work, is a professional job — jurisdiction-specific for permits on new circuits.
Related reading: how to clean a furnace flame sensor, how to seal leaky air ducts, and how to install a ceiling fan.