 Garden


Affiliate Disclosure
Some links on this page are affiliate links. As an Amazon Associate, we earn from qualifying purchases — at no extra cost to you. We do not buy, test, or physically handle the products we cover; our rankings come from aggregated owner reviews, ratings and expert consensus. Commissions never change our verdicts. How we rank · full disclosure.
The short answer: dig a trench, bury at least two thirds of the edging, drive the spikes at roughly a 45-degree angle back through the edging into undisturbed soil, and tamp the backfill hard on both sides. Spikes every 3 feet on straights, every 18 to 24 inches on curves, one at every joint. That is the whole job, and every one of those details is a place installations fail.
Landscape edging that heaves out over winter is not a product failure. It is nearly always an installation failure, and the specific failure is usually a spike driven vertically into loose backfill, which resists nothing at all when frost pushes upward. Get the angle and the depth right and cheap edging outlasts expensive edging installed badly.
We are a research desk, not a test lab — we never buy or physically handle the products we mention, and our rankings come from aggregated owner reviews and expert consensus, explained in how we rank. If you have not chosen a material yet, the ranked field is in best landscape edging.
Tools and Materials
- Flat spade or half-moon edger — the flat blade is what gives you a vertical trench wall
- Garden hose or landscape marking paint for laying out the line
- Rubber mallet, 2 to 3 lb
- Hand tamper, or a short length of 4x4 to tamp with
- Tin snips or a hacksaw for cutting sections; an angle grinder for steel
- Work gloves — steel edging edges are sharp, and plastic spikes split
- Edging plus spikes, allowing 10 percent over your measured length for cuts and overlaps
- Bagged topsoil or mulch for backfilling the outside of the trench
Time for a typical 60-foot bed border: about 3 to 4 hours for no-dig plastic, 5 to 7 hours for trenched steel. Half of it is trenching.
The Install, Step by Step
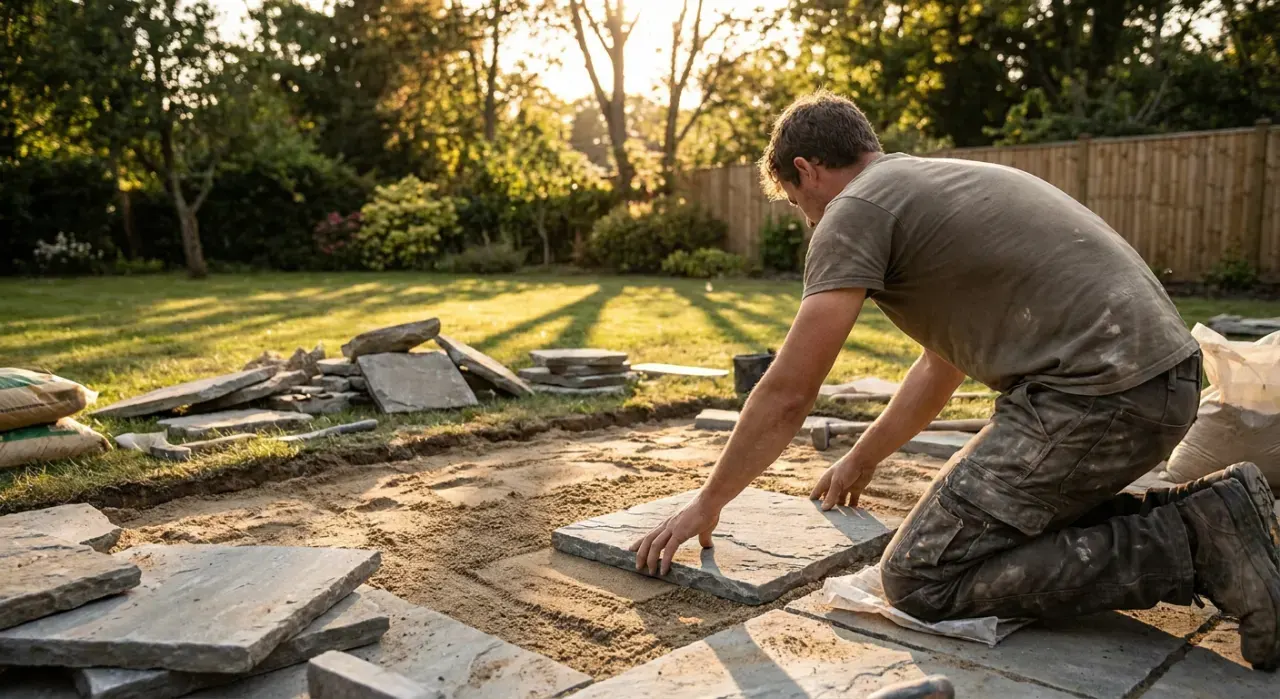
- Lay the line out and live with it. Put a garden hose on the ground in the shape you want and look at it from the street, from the front door and from inside the house. Adjust before you dig. Curves should have a reason — a tree, a slope, a corner of the building — and a radius large enough for your mower to follow without a three-point turn. Mark the final line with paint.
- Strip a 6-inch band of sod. Not just the trench width. Cut both sides with the spade, slide the blade under and lift the strip. Grass rhizomes run horizontally and will re-invade a narrow trench in one season. Shake the soil off the sod and compost it.
- Cut the trench. For no-dig plastic with a rolled top, you want the trench 3 to 4 inches deep. For trenched steel or aluminum, 4 to 5 inches. Keep the lawn-side wall vertical — that vertical face is the edging's backstop. Undercut nothing; a loose overhanging lip will collapse.
- Firm the trench bottom. Run the tamper along it. Edging set on fluffy soil settles unevenly within weeks, and every low spot becomes a place mulch escapes.
- Unroll and relax the edging. Coiled plastic has a memory and fights you if you install it cold. Lay it out in the sun for 30 to 60 minutes on a warm day — it becomes noticeably easier to bend and far less likely to crack when you drive spikes through it.
- Set the edging to height. Leave 1 to 1.5 inches of profile above grade for plastic and aluminum, and enough for the mower deck to pass over without contact. Steel is often set nearly flush so a mower wheel can ride it. The key ratio is two thirds buried, one third or less exposed. Sight down the run to check for waves before you spike anything.
- Drive the spikes at an angle. This is the step that decides whether the job lasts. Push each spike through the edging's anchor hole and drive it at roughly 45 degrees, angled back away from the bed into the undisturbed soil of the lawn side. A vertical spike resists almost nothing when frost lifts the edging; an angled spike has to shear soil to move, which it cannot do. Spacing: every 3 feet on straight runs, 18 to 24 inches through curves, and one within a few inches of every joint.
- Join sections properly. Most systems use a connector sleeve or an overlap of 4 to 6 inches. Overlap in the direction water flows so the joint does not catch debris, spike through both layers, and never leave a butt joint unsupported. For steel, the stakes usually pass through overlapping end tabs — line them up before driving.
- Backfill and tamp both sides. Push soil back against the lawn side and tamp it hard with the 4x4. Fill the bed side with soil or mulch to just below the top of the edging. Loose backfill is the second most common cause of heaving after vertical spikes. Water the line to settle it, then top up any sinking the next day.
- Finish the surface. Mulch the bed to 2 to 3 inches, staying just below the edging lip so it does not wash over. On the lawn side, sweep off soil and overseed the stripped band if you want turf right up to the edge.

Cutting Clean Curves
Plastic and aluminum bend easily; steel does not. For a tight radius in steel, cut a series of small V-notches in the buried portion with an angle grinder every few inches, which lets the profile close up as it curves. Never notch the exposed top edge.
For any material, the practical minimum radius is set by your mower. Measure the mower deck and make the tightest inside curve at least twice that width, or you will be trimming that corner by hand forever. Curves also want tighter spike spacing because the material is under constant tension trying to straighten — 18 inches is a sensible interval, and 12 inches on anything approaching a right angle.
Install Differences by Material
| Material | Trench depth | Anchoring | Notes |
|---|---|---|---|
| No-dig plastic | 3 to 4 in | 9 to 10 in spikes, angled | Warm it first; cracks if spiked cold |
| Aluminum | 4 to 5 in | 12 in stakes through tabs | Bends by hand, will not rust |
| Steel | 4 to 5 in | 12 to 15 in stakes | Notch to curve; wear gloves |
| Rubber | 2 to 3 in | Spikes plus its own weight | Forgiving over uneven ground |
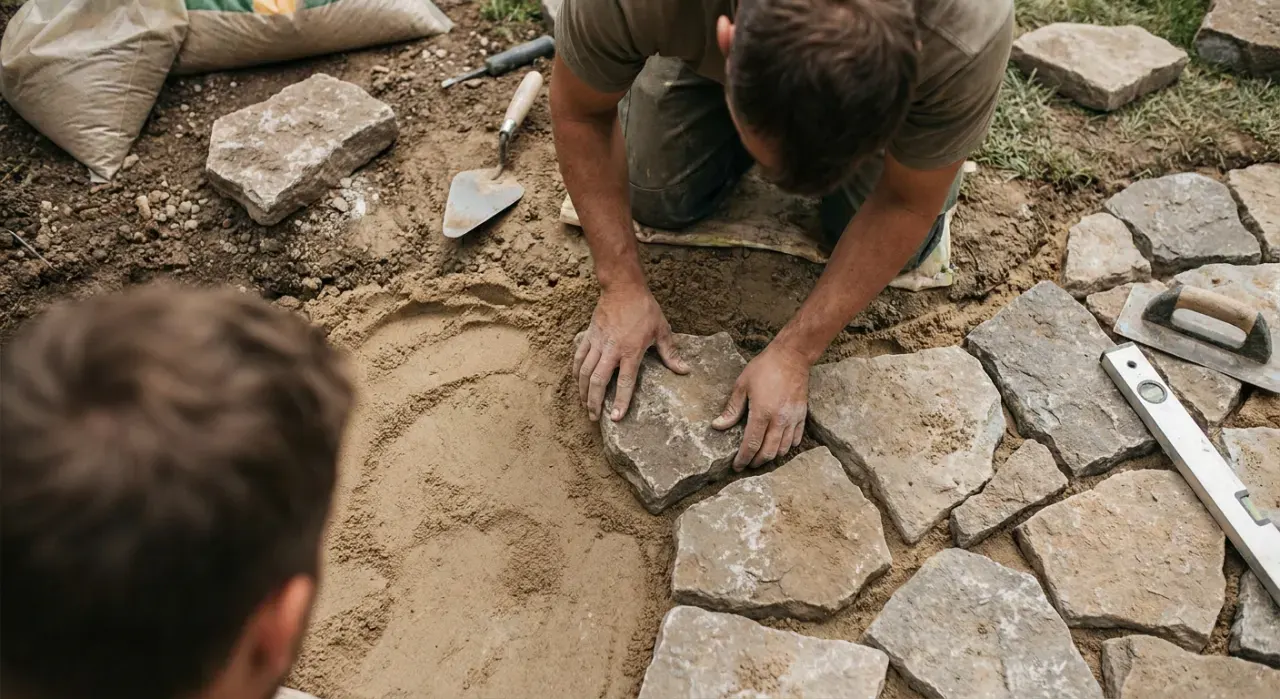
| Paver or brick | 4 to 6 in plus base | Compacted stone base and sand | Doubles as a mowing strip |
The steel-versus-plastic decision is worth making before you start, because the trenching effort differs substantially — that comparison is in steel vs plastic edging.
The Mistakes That Cause Failures
Vertical spikes. The number one cause of edging heaving out by spring. Angle them, always, back into firm soil.
Not enough burial. Edging standing 3 inches proud is a lever. Frost, a mower wheel or a wheelbarrow will win. Two thirds buried, minimum.
Loose backfill. Soil dumped back in and left fluffy gives the spikes nothing to hold. Tamp it, water it, tamp it again.
Skipping the joint spike. Joints are hinges. Every one needs an anchor within a few inches or the sections will separate and step out of line.
Installing on frozen or saturated ground. Neither compacts. The install feels fine and comes loose at thaw.
Ignoring slope. On a hillside, edging across the slope acts as a small dam and water will find the low end and cut around it. Extend the run past the low point or add a small stone spillway.
Setting it too high to mow. If the mower deck hits the edging you will stop mowing close to it, grass will grow tall along the line, and the crisp effect you paid for disappears.
After the Install
Walk the whole line the first spring after a freeze cycle and re-seat any section that has lifted, adding a spike where it moved. That single check catches most problems while they are still trivial. Beyond that, edging is one of the lowest-maintenance things in a yard: sweep mulch back off the lawn side occasionally, and top up mulch depth annually so the bed level stays just below the lip.
If the goal was crisp beds, edging is only half the effect — the other half is consistent mulch depth and plants kept in scale. That sequence is covered in front yard curb appeal, and the wider build order is in the landscaping hub. Still choosing a product? Start with best landscape edging.