 Garden
Affiliate Disclosure
Some links on this page are affiliate links. As an Amazon Associate, we earn from qualifying purchases — at no extra cost to you. We do not buy, test, or physically handle the products we cover; our rankings come from aggregated owner reviews, ratings and expert consensus. Commissions never change our verdicts. How we rank · full disclosure.
Hanging wallpaper is a patient, methodical DIY job rather than a hard one — a single feature wall is an afternoon, a full room a weekend. No permit or pro needed. Peel-and-stick is the most beginner-friendly; traditional paste-the-wall paper is not much harder once you prime and plumb properly. Materials vary widely with the paper itself, but tools run under $50. Success comes down to priming the wall (which also protects it for removal later), starting the first drop off a plumb line rather than a crooked corner, and butting seams tightly while smoothing bubbles out as you go.
Step-by-step: hanging wallpaper
- Prep and prime the wall. Fill and sand holes, clean the wall, and prime with a wallpaper primer. Primer lets the paper slide, bonds the paste, and makes future removal painless.
- Plan and measure. Measure the wall, note the pattern repeat, and buy enough rolls of the same batch number plus 10 to 15 percent extra.
- Strike a plumb line. Mark a true vertical line one roll-width from your starting corner with a level or plumb line. Hang the first drop to this line, not the corner.
- Paste (or peel). For paste-the-wall, roll paste onto the wall section. For paste-the-paper, coat the back and book it (fold paste-to-paste) to rest per the instructions. For peel-and-stick, peel the backing.
- Hang and smooth. Position the drop to your line, leaving a little excess top and bottom, and smooth from the center outward with a smoothing brush or plastic tool to push out bubbles and paste.
- Match and butt the next drop. Align the pattern, butt the seam tightly against the last drop without overlapping, and roll the seam flat. Wipe off squeezed-out paste right away.
- Trim the edges. Crease the excess at the ceiling and baseboard with a broad knife and trim with a sharp blade. Handle corners by wrapping slightly and overlapping the next drop into the corner.
Tools and materials
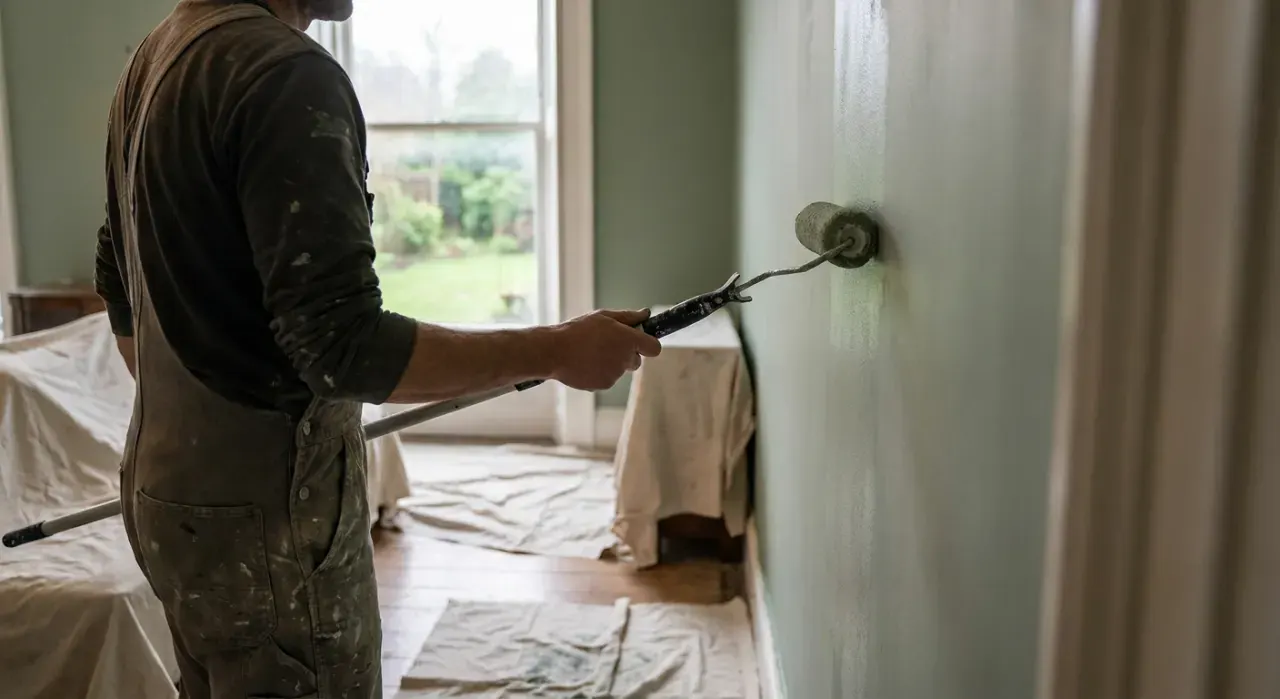
You need wallpaper primer, paste (unless the paper is pre-pasted or peel-and-stick), a smoothing brush or plastic smoother, a seam roller, a level or plumb line, a sharp utility knife, a broad knife, and a sponge. Priming is non-negotiable, and the finish primer you choose sets up both adhesion and easy future removal — our interior paint and primer picks help you choose a good wall sealer. If you are painting adjacent trim or a ceiling before papering, clean painter's tape keeps those lines sharp, and a roller makes quick work of pasting the wall on paste-the-wall papers.
Mistakes that show on the wall
- Skipping primer. Paste grabs bare drywall and wrecks it on removal. Always prime.
- Starting at the corner. Corners are crooked; the whole wall goes off. Start from a plumb line.
- Overlapping seams. Ridges show. Butt seams tightly, do not overlap on flat walls.
- Mismatched batch numbers. Color varies between runs. Buy all rolls from one batch at once.
- Leaving paste on the face. It dries shiny and shows. Wipe every seam clean immediately.
We never buy, test or physically handle the products we rank. Recommendations come from aggregated owner reviews, star ratings, review volume and expert consensus — see how we rank.
More from this hub: Paint & Walls · Removing wallpaper · Priming a wall · Painting an accent wall · Best interior paint · How we rank