 Garden
Affiliate Disclosure
Some links on this page are affiliate links. As an Amazon Associate, we earn from qualifying purchases — at no extra cost to you. We do not buy, test, or physically handle the products we cover; our rankings come from aggregated owner reviews, ratings and expert consensus. Commissions never change our verdicts. How we rank · full disclosure.
Sharpening a dull twist drill bit by hand is a genuine money-saver and takes about ten minutes to learn. It costs nothing but a few minutes on a bench grinder you likely already own, and there is no permit or hazard beyond the ordinary care of using a grinder (eye protection, no gloves near the wheel). The whole skill comes down to two things: restore the 118-degree point angle, and keep the two cutting lips exactly even. A bit sharpened symmetrically drills a clean, on-center hole; an uneven one drills oversized and wanders.
Tools and materials
- A bench grinder (or a drill-bit sharpening jig for beginners) and safety glasses — mandatory near a grinding wheel.
- A cup of water to quench the bit and keep it from overheating and losing its temper.
- The dull bits themselves, and a sharp reference bit to compare the point angle against by eye.
- These sharpen the bits that feed every drill; if it’s time to upgrade the drill itself, see our best cordless drills.

Step 1: Inspect the point and set the angle
Look at the tip. A good twist bit has two symmetrical cutting lips meeting at a centered chisel edge, each ground at about 59 degrees to the axis (118 degrees total). Hold the bit against a sharp reference bit to see how far yours has dulled. If the flutes are worn, the bit is bent, or it turned blue from heat, stop — that bit needs replacing, not sharpening.
Step 2: Grind the first lip
Rest the bit on the grinder’s tool rest at roughly 59 degrees to the wheel face, with the cutting lip horizontal. Touch it to the wheel and, in one smooth motion, roll the bit slightly clockwise and drop the shank a touch to sweep the whole lip and create clearance behind the edge. Grind for only a second or two at a time — light passes, not heavy pressure.

Step 3: Quench often
Dip the bit in water every couple of passes. Overheating turns the tip blue and ruins the hardness (the temper), leaving a bit that won’t hold an edge no matter how you grind it. If you see color changing, you are grinding too long between quenches.
Step 4: Grind the second lip to match
Rotate the bit 180 degrees and grind the opposite lip using the exact same rest position and motion, aiming to match the first lip’s length and angle. Sight down the point frequently: the chisel edge in the center must stay centered, and both lips must be the same length. This symmetry is everything — an uneven bit drills oversized and off-center.
Step 5: Test on scrap
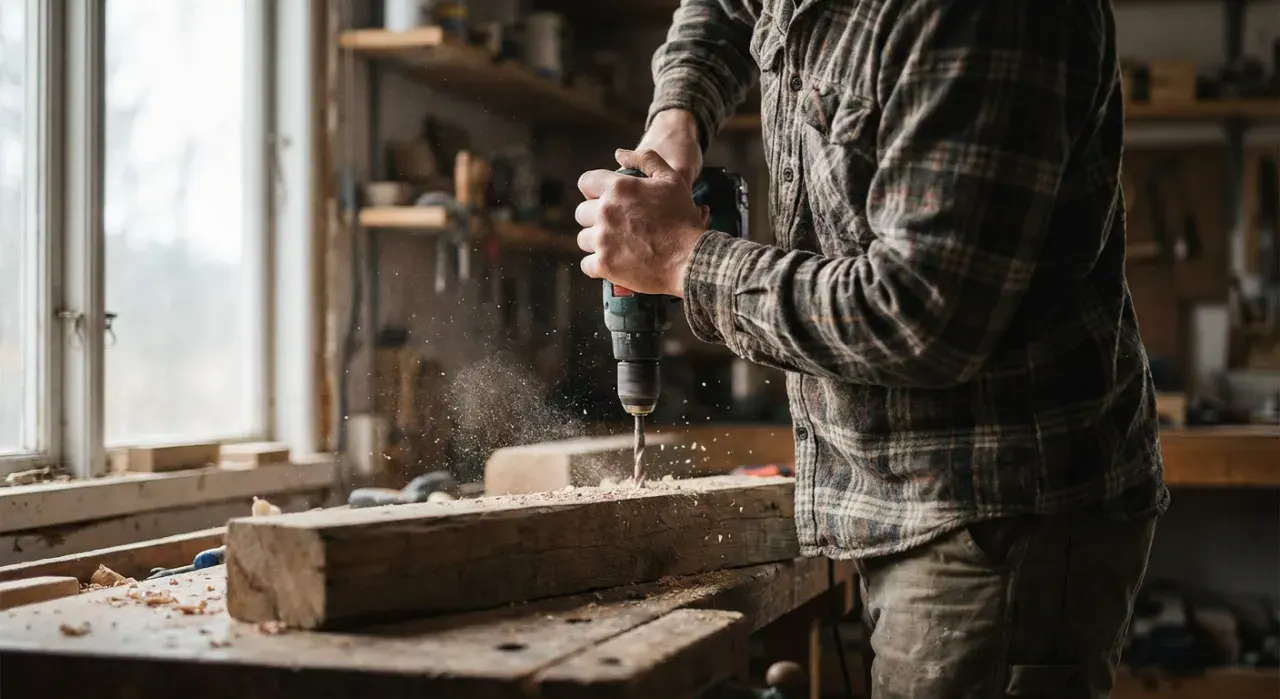
Chuck the bit and drill a test hole in scrap metal or wood. A correctly sharpened bit bites immediately with light pressure, produces two even spirals of swarf, drills on your mark, and stays cool. If it wanders or drills big, one lip is still doing more work — back to the grinder to even them up.
Where to go next
A sharp bit is only half the job — technique matters when the material is tough, as in drilling into concrete or drilling into brick (which use masonry bits, not twist bits). Understand your tools with drill vs impact driver. It all lives under the power tools and workshop hub.
We never buy or physically test the tools we rank — our picks come from aggregated owner reviews and expert consensus, explained on how we rank.