 Garden
Affiliate Disclosure
Some links on this page are affiliate links. As an Amazon Associate, we earn from qualifying purchases — at no extra cost to you. We do not buy, test, or physically handle the products we cover; our rankings come from aggregated owner reviews, ratings and expert consensus. Commissions never change our verdicts. How we rank · full disclosure.
Drilling into concrete is well within DIY reach — the key is having the right tool. With a hammer drill and a carbide masonry bit, a typical anchor hole takes a couple of minutes, and a small project costs only the price of a bit and some anchors. It is safe DIY work for ordinary jobs like mounting a shelf bracket, a TV, or a railing post. The two things that ruin it are trying to use a regular drill with a regular bit (it just polishes the surface) and pushing too hard without clearing the dust (which burns the bit). One real caution: in post-tensioned slabs, or where utilities may be embedded, stop and get the area scanned first.
Tools and materials
- A hammer drill (or rotary hammer for big or frequent jobs) — a plain drill won’t cut cured concrete efficiently. If you’re choosing a drill, our best cordless drills guide flags which have a hammer mode.
- A carbide-tipped masonry bit sized to your anchor, plus safety glasses and a dust mask — concrete dust contains silica.
- A shop vacuum or a can of compressed air to clear dust from the hole — our shop vac picks help. Plus the anchors themselves (sleeve, wedge, or concrete screws like Tapcons).
Step 1: Mark the hole and set depth
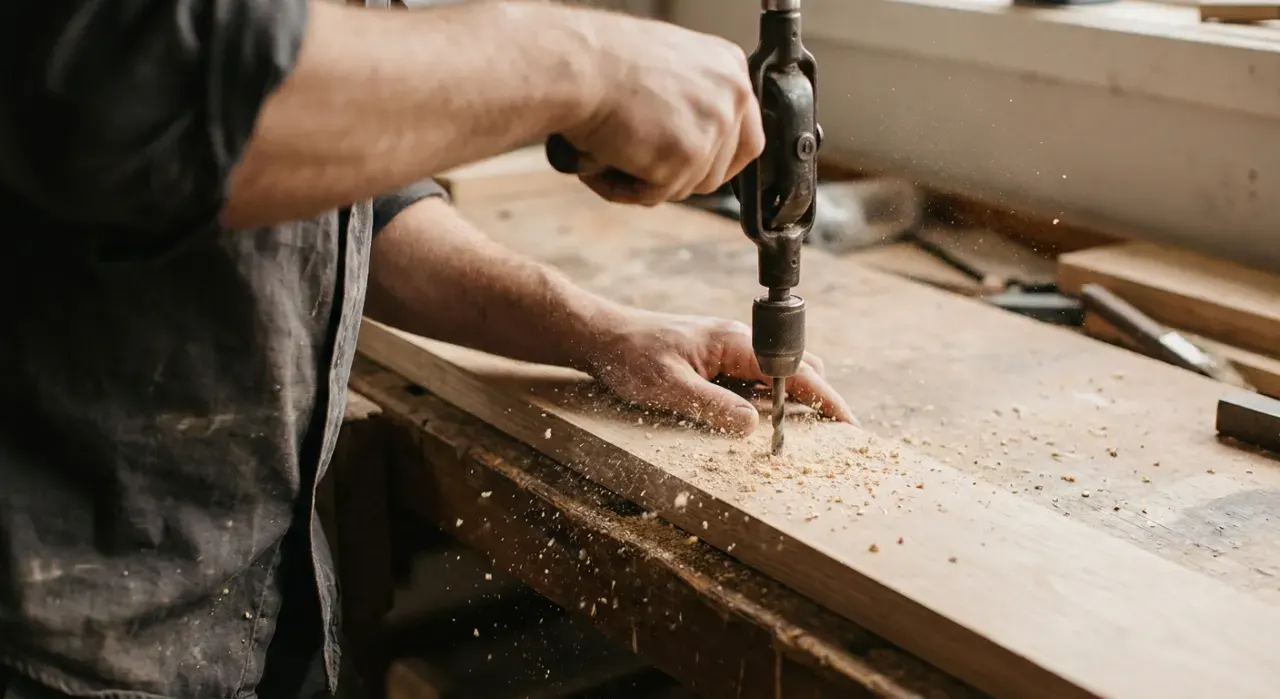
Mark your hole location and, if using an anchor, note the required hole diameter and depth from the anchor packaging — concrete anchors specify both. Wrap a piece of tape around the bit at the target depth as a visual stop, or use the drill’s depth rod. Drill a hair deeper than the anchor length so debris at the bottom doesn’t stop the anchor seating.
Step 2: Start the hole
Put on eye protection and a dust mask. Set the drill to hammer mode. Hold the bit perpendicular to the surface and start at low speed with light pressure to keep the bit from wandering off the mark. Once it bites and forms a starter divot, bring it up to full speed.
Step 3: Drill with moderate pressure, clearing often
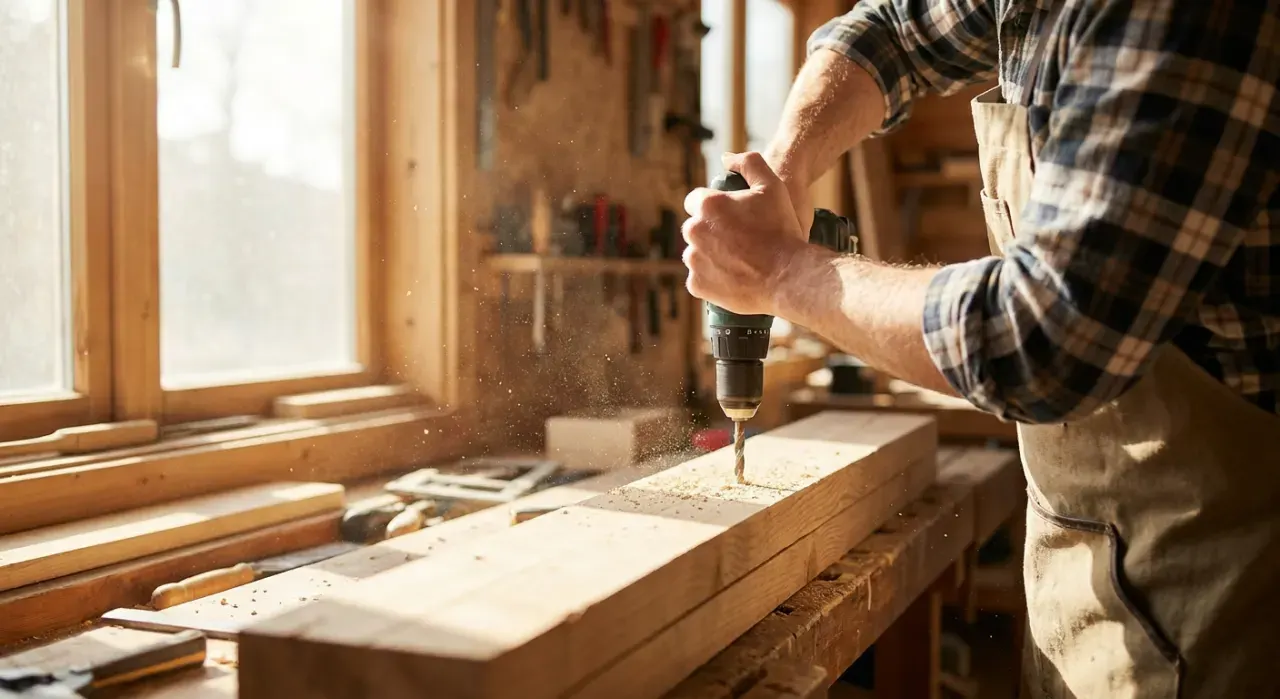
Let the hammering do the work — moderate steady pressure, not leaning your weight in. Every few seconds, pull the bit most of the way out to clear the pulverized concrete dust, then continue. This keeps the bit cool and cutting; a hole packed with dust generates heat and stalls progress. Keep the drill straight so the hole stays true.
Step 4: Handle a sudden stall (rebar)
If the bit abruptly stops advancing and the drill bogs, you have likely hit rebar. Do not force it — relocate the hole an inch or two, or switch to a rebar-cutting bit only if you truly must pass through. Forcing a masonry bit into steel damages the bit and can weaken the reinforcement.
Step 5: Clean the hole and set the anchor
Vacuum or blow the dust out of the finished hole — a clean hole is critical for anchor holding power. Then set your anchor: tap in a sleeve or wedge anchor and tighten to expand it, or drive a concrete screw directly into a correctly sized hole. A hole that’s dusty or the wrong diameter is the top reason anchors pull out.
Where to go next
Drilling into brick uses the same masonry technique with softer material and different anchoring. To keep bits cutting, learn to sharpen drill bits (twist bits, not masonry). Understand your tools with drill vs impact driver. It all lives under the power tools and workshop hub.
We never buy or physically test the tools we rank — our picks come from aggregated owner reviews and expert consensus, explained on how we rank. Codes and structural rules are jurisdiction-specific; when in doubt about a structural slab, consult a pro.